S
steelescottSep 8, 2025
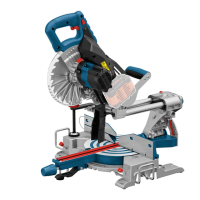
Why does Bosch GCM12SD Saw vibrate or shake?
- CCarol SmithSep 8, 2025
If your Bosch Saw vibrates or shakes, consider the following: * Replace the blade if it is not round. * Replace the blade if it is damaged. * Ensure the blade is properly seated on the inner washer, referring to the Removing and Installing Blades section. * If none of these steps resolve the issue, further assistance from an authorized service may be needed.