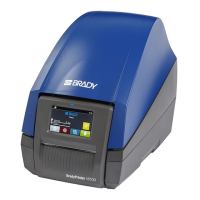
BradyPrinter i3300 14
Setup
Connecting the Printer
Connecting the Printer
Connect to a computer in one or both of the following ways:
• On a network. This method allows multiple computers to send label files to the printer.
• Directly with a USB cable. See Configuring a Direct USB Connection” on page 16.
Configuring the Printer for Network Communication
The printer has two network controllers - one for Ethernet (wired) and one for Wi-Fi. These two controllers
act independently and can simultaneously receive data.
Note: Wi-Fi capability is not available on all printers or in all countries.
You can set up the printer for network communication using:
• An Ethernet connection. Use this option for a wired network.
• A Wi-Fi connection. See Wi-Fi” on page 15.
Configuring an Ethernet Connection
1. On the Home screen tap Settings.
2. On the Settings screen, select Connection.
3. Select Advanced Network Settings on the Connection screen.
4. Touch Ethernet.
5. Choose IP Settings.
6. For IP Settings, select either the DHCP or Static check box.
•
DHCP
: DHCP addressing is dynamic and the system uses a DNS server to obtain the printer
IP address for you.
•
Static
: For static addressing, you must supply the printer’s IP address.
7. If Static was selected, fill in the following fields:
•
IP Address
: Enter the printer’s IP address.
•
Subnet Mask
: Enter a subnet mask if you are using one.
•
Default Gateway
: Enter the IP address of the default gateway.
•
DNS Server (Primary)
: Enter the IP address of the primary DNS server.
•
DNS Server (Secondary)
: Enter the IP address of the secondary DNS server.
IMPORTANT! If no DNS server is being used, enter 0.0.0.0
8. Tap on the back button to get to the Advanced Network Settings screen in order for the fields
entered to take effect.
9. If DHCP was selected, no additional fields need to be entered.