7. ADJUSTMENT
94
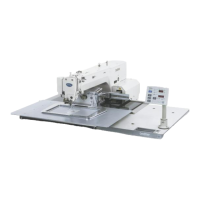
BAS-342G
7-10-1. Installing the feed plate
NOTE:
Install the feed plate so that the surface with the index mark (U) is facing upward.
Place the rear edge of the feed plate (1) against the stepped part of base plate Y (2) (shaded section (A)) and use a 2 mm
diameter pin (such as a needle) to align the hole in the feed plate (1) with the hole in base plate Y (2); then tighten the two
bolts (3).
7-11. Adjusting the thread wiper
1. Loosen the two screws (3) and shift the entire solenoid setting plate (4) up or down to adjust so that the thread wiper (2) is
15 mm in front of the needle center when the plunger (1) of the thread wiper solenoid is driven to the full stroke.
2. Loosen the screw (5) and adjust the position of the thread wiper (2) so that the distance from the thread wiper to the tip of
the needle is approximately 2 mm and the tip of the thread wiper (2) is approximately 3 mm from the center of the needle
when the thread wiper (2) passes below the needle during operation.
NOTE:
Check that the thread wiper (2) does not touch the finger guard (6).
index mark
4046M
5007Q
pprox.
mm
pprox.
mm
4048M4047M
 Loading...