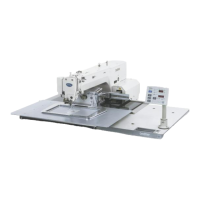
6. ASSEMBLY
BAS-342G
72
6-7. Upper shaft mechanism
(Continued on the next page.)
1. Upper shaft
2. Pulley gear R
3. Driving wheel B-winder
4. Stepping clamp cam
assembly
5. Thread take-up crank
6. Screw
7. Set screw
8. Set screws [2 pcs]
9. Set screws [2 pcs]
10. Rubber cap
11. Set screws [2 pcs]
12. Joint assembly
13. Set screws [2 pcs]
1305B
pply adhesive <Threebond 1324> to the
outer circumference of the joint assembly
bearing.
1) Tighten the screw of the thread take-up crank (5)
so that it is aligned with the upper shaft hole.
2) While pressing the thread take-up crank (5) so
that there is no play in it, tighten the two set
screws (8).
pply adhesive <Threebond 1401> to the thread
section of the screw.
5204Q
Reference line
Before inserting the upper shaft (1), apply
the grease <SA8837-001> specified by
Brother to the places indicated by .
Install the driving wheel B-winder so
that it is in phase with the thread
take-up crank and aligned with the
reference line on the upper shaft.
 Loading...