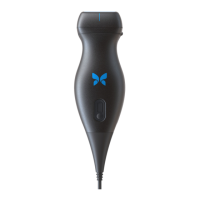
6. Reconnect the Butterfly iQ3 to your mobile device.
7. If you continue to have charging issues, Contact Butterfly Support at http://support.butterflynetwork.com/.
Butterfly iQ/ iQ+ Troubleshooting
1. First, verify that your charger is working. The Butterfly charger should charge any mobile device that charges
wirelessly. For more information about charger behavior, and the correct orientation of the probe on the
charging pad, please refer to Probe Battery Charger [23].
• Plug the butterfly charger directly into the wall using only the provided Butterfly equipment. Do not use an
outlet tied to a dimmer switch. Do not use a surge protector. Do not use a power strip.
• Only use an approved Butterfly charging pad.
2. After you verify that the charger is working, place your Butterfly on the charger for five minutes.
3. While your Butterfly probe is on the charger, reset it. To do so, hold down the battery indicator button for 10-15
seconds.
4. Leave your Butterfly probe on its charger overnight, or at least 6 hours.
5. Reset the Butterfly probe again while it is on the charger by holding down the battery indicator button for 10-15
seconds. The LEDs on the battery indicator button should flash.
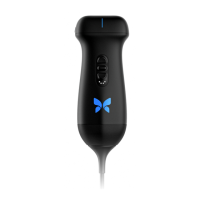
6. Reconnect the Butterfly probe to your mobile device.
If these instructions do not resolve your issue, please follow the in-app probe troubleshooting steps as follows:
1. Log in to the Butterfly iQ app and navigate to the scan screen.
2. Connect the probe and wait for at least 5 seconds.
3. A message will appear (“Plugged in, but not connecting?"). Tap “Run troubleshooting” to continue.
4. Follow the troubleshooting steps on the screen.
5. If you continue to have charging issues, Contact Butterfly Support at http://support.butterflynetwork.com/, and
provide the following information:
• Serial number on the back of your probe.
• Answers to the following questions:
• What color appears on the charging base while the probe is resting on it?
• What is the pattern or sequence of lights when the probe is first placed on a charge?
• And what is the pattern when it is taking a charge?
• For reporting purposes, please state whether any patient or user injury, clinically significant delay in treatment
or diagnosis, misdiagnosis or adverse event occurred as a result of this issue.
Troubleshooting Charging Issues
Troubleshooting 90


 To Next Page