3
Press the OK button.
The Set./Adj. Menu is displayed.
4
Press ▲ or ▼ to select Adjust Printer, and then press the OK button.
5
Press ▲ or ▼ to select Head Inc. Adj., and then press the OK button.
After the Carriage is moved, a message is displayed requesting you to open the Top Cover.
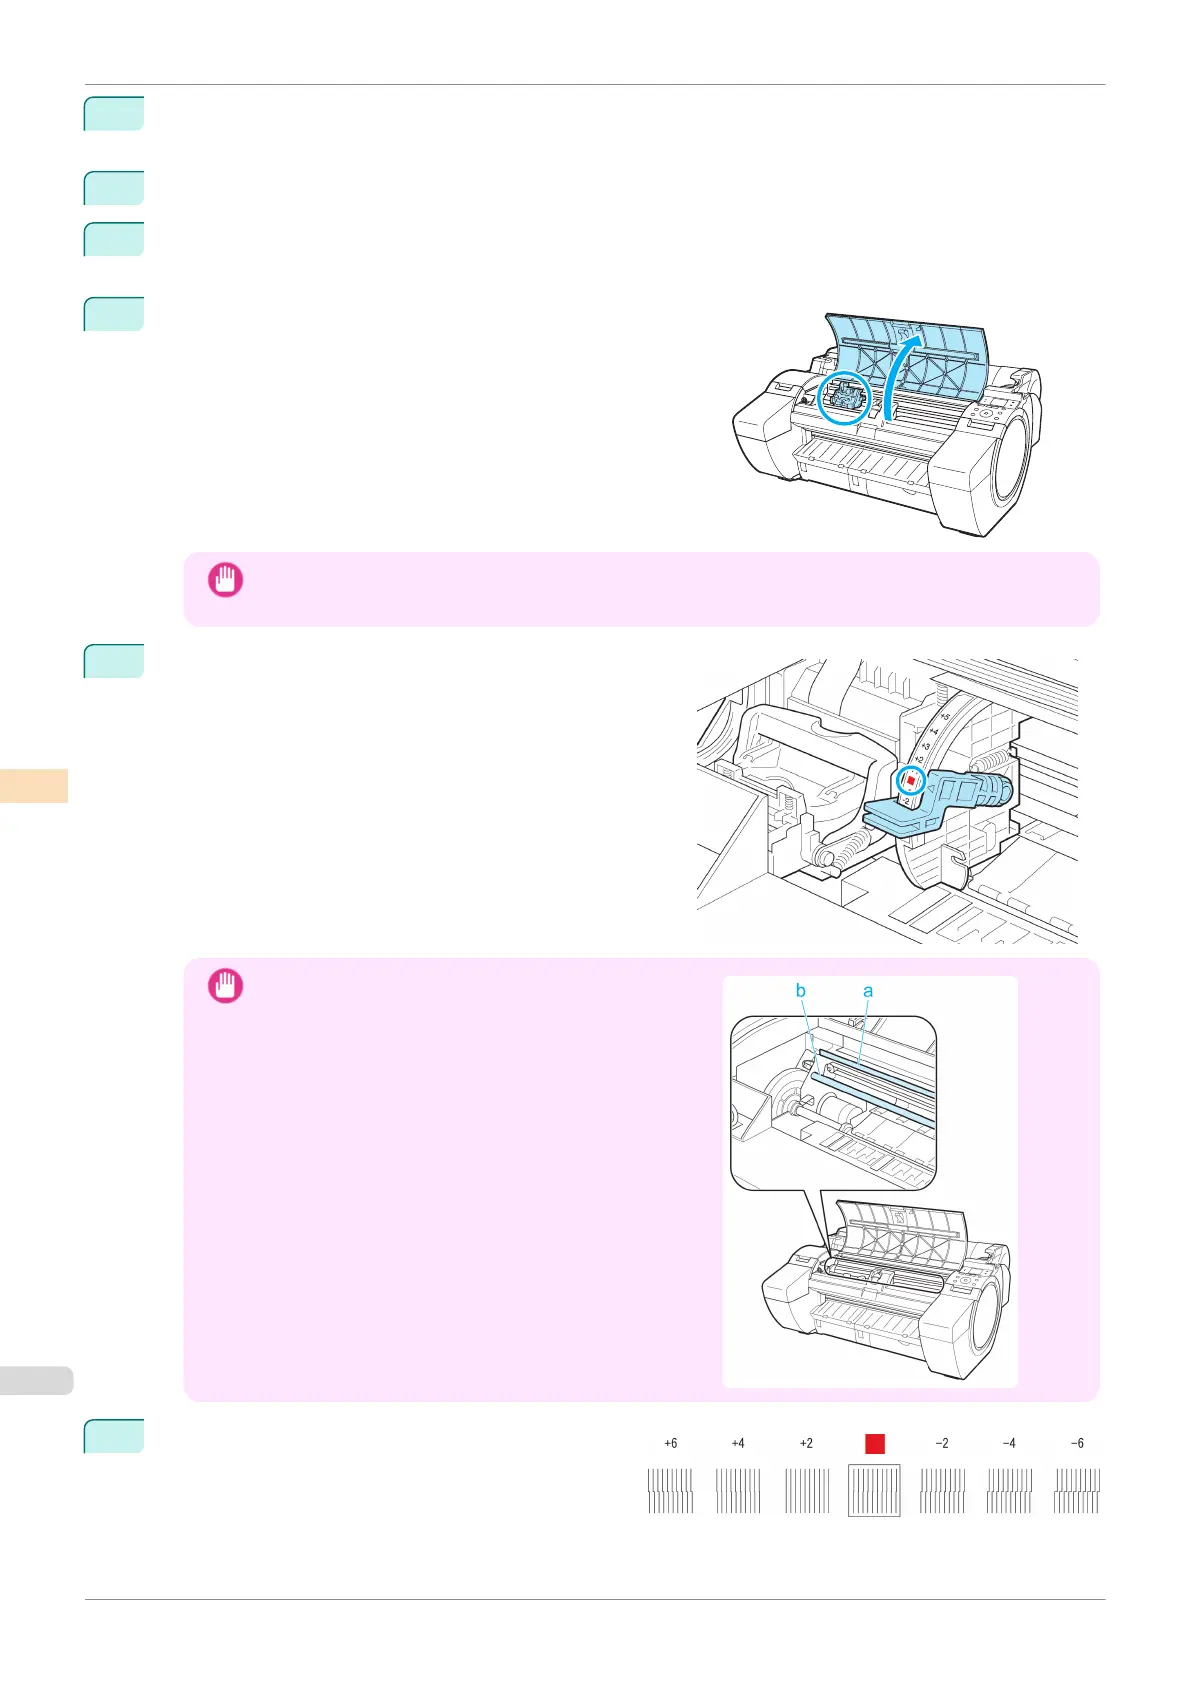
6
Open the Top Cover.
Important
•
If you accidentally move the Carriage, you will hear a warning tone. In this case, close the Top Cover.
7
Align the Angle Adjustment Lever with the red square and
close the Top Cover.
A test pattern is printed for adjustment.
Important
•
Do not touch the Linear Scale (a) or Carriage Shaft (b).
Touching these parts may damage them.
8
Examine the test pattern for adjustment. Determine
the straightest set of lines.
Adjusting Line Misalignment
iPF685
User's Guide
Adjustments for Better Print Quality Adjusting the Printhead
526
 Loading...