Chapter 7
7-14
c) ADJUST
Performs adjustments and prints the adjustment and check patterns necessary for adjusting the printer parts.
1) PRINT PATTERN
2) HEAD ADJ.
Set or initialize the registration adjustment values of each printheads.
3) NOZZLE CHK POS.
This mode is for adjusting the optical axis of the head management sensor. For details, refer to "Disassembly/Reassembly" > "Adjustment and Setup Items" > "Pro-
cedure after replacing the head management sensor".
4) GAP CLIB.
This mode measures the gap between the printhead and media by using the multi sensor and corrects the calibration value.
5) CHANGE LF TYPE
Change the type of the feed roller.
0: Old feed roller
1: New feed roller
Display Description
NOZZLE 1 Prints the nozzle check pattern by single direction/ single pass without using the non-discharging
back up.
It is used to check for the non-discharging nozzles.
- Media size: A4
- Media type: any
OPTICAL AXIS Prints the pattern and adjusts the optical axis of the multi sensor.
For details, refer to "Disassembly/Reassembly" > "Adjustment and Setup Items" > "Procedure
after replacing the carriage unit or multi sensor".
- Media type: photo glossy paper
LF TUNING Carry out automatic correction of eccentricity of the feed roller. For more details, refer to
"Disassembly/Reassembly" > "Adjustment and Setup Items" > "Procedure after Replacing the
Feed Roller or Feed Roller Encoder".
- Media type: Photo glossy paper
- Media size (width): 24 inches
LF TUNING 2 Carry out manual correction of eccentricity of the feed roller. For more details, refer to
"Disassembly/Reassembly" > "Adjustment and Setup Items" > "Procedure after Replacing the
Feed Roller or Feed Roller Encoder".
- Media type: Photo glossy paper
- Media size (width): 24 inches
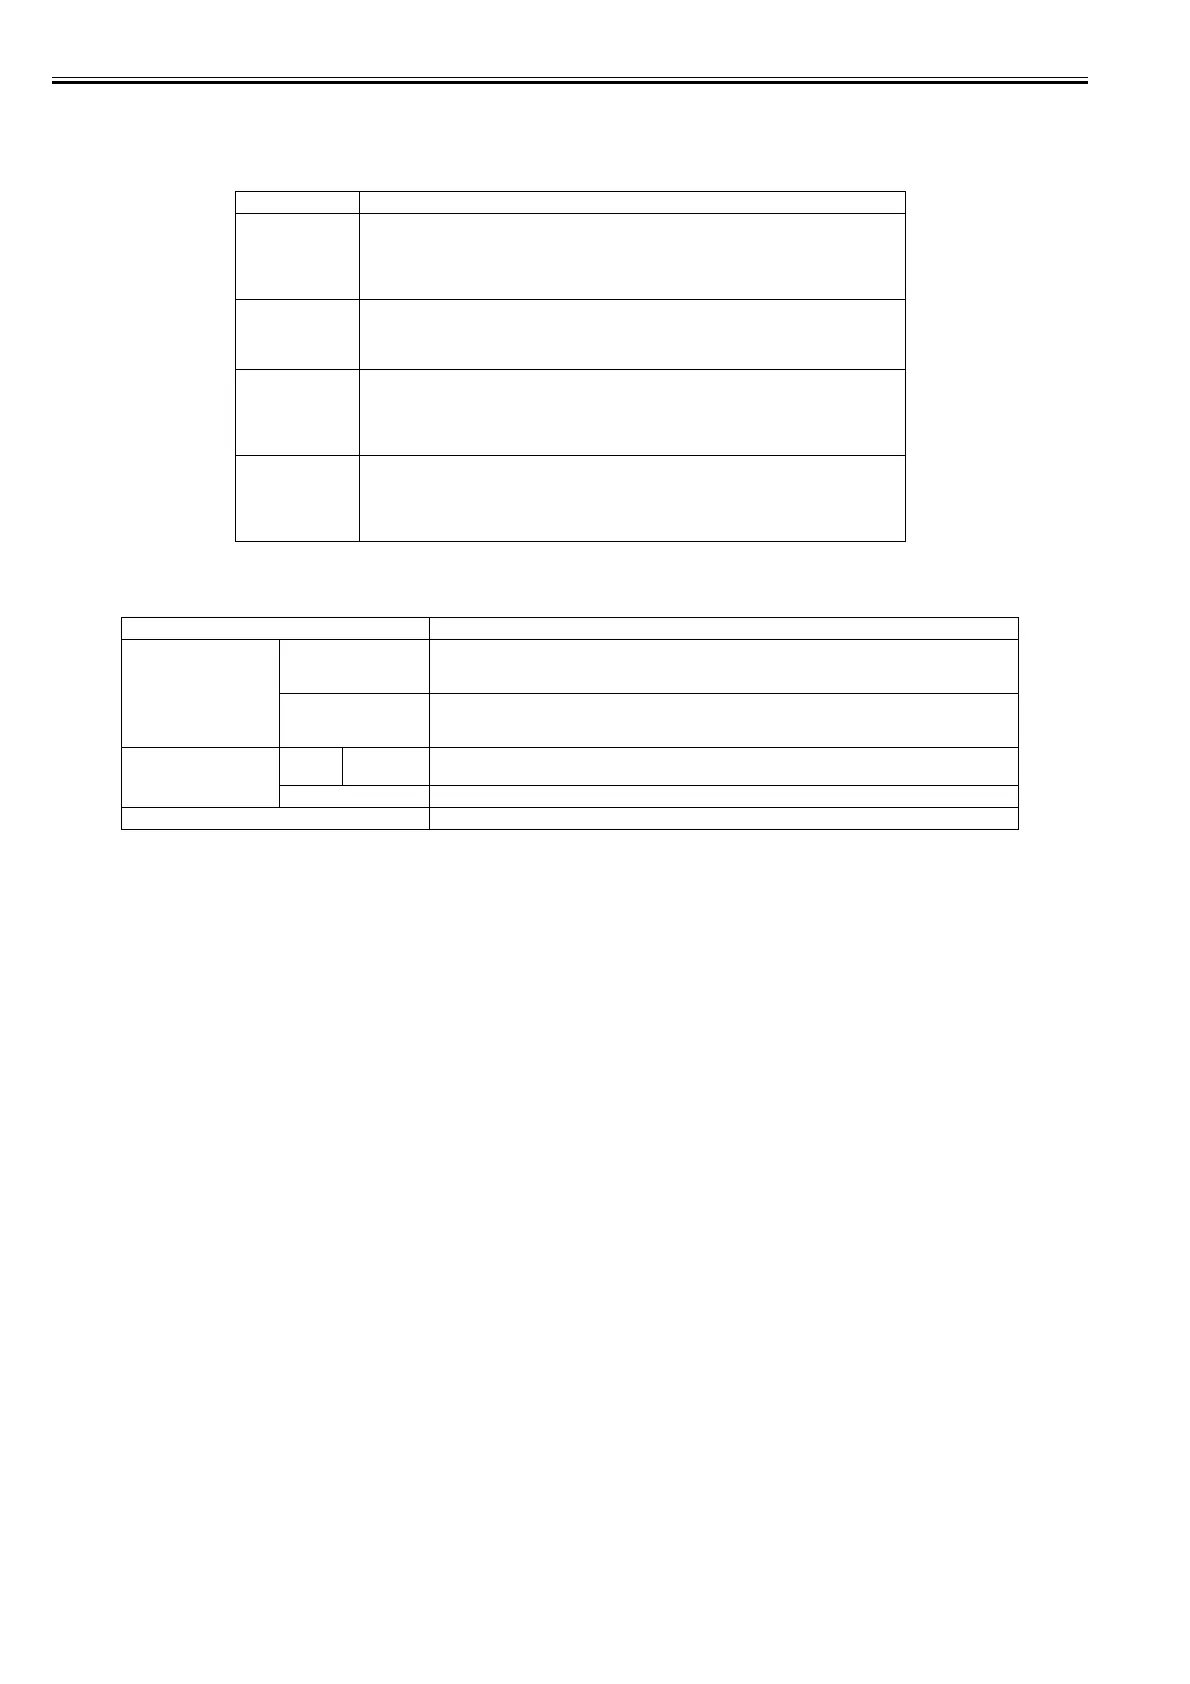
Display Description
MANUAL HEAD ADJ DETAIL Prints the detail patterns for the manual head adjustment.
After printing, the mode will change to [ADJ. SETTING]. Check the printed patterns and input the set
values.
BASIC Prints the basic patterns for the manual head adjustment.
After printing, the mode will change to [ADJ. SETTING]. Check the printed patterns and input the set
values.
ADJ. SETTING A to F A-1 to F-1 This mode is to input the registration adjustment values.
It is possible to return the values to the former one by printing the status print before changing the value.
SAVE SETTINGS Save the registration adjustment values that has been input.
RESET SETTINGS Initialize the registration adjustment values (to 0).