37
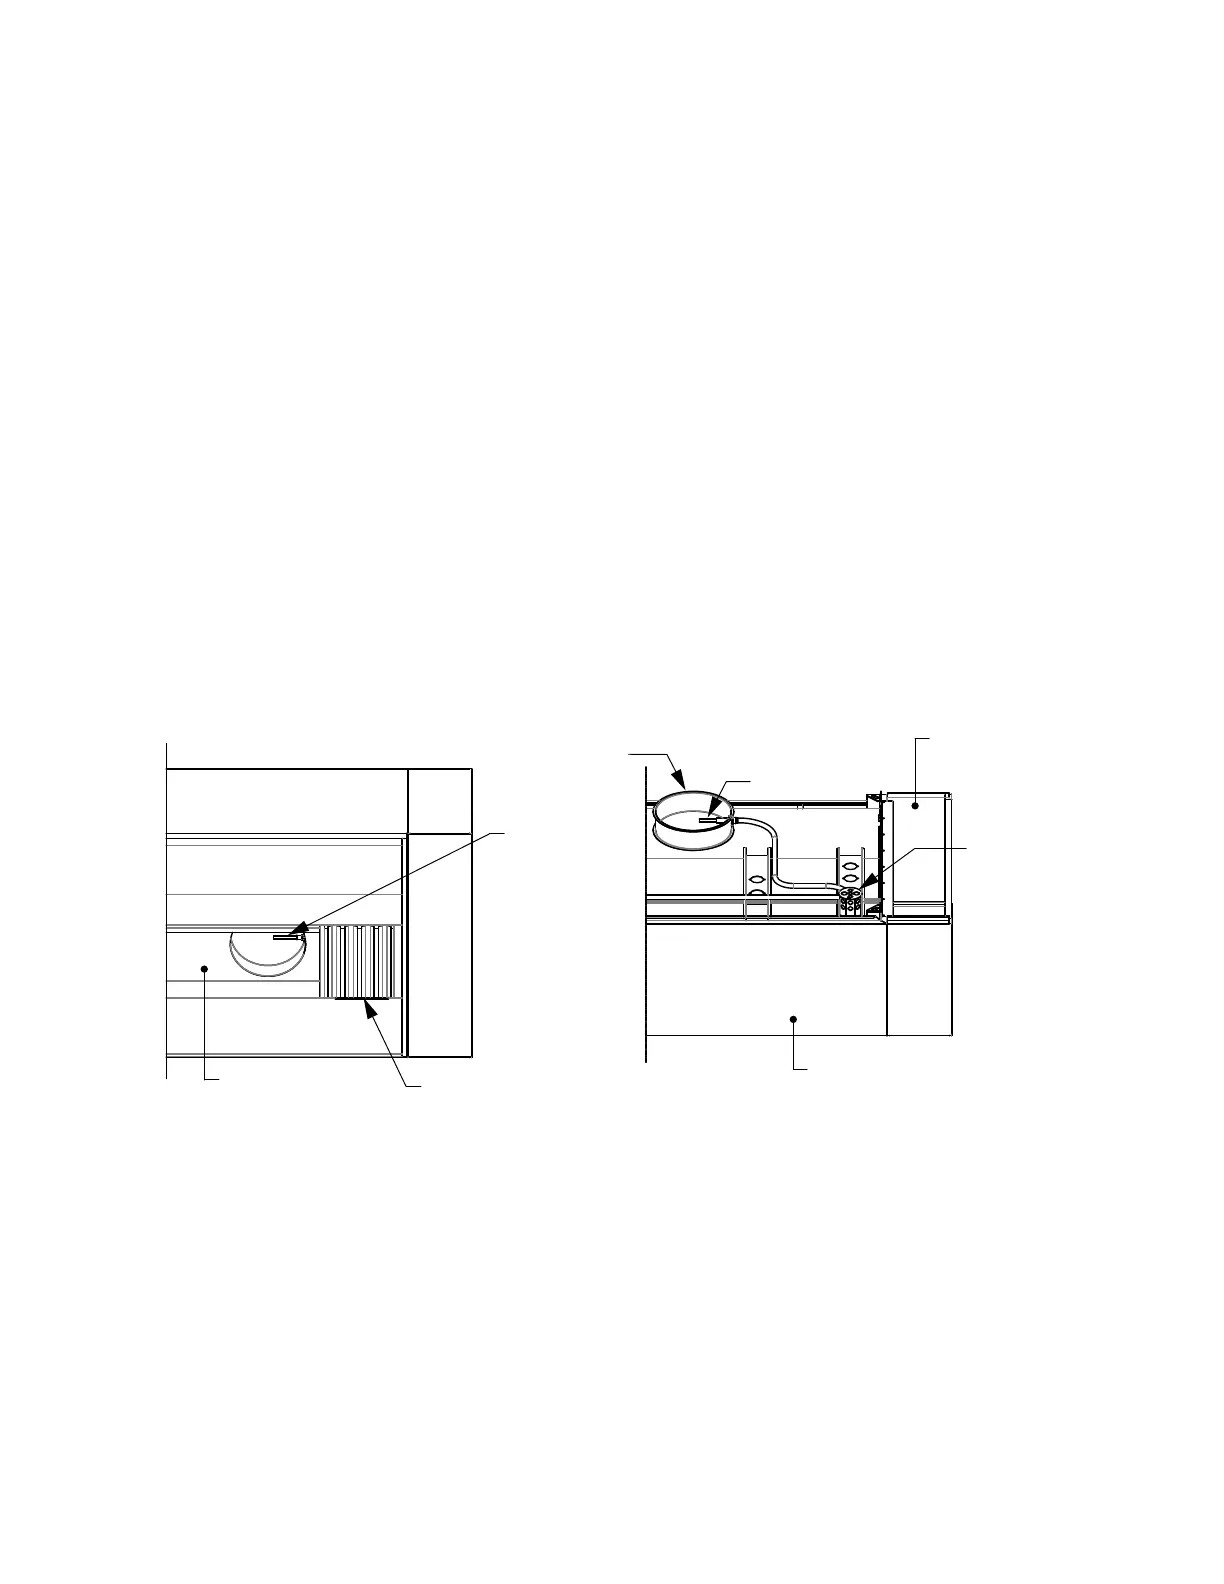
Hood Riser Sensor Replacement
The following instructions are for replacing a hood duct stat or fire stat located in the riser.
NOTE: Make sure the fire system is deactivated and all controls are powered down before servicing the
unit. Service should only be performed by trained personnel.
1. Locate faulty sensor in hood riser. Remove the hood filters to access from the hood plenum.
2. Determine the location of the sensor’s lead ends. This will either be on the top of the hood, in the junction box
which has conduit routed to the riser, or in the electrical control package that is mounted on the hood (if it is a
stand-alone hood).
3. Access the sensor’s lead ends and remove Wago connectors. Attach a fish tape (or pulling rope) to the lead
ends.
4. Unscrew the sensor from the quick seal in hood plenum. Pull leads completely out, pulling the fish tape until
exposed.
5. Attach replacement sensor to fish tape and pull back through conduit until lead ends are back in the original
location.
6. Replace Wago connectors on the new sensor’s lead ends.
7. Twist new sensor counterclockwise, 2-1/2 turns to pre-tension wires. Thread sensor in riser quick seal (using
Teflon tape on threads).
8. Replace hood filters.
9. Power up the system to test functionality.
Figure 37 - Sensor Replacement
Bottom View
Top View
Riser
Sensor
Filter
Hood
Riser
Riser
Sensor
Junction
Box
Electrical Control
Package (Optional)
Hood Plenum
Front of
Hood