19
pGD Touch +030221540 rel. 1.1 - 21.01.2015
ENG
The “Systems settings” menu is then displayed again, where the device’s
IP network address is shown. The terminal is now ready to communicate.
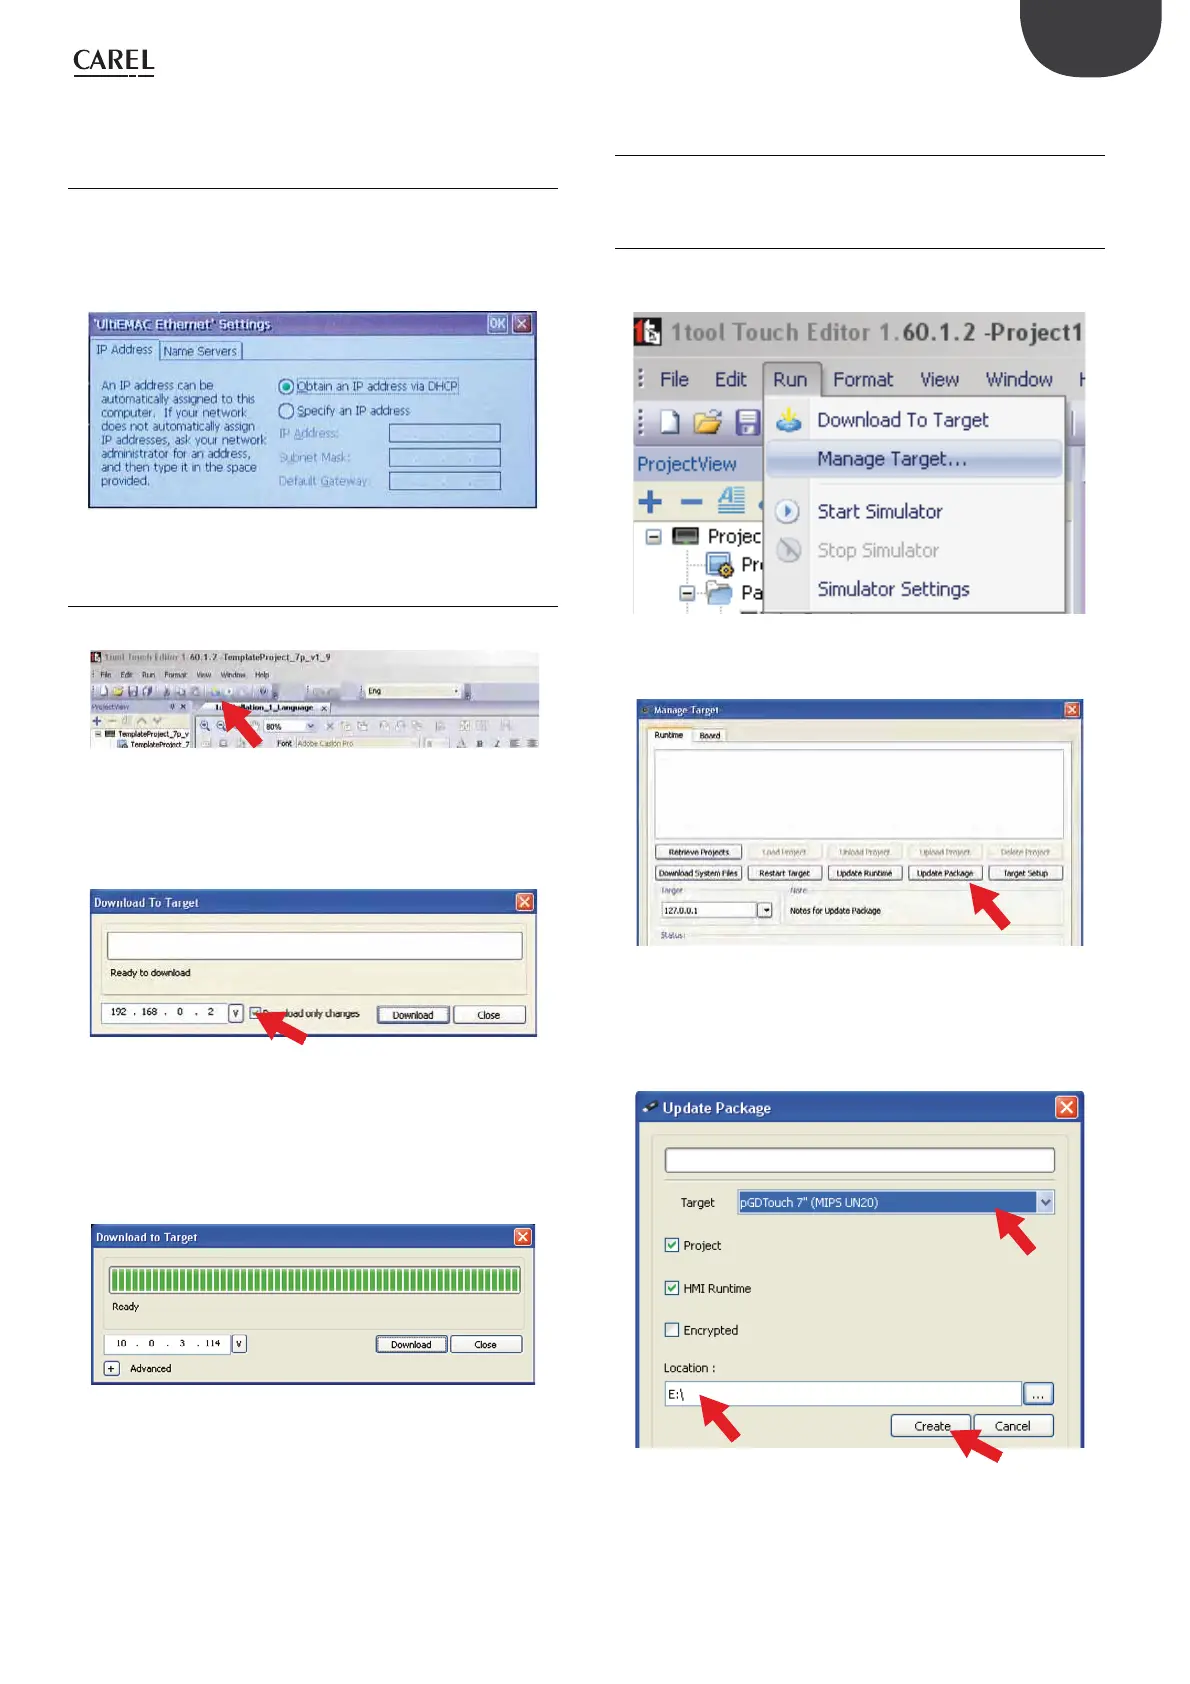
5.2.2 LAN connection
This connection refers to a DHCP server in the LAN. After having
connected the touchscreen terminal to the LAN, open the rotating menu,
select Network and then “Obtain an IP address via DHCP”. Select Ok and
return to the main menu, where the device’s IP network address is shown
(for example IP: 10.0.6.41).
Fig. 5.h
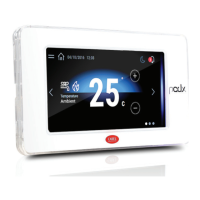
5.2.3 Copying the application program to the
terminal
From 1tool Touch Editor, select the “Download to Target” function.
Fig. 5.i
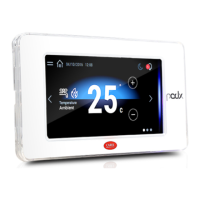
Press “V” to display the addresses of the devices currently connected to
the network. Select the device and press Download to start copying the
application.
Fig. 5.j
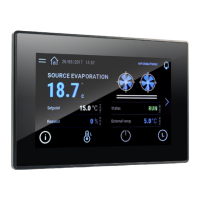
A progress bar is shown on the screen. At the end of the operation, “Ready”
is displayed to indicate that the copy procedure has been completed.
Select “Close”.
The terminal will then display the first page of the application program.
Fig. 5.k
5.3 Copy/update application program via
USB pendrive
The application program can be copied to the terminal using a USB
pendrive.
5.3.1 Preparing the package
In the 1Tool Touch Editor environment, open the project file, i.e. “*.jpr”.
Select: Run Î “Manage Target”.
Fig. 5.l
The following screen is shown: choose “Update Package”.
Fig. 5.m
A screen is displayed for selecting the size of terminal, the type of update
(project, HMI runtime) and the destination directory: choose the directory
on the USB pendrive. It may be useful to compress the file and/or save it
in encrypted format. Then select “Create”.
Fig. 5.n
After a few seconds, a message is shown to indicate that the
“UpdatePackage.zip” package has been created and saved on the USB
pendrive. Then remove the USB pendrive from the computer.