Installing the RTU Open
RTU Open v3 CARRIER CORPORATION ©2019
Installation and Start-up Guide All rights reserved
30
4 Verify your sensor readings.
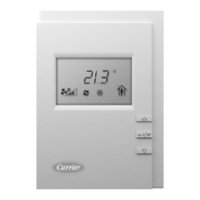
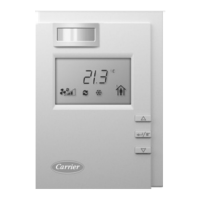
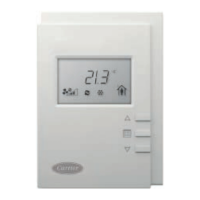
Part #33ZCSPTCO2LCD-01 (Display model)
Part #33ZCSPTCO2-01 (No display)
Part #33ZCT55CO2 (No display)
Part #33ZCT56CO2 (No display)
A CO
2
sensor monitors carbon dioxide levels. As CO
2
levels increase, the RTU Open adjusts the outside air
dampers to increase ventilation and improve indoor air quality. A CO
2
sensor can be wall-mounted or mounted in a
return air duct. Duct installation requires an Aspirator Box Accessory (Part #33ZCASPCO2).
The sensor has a range of 0–2000 ppm and a linear 4-20 mA output. The CO
2
sensor’s power requirements
exceed what is available at
- 1 and 4. Provide a dedicated 24Vac transformer or DC power supply.
Wiring specifications
Cable from sensor to controller: If <100 ft (30.5 meters) 22 AWG, unshielded
If >100 ft (30.5 meters) 22 AWG, shielded
Maximum length: 500 feet (152 meters)
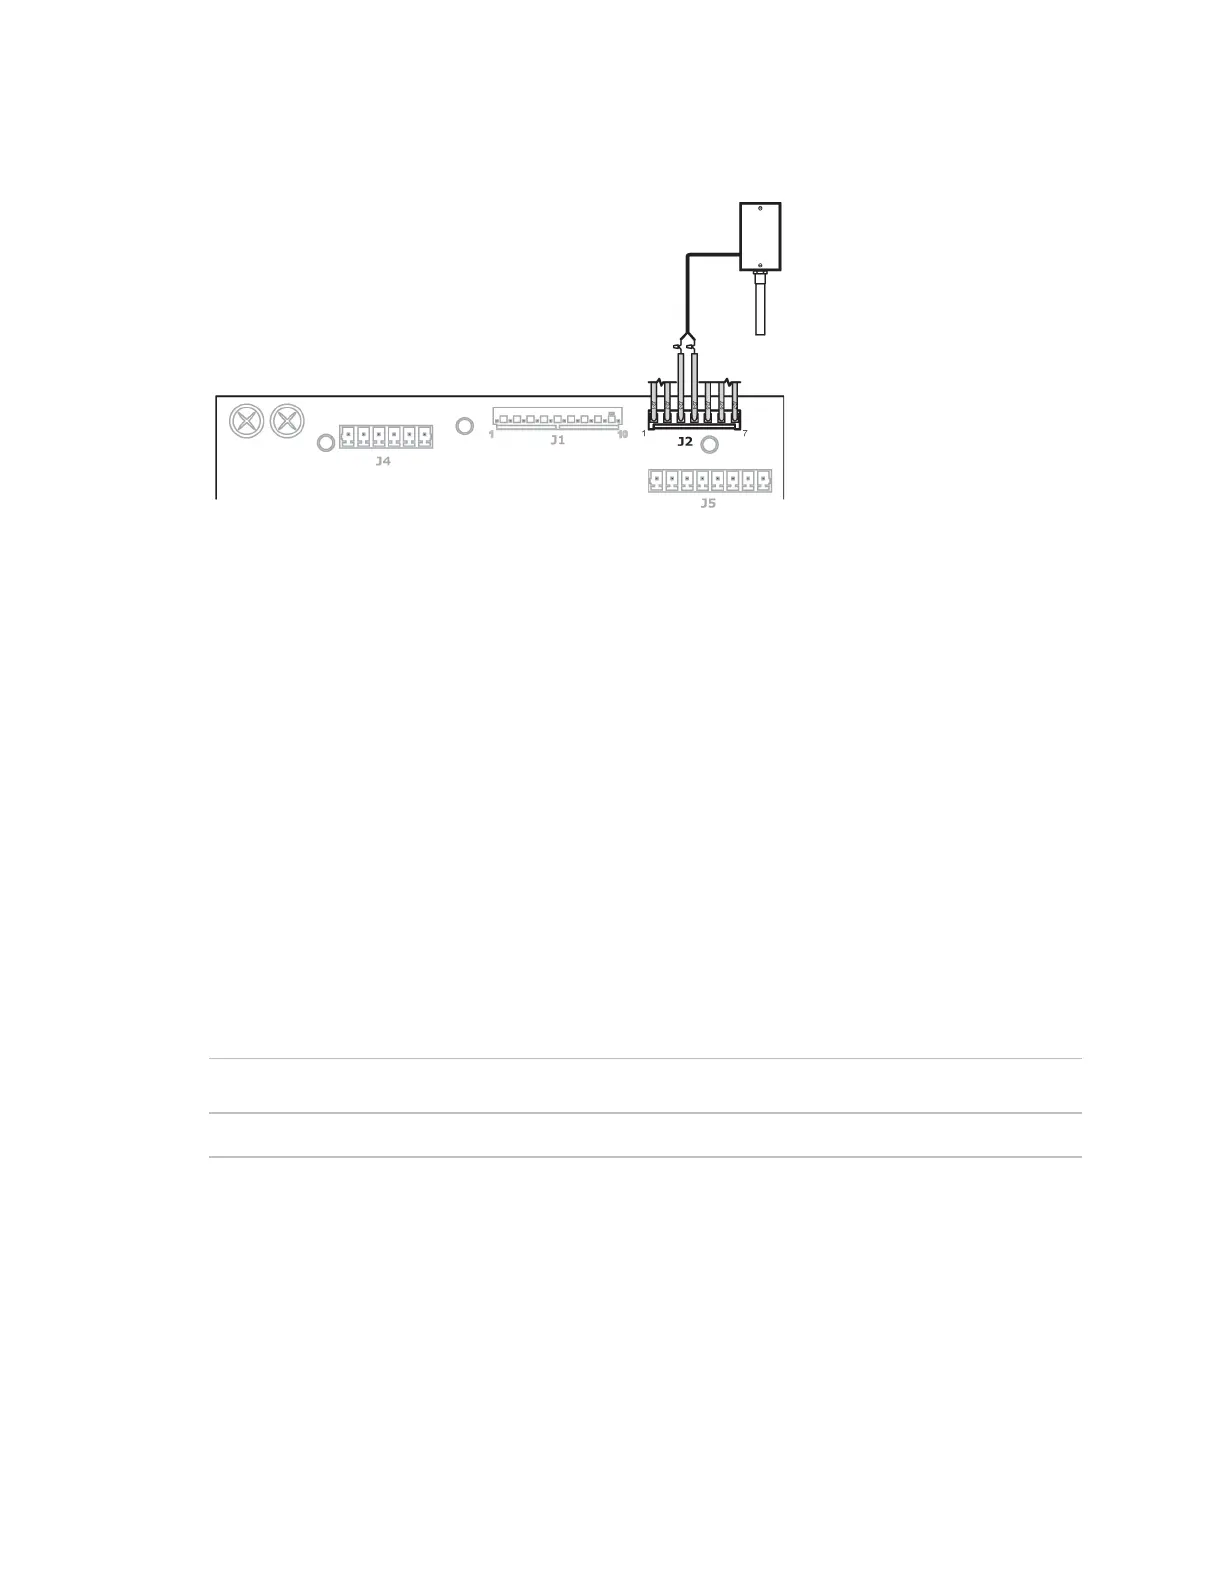
To wire a separate dedicated CO2 sensor to the controller
1 Wire the sensor to the controller. See appropriate diagram below.
2 Install a field-supplied dedicated 24 Vac transformer or DC power supply.
3 Wire the sensor to the controller.