4 x 5/16 x 2-3/8” Wafer Bolt
(5/16”atwasher)
4 x 5/16 x 2-1/8” Wafer Bolt
(5/16”atwasher)
Hardware
WB9
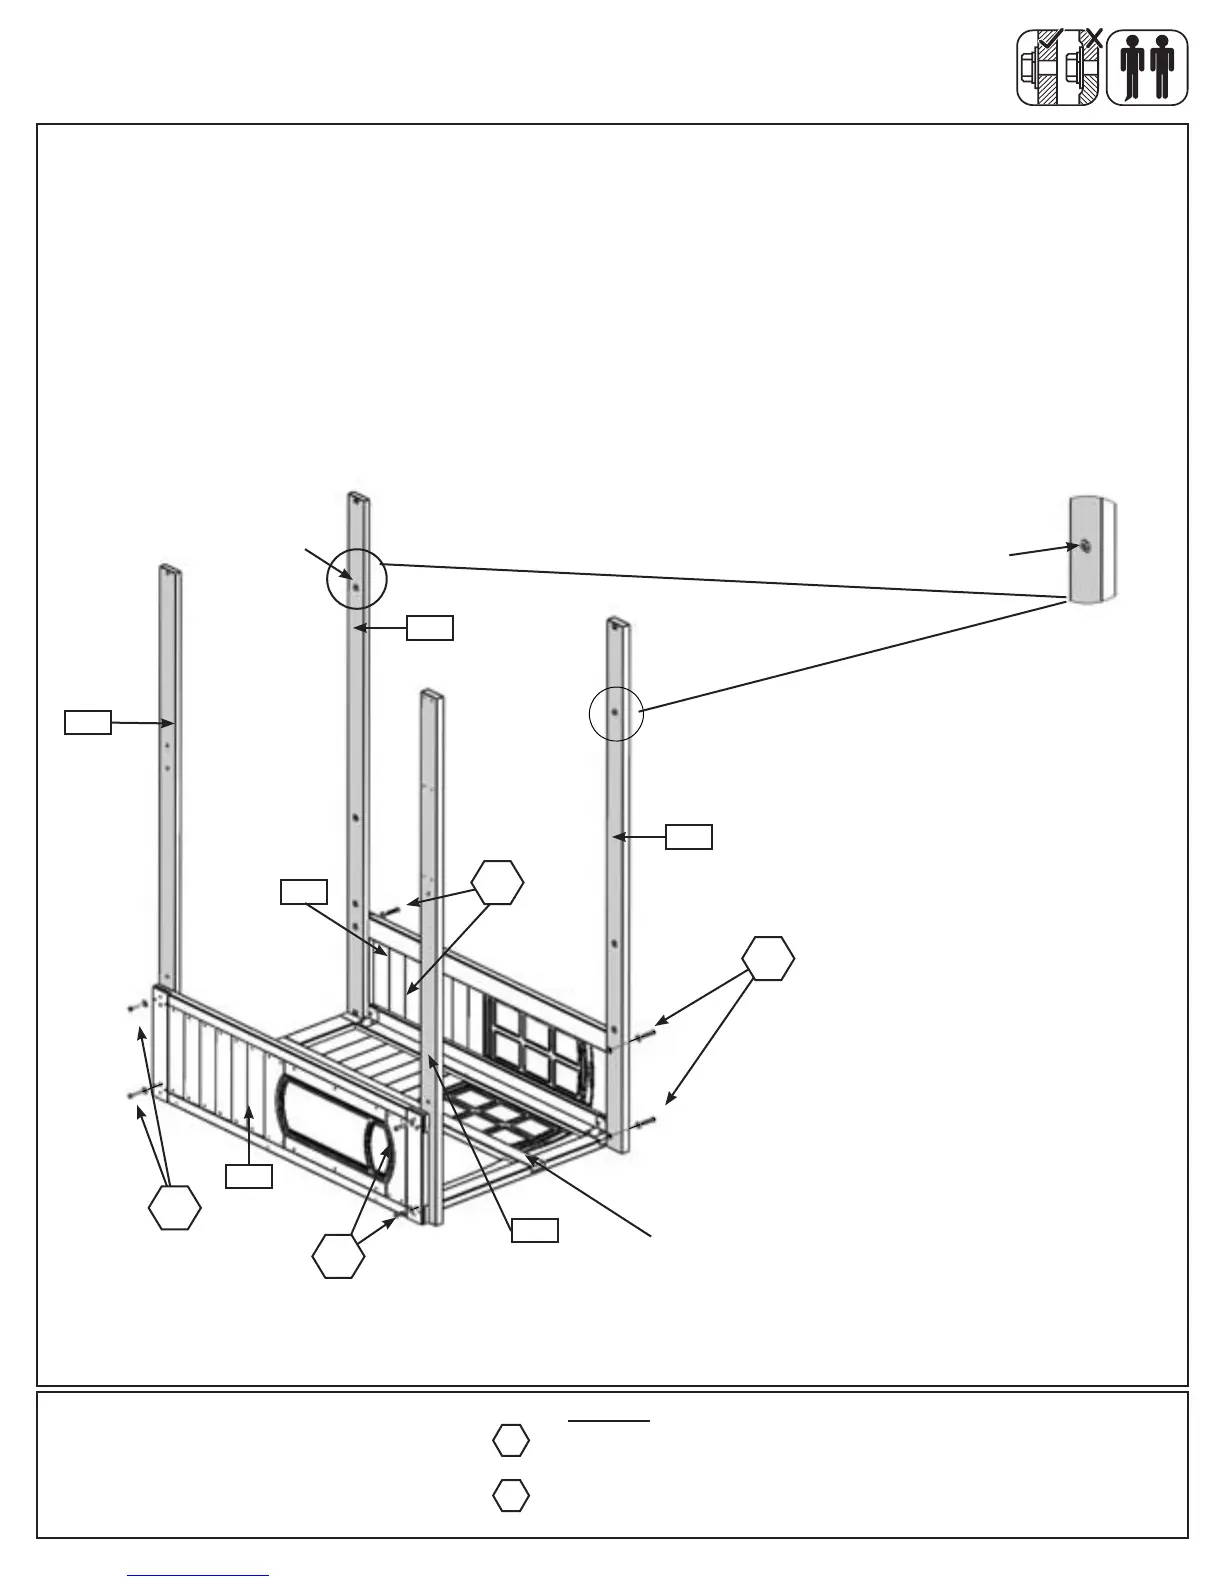
K: Starting at the bottom of the Door Wall Assembly, making sure the t-nuts are facing inward (g. 6.15), loosely
attach (063) Front Ground to (042) Chalkwall Panel with 2 (WB9) 5/16 x 2-1/8” Wafer Bolts (with at washer) and
(065) Back Ground to (060) Half Narrow Window Panel with 2 (WB9) 5/16 x 2-1/8” Wafer Bolts (with at washer)
as shown in g. 6.14.
L: Make sure the t-nuts are facing inward (g. 6.15) and loosely attach (062) Front Floor to (042) Chalkwall
Panel with 2 (WB8) 5/16 x 2-3/8” Wafer Bolts (with at washer) and (064) Back Floor to (060) Half Narrow
Window Panel with 2 (WB8) 5/16 x 2-3/8” Wafer Bolts (with at washer) as shown in g. 6.14.
.
Fig. 6.14
Notice T-Nuts are
facing inward
Top
with 5/16”
Flat Washers
WB8
Step 6: Door Wall Assembly
Part 6
WB8
with 5/16”
Flat Washers
WB9
Fig. 6.15
Notice T-Nuts are
facing inward
063
062
064
Bottom
042
060
065
WB8
WB9
Door Wall
Assembly
42 support@cedarsummitplay.com