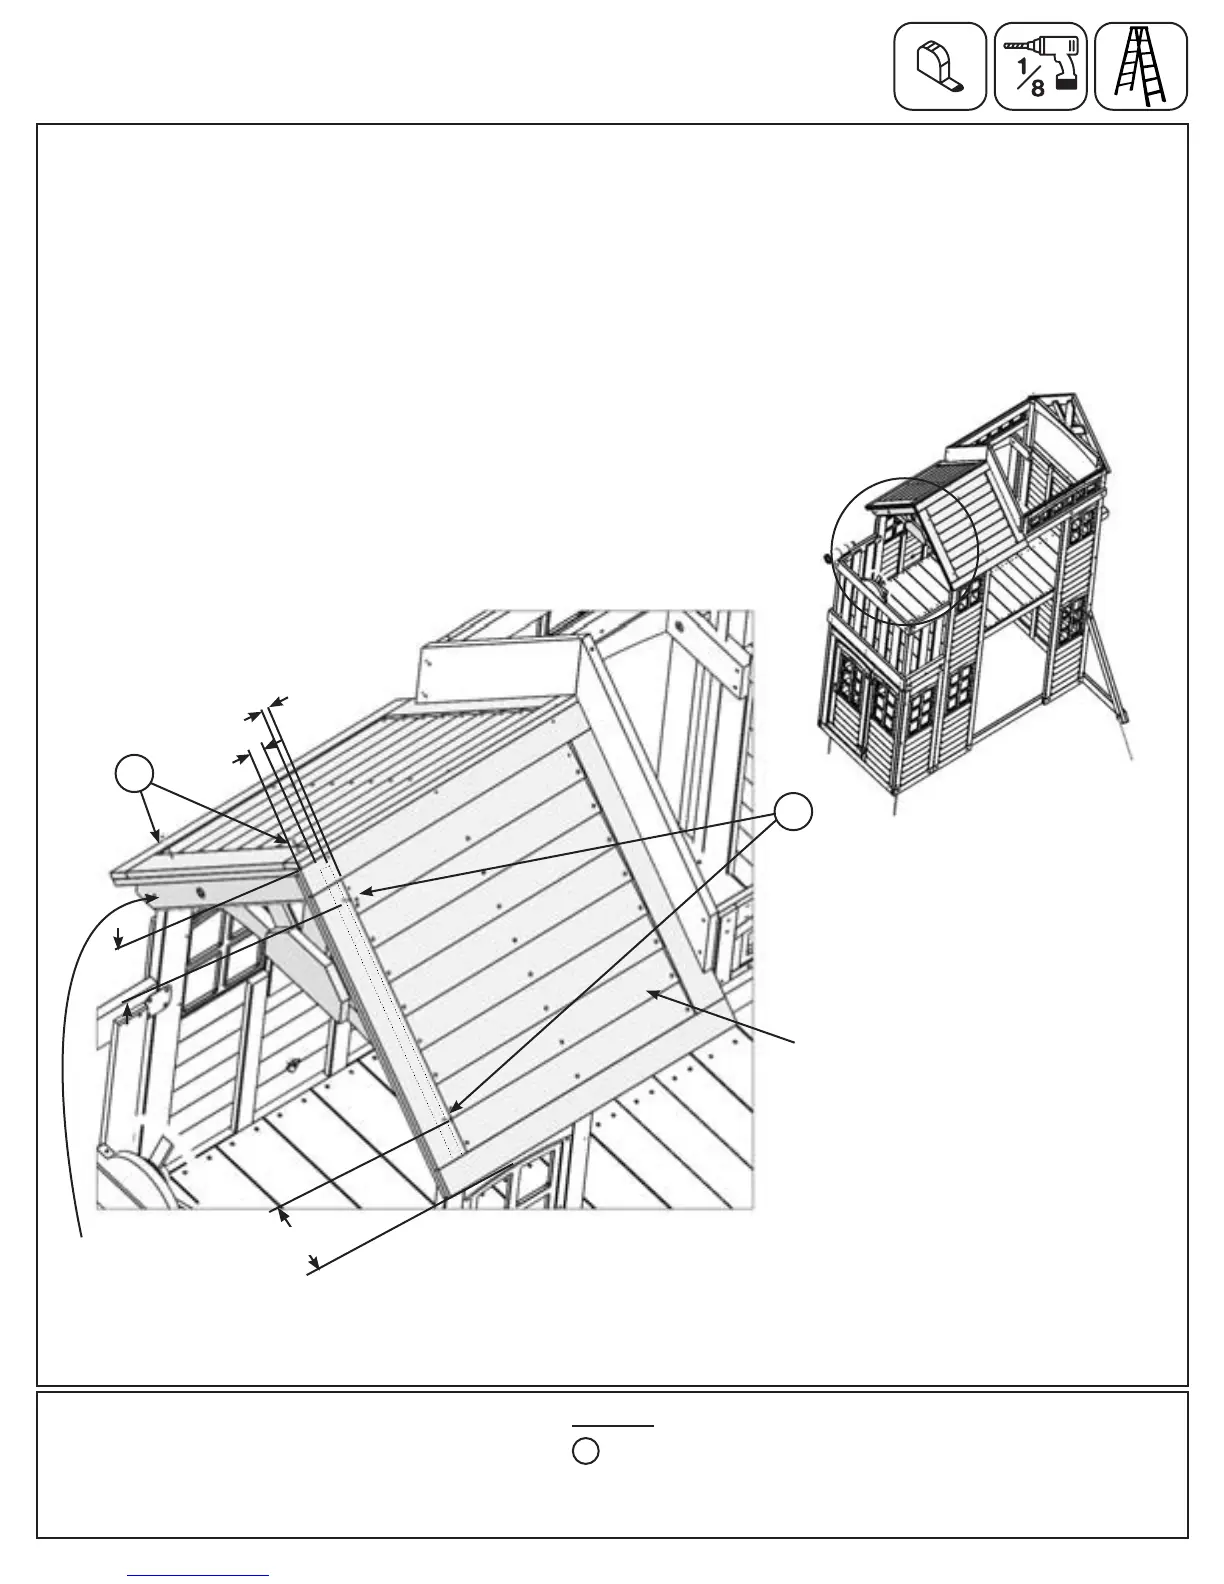
C: Make sure the Small Roof Assembly lays at on the Gable Angle Support Assembly and it overhangs by 2”.
(g. 24.2 and 24.3)
D: Measure 3/4” from the edge, 5” up from the ends of both panels and 5” down from the peak on each panel,
pre-drill with a 1/8” drill bit then attach the Small Roof Assembly to the Gable Angle Support Assembly with 2 (S3)
#8 x 2-1/2” Wood Screws per side, as shown in g. 24.3.
Hardware
4 x #8 x 2-1/2” Wood Screw
S3
Step 24: Attach Roof Assemblies to Fort
Part 2
Fig. 24.3
Small Roof Assembly
Fig. 24.2
Gable Angle Support
Assembly
2”
3/4”
5”
5”
S3
S3
91 support@cedarsummitplay.com