16 System Installation
10.4. If English is not the preferred language, select Language to scroll through, and select the applicable sys-
tem language.
NOTE
If the language is changed, the EDGE will reboot once the Save icon is selected.
10.5. Select Date Format to enter the desired format for displaying the date (MM/DD/YYYY, DD/MM/YYYY, or
YYYY/MM/DD).
10.6. Select Time Format to enter the desired format for displaying the time (12 Hour or 24 Hour).
10.7. Select the Date/Time tab, and set the correct Date and Time.
10.8. Additional System Settings can be adjusted at this time.
11. Verify Autosampler Calibration.
11.1. Select the System Menu icon in the bottom right corner of the screen.
11.2. Select Tools.
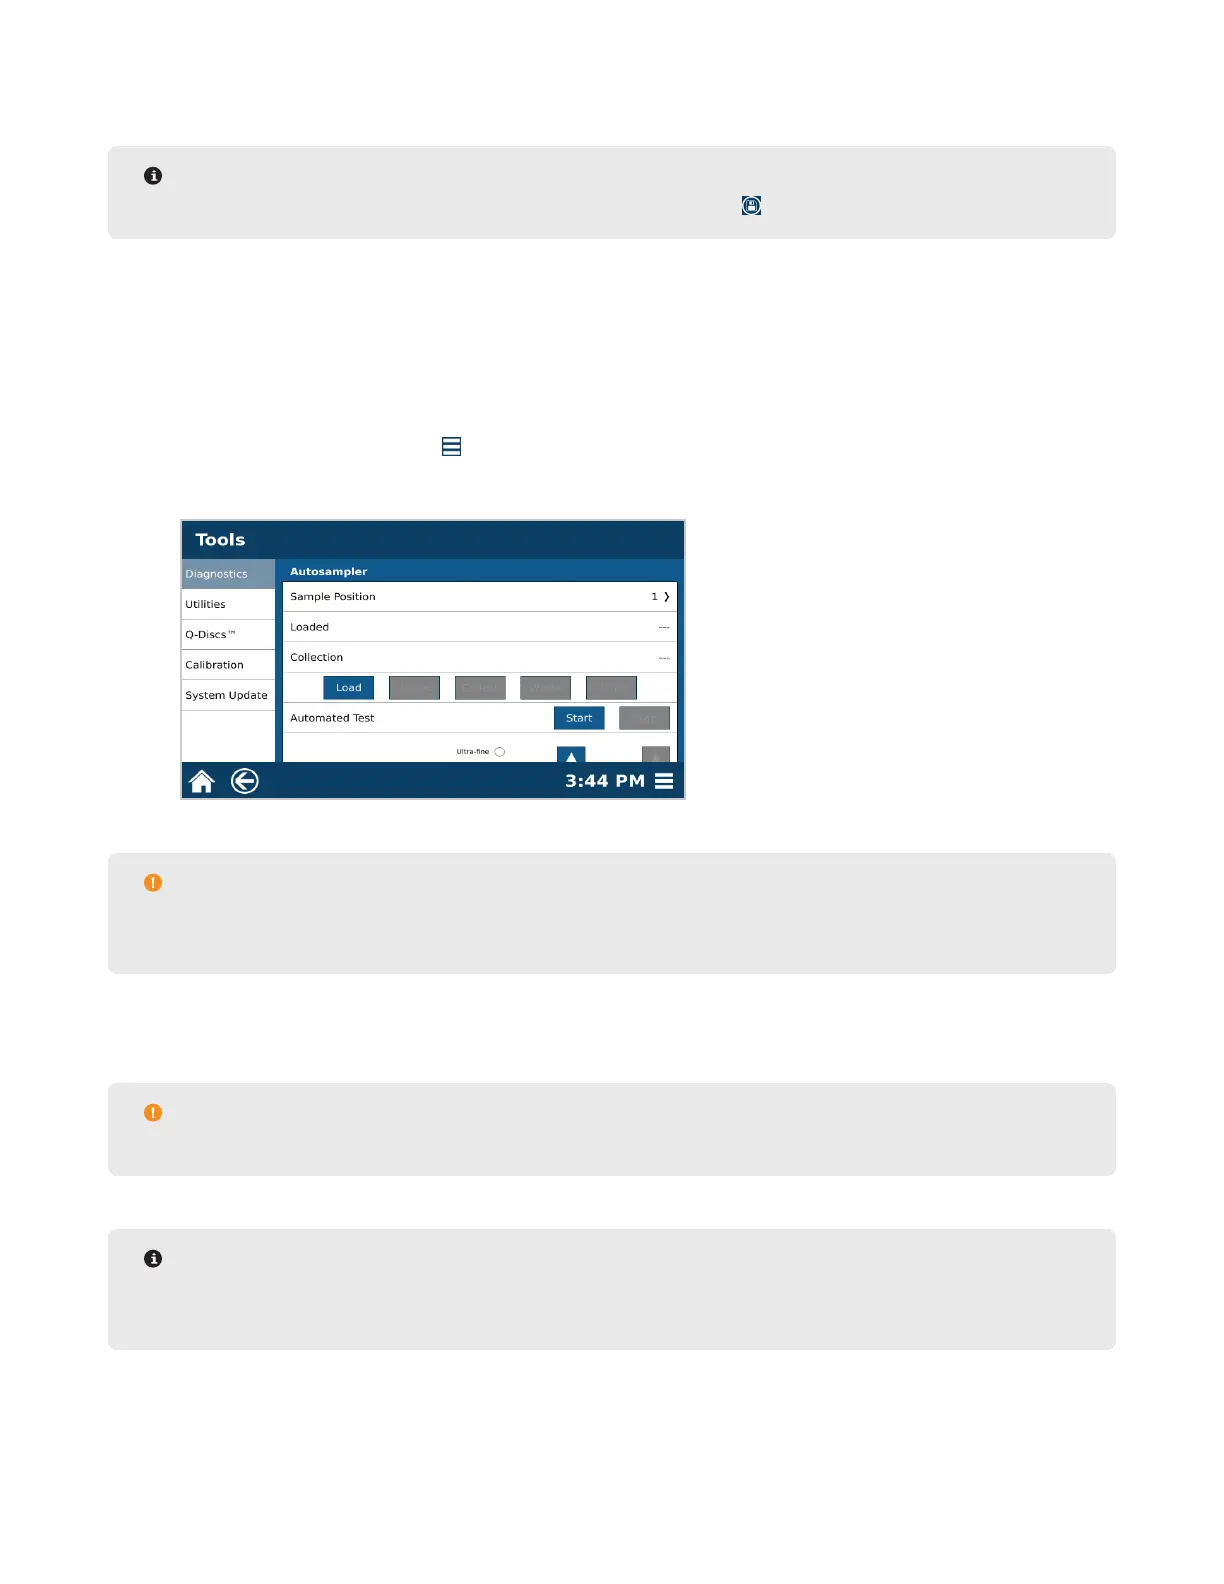
11.3. Scroll down to the bottom of the page to the Autosampler section.
CAUTION
When verifying the autosampler calibration, always select “Load,” “Collect,” and “Unload” in that order
without skipping a function.
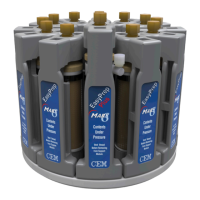
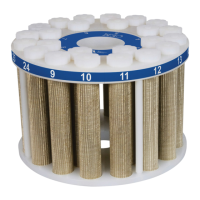
11.4. Place an assembled Q-Cup and collection vial/tube in position 4 of the rack. Remove the cap from the
vial/tube before placing in autosampler.
CAUTION
Remove cap from the vial/tube to prevent autosample obstructions and to allow extract collection.
NOTE
Position 4 is used to verify the calibration. Moving the Q-Cup to and from this location requires the most
distance traveled for all axes and is therefore the best test for the calibration.
11.5. Select “1” from Sample Position to display the sample position menu.