Set Up
The following steps illustrate how to attach an external instrument to a CH2 tester and how to
the instrument works in the Easy-Wire software. If your CH2 tester is not set up already, see
page 7.
Note: Measurement devices vary in appearance and are set up differently than EBox related
Power Supplies. See the instructions below to attach a measurement device, see Set Up on
page 52 to attach a power supply.
Setting up a Volt/Source Meter
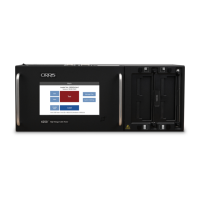
1. Plug the GPIB Converter or RS-232
Serial Cable into the connector on the
back of the external instrument, and
plug the other end into a USB port on
your PC.
2. Plug one end of the power cord into
the back of the external instrument
and plug the other end into a
grounded outlet.
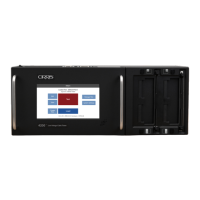
3. Place the external instrument near the
CH2 base. On the front of the meter
plug in the two sense wires and the
two force wires of the External
Instrument Interface Cable.
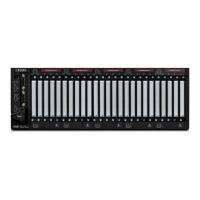
4. Plug the connector end of the External
Instrument Interface Cable into the last
set of test points on the CH2 system.
GIPB or RS-232
Serial Connector
(location may vary)
Power connector
(location may vary)
Last set of test
points on the CH2