IP Phone startup verification
After the conference phone has power connected to it, it begins the startup diagnostic process by cycling
through the following steps.
1
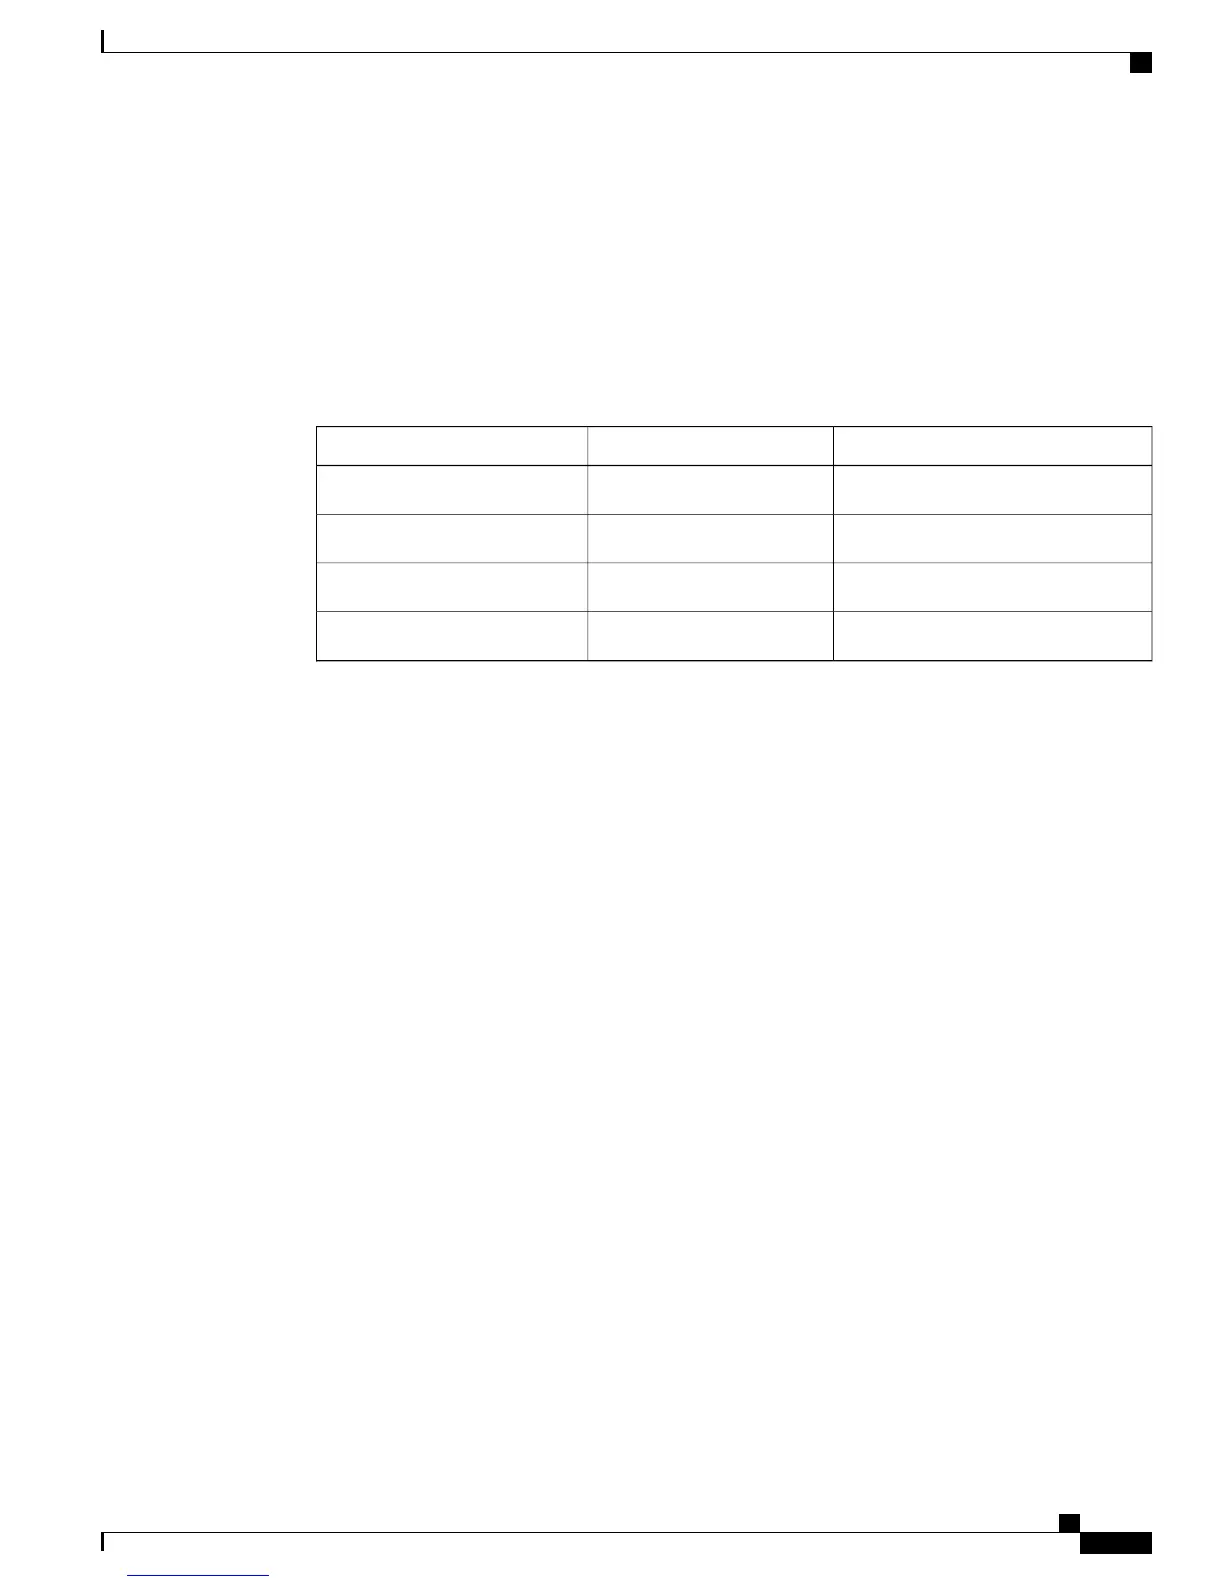
The specified LED buttons flash on and off during the various stages of boot up as the conference phone
checks its hardware. See the following table for a list of the hardware test and the LED diagnostic status.
Table 17: LED diagnostic status
DCU LEDsSound Base LEDsHardware Test
Red and Green LEDs flashGreen LEDs flashPower is Ready
Red and Green LEDs flashGreen LEDs flashFlash is Accessible
Red and Green LEDs flashGreen LEDs flashRAM Test Successful
——
Ethernet Test Successful
2
The screen displays the Cisco Systems, Inc., logo screen.
3
The screen displays the Revolabs, Inc., splash screen
4
This message appears as the conference phone starts up.
•
Phone is not registered
5
The home screen displays:
•
Current date and time
•
Primary directory number
•
Softkeys
If the conference phone successfully passes through these stages, it has started up properly. If the conference
phone does not start up properly, see Startup problems, on page 123.
Network settings
If you are not using DHCP in your network, you must configure these network settings on the conference
phone after installing it on the network:
•
IP address
•
IP subnet information (subnet mask)
•
TFTP server IP address
•
You also may configure the domain name and the DNS server settings, if necessary.
Cisco Unified IP Conference Phone 8831 Administration Guide for Cisco Unified Communications Manager 9.0
55
Cisco Unified IP Conference Phone 8831 installation
IP Phone startup verification
 Loading...