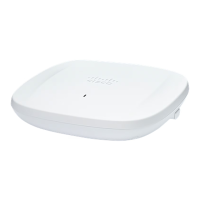
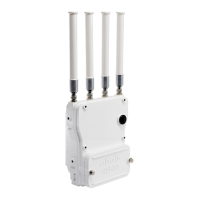
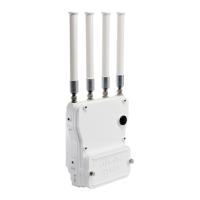
Table 9: Cisco Catalyst Wireless 9163E AP Reduced Power Feature Matrix
GNSSBLEEthernet
mGig
Scan
Radio
dBmRadio
2
dBmRadio
1
dBmRadio
0
PoE-in/DC
Input
SKU
Per
Path
SSPer
Path
SSPer
Path
SS
6-GHz Primary
radio
5-GHz
Primary
radio
2.4-GHz
radio
YN1Gdisabled—disabled
171x1171x1.3af (15.4W)C9163E
YY2.5GenabledAFC
assigned
2x2222x2222x2.3at (30W)
Connecting a Power Injector
The AP supports the following power injectors:
Table 10: Supporting Power Injectors
DescriptionPower Source
30 W rated single-port PoE injectorAIR-PWRINJ6=
65 W rated single-port PoE injector (802.3bt), mGig EthernetAIR-PWRINJ7=
37 W rated power injectorIW-PWRINJ-60RGDMG=
30 W rated single-port PoE injector
This power injector is in End of Life (EoL)
stage.
Note
MA-INJ-4
60 W rated PoE injector (802.3bt), mGig EthernetMA-INJ-6
The power injector provides with DC voltage to the AP over the Ethernet cable and supports a total end-to-end
Ethernet cable length of 100 m (328 ft) from the switch to the AP.
When an optional power injector powers your AP, follow these steps to complete installation:
Procedure
Step 1 Before connecting the PoE to the AP, ensure that the AP is grounded (see Grounding the Access Point, on
page 27).
Step 2 Identify the components needed for the installation, see the Typical Access Point Installation Components,
on page 14.
Step 3 Connect a CAT5e or better Ethernet cable from your wired LAN network to the power injector.
Cisco Catalyst Wireless 9163E Access Point Hardware Installation and Deployment Guide
29
Installing the Access Point
Connecting a Power Injector