24 Copyright © 2024 Cisco Systems, Inc. All rights reserved.D15519.02 | 2024 JANUARY | Cisco Room Kit EQX Installation Guide
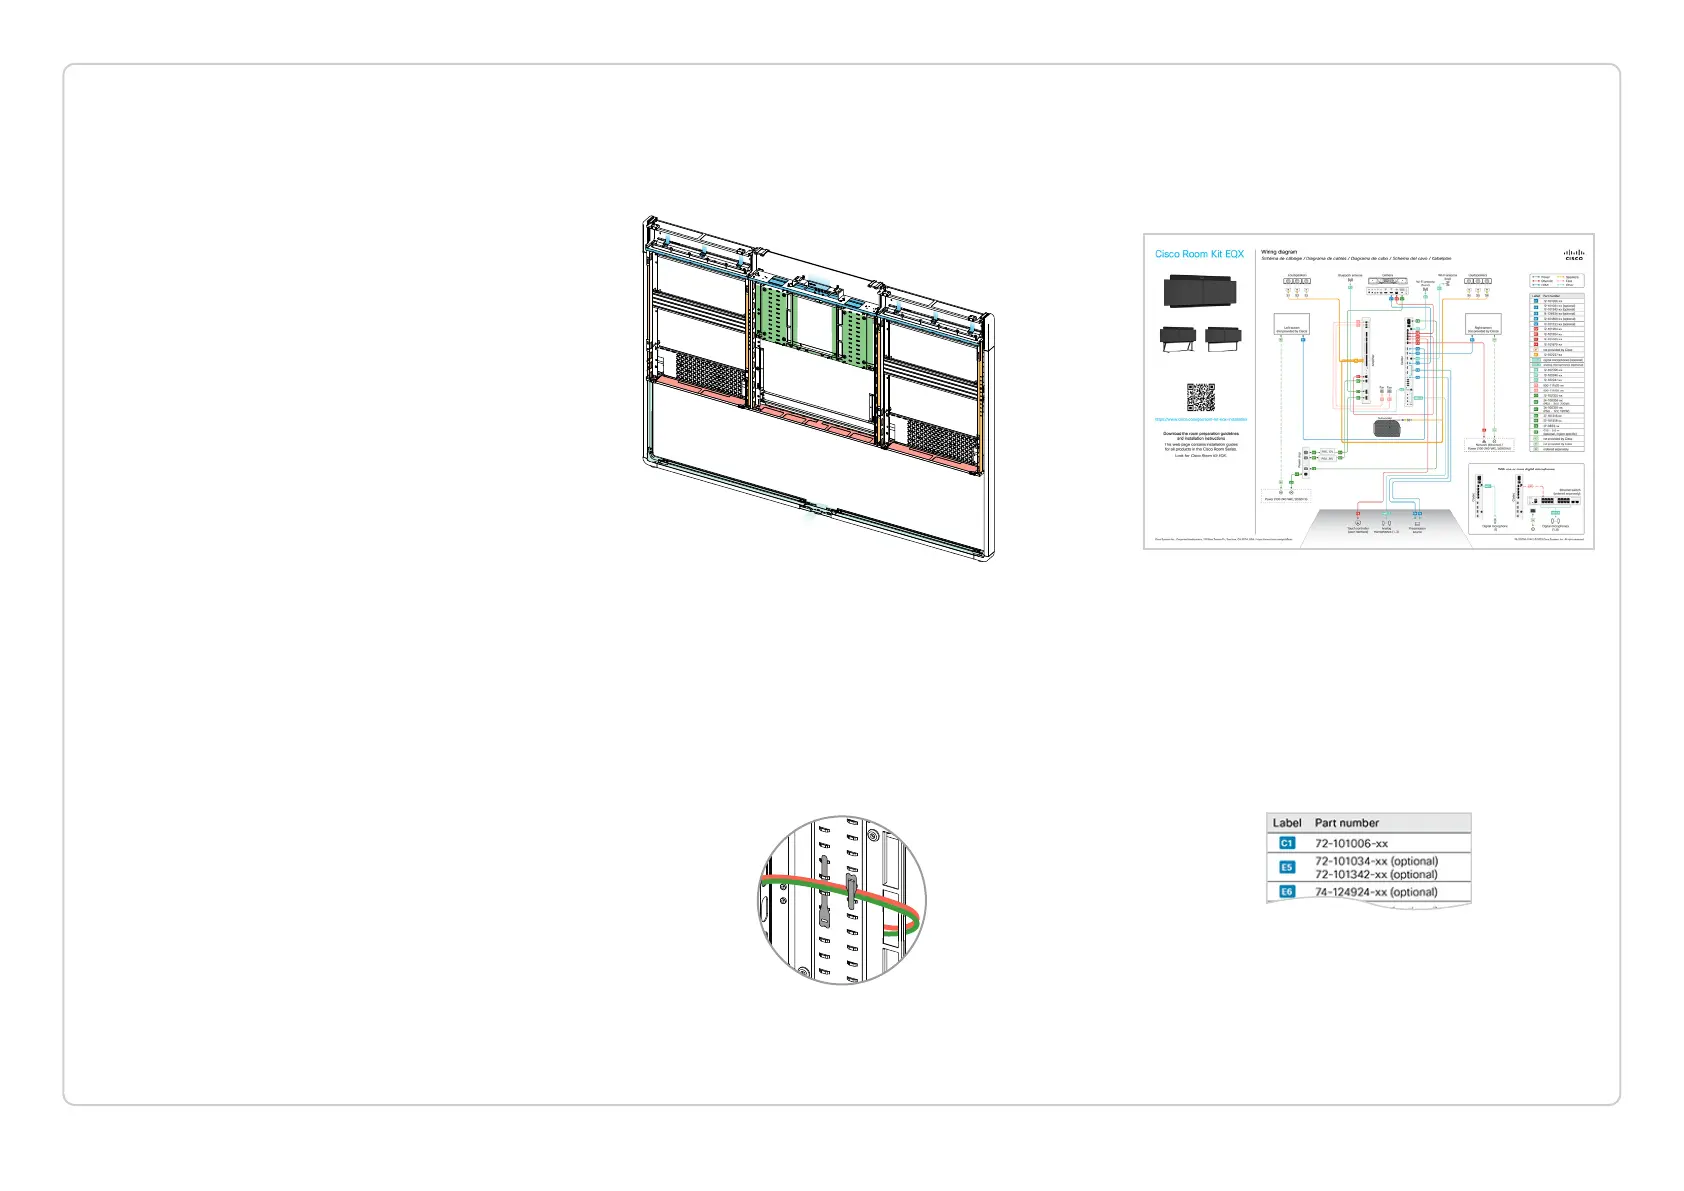
Wiring diagram
A full wiring diagram is shipped with the product. It is also
available online, at https://www.cisco.com/go/room-kit-eqx-
installation
The wiring diagram also gives guidance how to route the
cables.
Cable marking
Each cable has a part number, which is printed on the cable.
The installation guide and wiring diagram refer to cables by a
label, for easy reference.
The wiring diagram has a table that maps each label to a part
number.
Where are the cables
The cables are in the accessory kit boxes (Box: Acc 1, Acc 2).
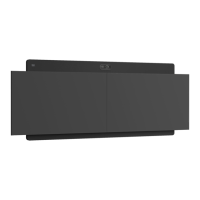
Cable routing
The colored areas in this illustration show the main areas for
cable routing. See more details on the next page.
In each step, we show the recommended route for that
specific cable; without explicitly showing which hole to
thread each and every cable through.
Organize cables neatly using velcro
We strongly recommend that you fasten the cables to the
steel structure with velcro straps (Box: Center kit). This is to
avoid strain on cables and connectors, to avoid rattling noise,
and for a neat and tidy look.
The steel structure is equipped with many fastening points
for velcro straps.
The 3 nylon cable ties
(Box: Center kit) are for securing the
camera cables in step 12.3.
ABOUT CABLING
In the next mounting step you start connecting cables.
Here are some important notes for a correct, nice, and tidy
cabling.
Do not connect to power yet!
Do not connect any power cables to wall socket outlets
before step “28. Finish-up” on page 72.