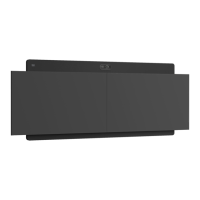
4 Copyright © 2024 Cisco Systems, Inc. All rights reserved.D15519.02 | 2024 JANUARY | Cisco Room Kit EQX Installation Guide
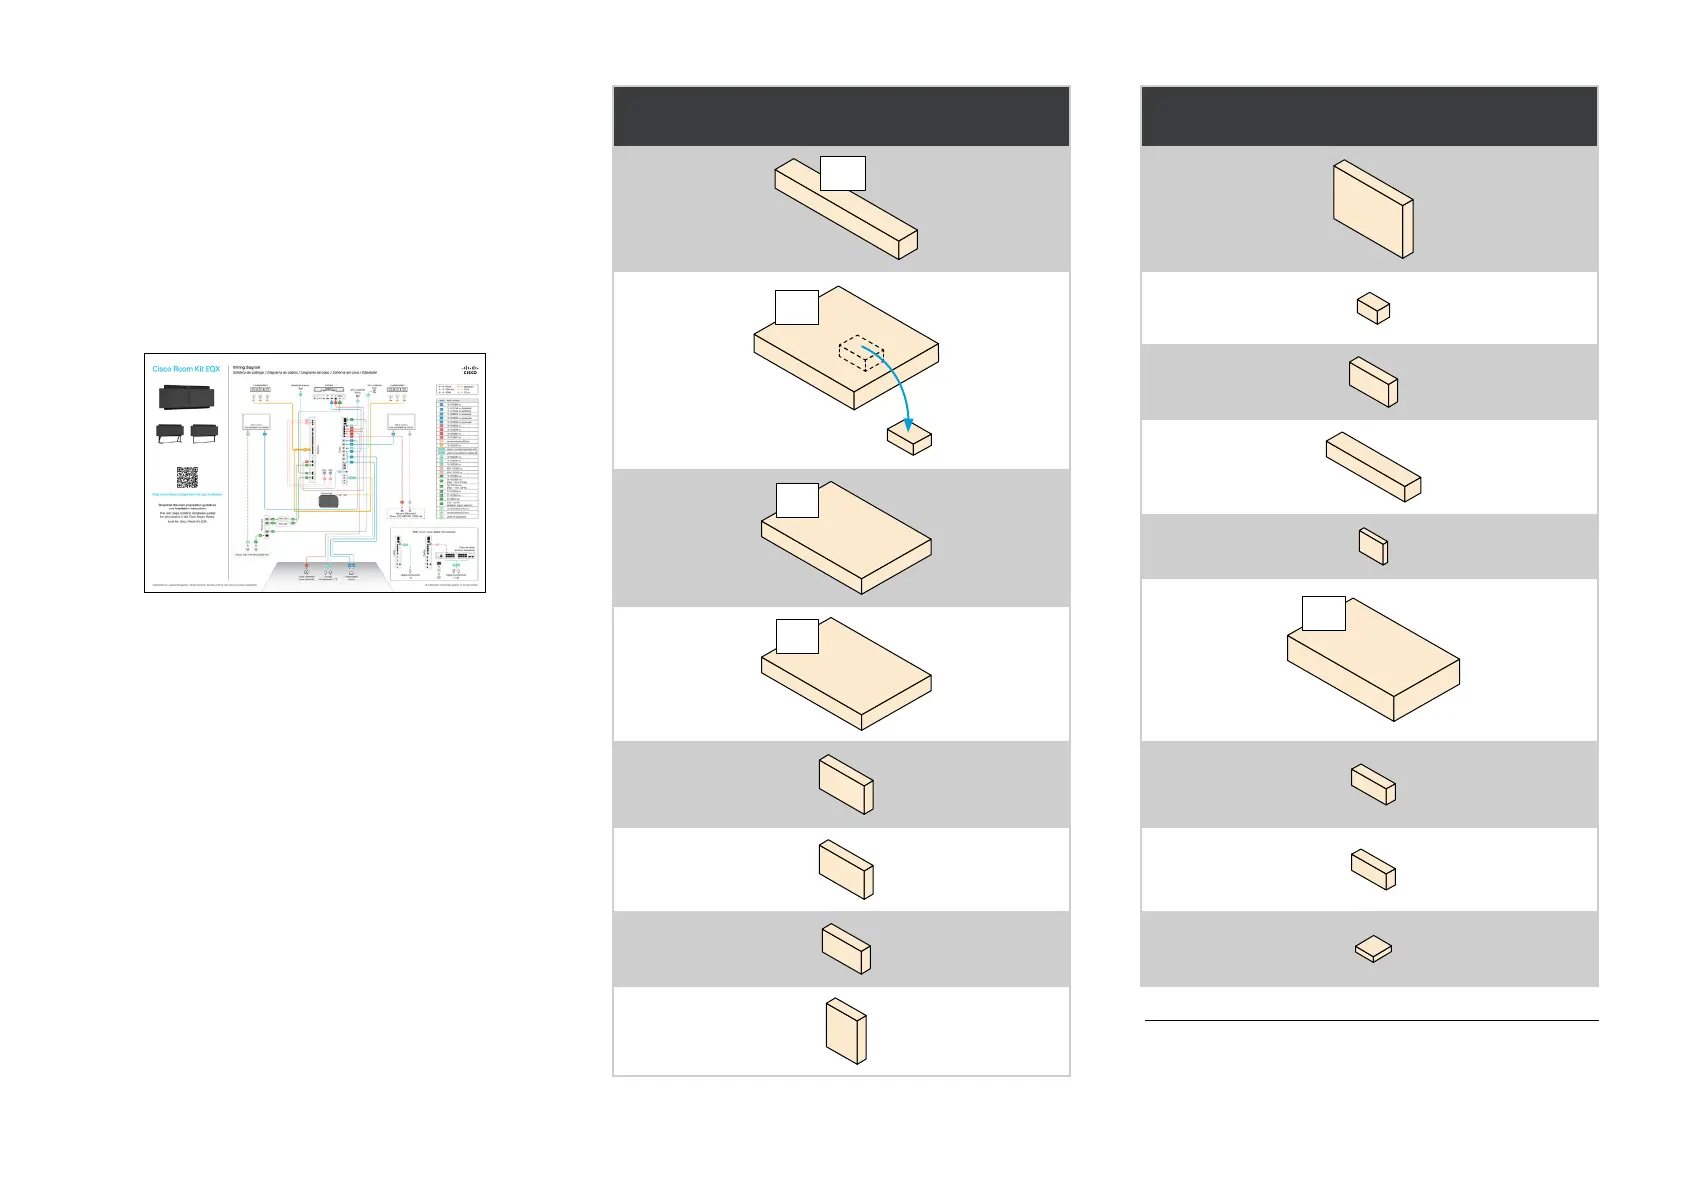
PACKAGING
You have received a pallet with several boxes. Except for
the screens, which are not provided by Cisco, these boxes
include the parts you need to install the wall mount version of
Room Kit EQX.
When installing the system, you start with the mounting kit,
which is in the box marked with A.
You find the complete wiring diagram and some information
about the boxes just below the overpack lid on the pallet.
Additional components required
• Two screens
Refer to the Room preparation guidelines online for
screen requirement details and recommended screens.
• Microphones (only if you have not included Cisco
microphones in your order).
• Ethernet switch (only if you have more then one digital
microphone, such as Cisco Table Microphone Pro).
We recommend the switches covered in the
Configuration of Cisco CBS250, CBS350, and C1200
switches for use with Cisco video collaboration devices
technical paper online.
Boxes on pallet
Reference
used in this
guide
Wall stand kit
1
A
A
Center module
1
Includes box
with brackets
and other
components
B
B
Center kit
Side module 1
1
C
C1
Side module 2
1
C
C2
Cisco Codec EQ
Codec
Cisco DNAM IV
Amplifier
Amplifier
Accessory kit 1
Acc 1
Loudspeakers
Speakers
Boxes on pallet
Reference
used in this
guide
Bass
Bass
Fans
Fans
Accessory kit 2
Acc 2
Cisco Quad
Camera
Camera
Cisco Room
Navigator
Navigator
Grilles
1
D
D
Screen bracket 1
Bracket 1
Screen bracket 2
Bracket 2
Cisco Table
Microphone Pro
(optional)
2
Table Mic Pro
1
The box has a white label, as shown in the illustration, to help finding
the box on the pallet.
2
If you have ordered Cisco Table Microphone Pro (maximum 3), they are
shipped in separate boxes on the pallet. If you have ordered the Cisco
Table Microphone (maximum 3), they are shipped in Accessory kit 2.