You must log in again after changing your password:
Step 1
Click Next on the Welcome page of the wizard. The Configure Device — IP Address window appears.
Step 2
Click Dynamic IP Address (DHCP) (recommended) to receive an IP address from a DHCP server, or click Static IP
Address to configure the IP address manually. For a description of these fields, see IPv4 Configuration, on page 9.
Step 3
Click Next. The Configure Device — Set System Date And Time window appears.
Step 4
Choose your time zone, and then set the system time automatically from an NTP server or manually. For a description
of these options, see Time, on page 15.
Step 5
Click Next. The Configure Device — Set Password window appears.
Step 6
Enter a New Password and enter it again in the Confirm Password field.
Uncheck Password Complexity to disable the password security rules. However, we strongly recommend
keeping the password security rules enabled. For more information about passwords, see Security, on page 30.
Note
Step 7
Click Next. The Configure Radio 1 — Name Your Wireless Network window appears.
Step 8
Enter a Network Name. This name serves as the SSID for the default wireless network.
Step 9
Click Next. The Configure Radio 1 — Secure Your Wireless Network window appears.
Step 10
Choose a security encryption type and enter a security key. For a description of these options, see Configuring Security
Settings, on page 45.
Step 11
Click Next. The Configure Radio 1— Assign The VLAN ID For Your Wireless Network window appears.
Step 12
Choose the VLAN ID for traffic received on the wireless network.
We recommend that you assign a different VLAN ID from the default (1) to the wireless traffic, in order to segregate it
from the management traffic on VLAN 1.
Step 13
Click Next. Repeat the step 9 to step 14 to configure the settings for Radio 2 interface.
Step 14
Click Next. The Enable Captive Portal — Create Your Guest Network window appears.
Step 15
Select whether or not to set up an authentication method for guests on your network, and click Next.
If you click No, skip to Step 23.
If you click Yes, the Enable Captive Portal — Name Your Guest Network window appears.
Step 16
Specify a Guest Network Name.
Step 17
Click Next. The Enable Captive Portal — Secure Your Guest Network window appears.
Step 18
Choose a security encryption type for the guest network and enter a security key. For a description of these options, see
Configuring Security Settings.
Step 19
Click Next. The Enable Captive Portal — Assign the VLAN ID window appears.
Step 20
Specify a VLAN ID for the guest network. The guest network VLAN ID should be different from the management
VLAN ID.
Step 21
Click Next. The Enable Captive Portal — Enable Redirect URL window appears.
Step 22
Check Enable Redirect URL and enter a fully qualified domain name (FQDN) or IP address in the Redirect URL field
(including http://). If specified, the guest network users are redirected to the specified URL after authenticating.
Step 23
Click Next. The Summary — Confirm Your Settings window appears.
Step 24
Review the settings that you configured. Click Back to reconfigure one or more settings. If you click Cancel, all settings
are returned to the previous or default values.
Step 25
If they are correct, click Submit. Your setup settings are saved and a confirmation window appears.
Step 26
Click Finish.
The WAP device was configured successfully. You are required to log in again with the new password.
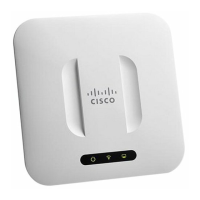
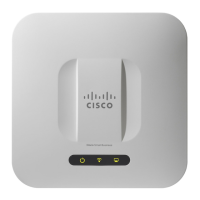
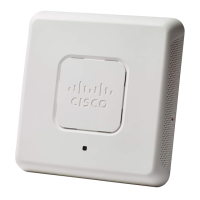
Cisco WAP125 Wireless-AC/N Dual Band Desktop Access Point with PoE
3
Getting Started
Using the Access Point Setup Wizard
 Loading...

