Chapter 3 Disassembly and Maintenance
3-7. Adjustment (Transparent/Reflective Sensor)
3-41 CL-E720DT
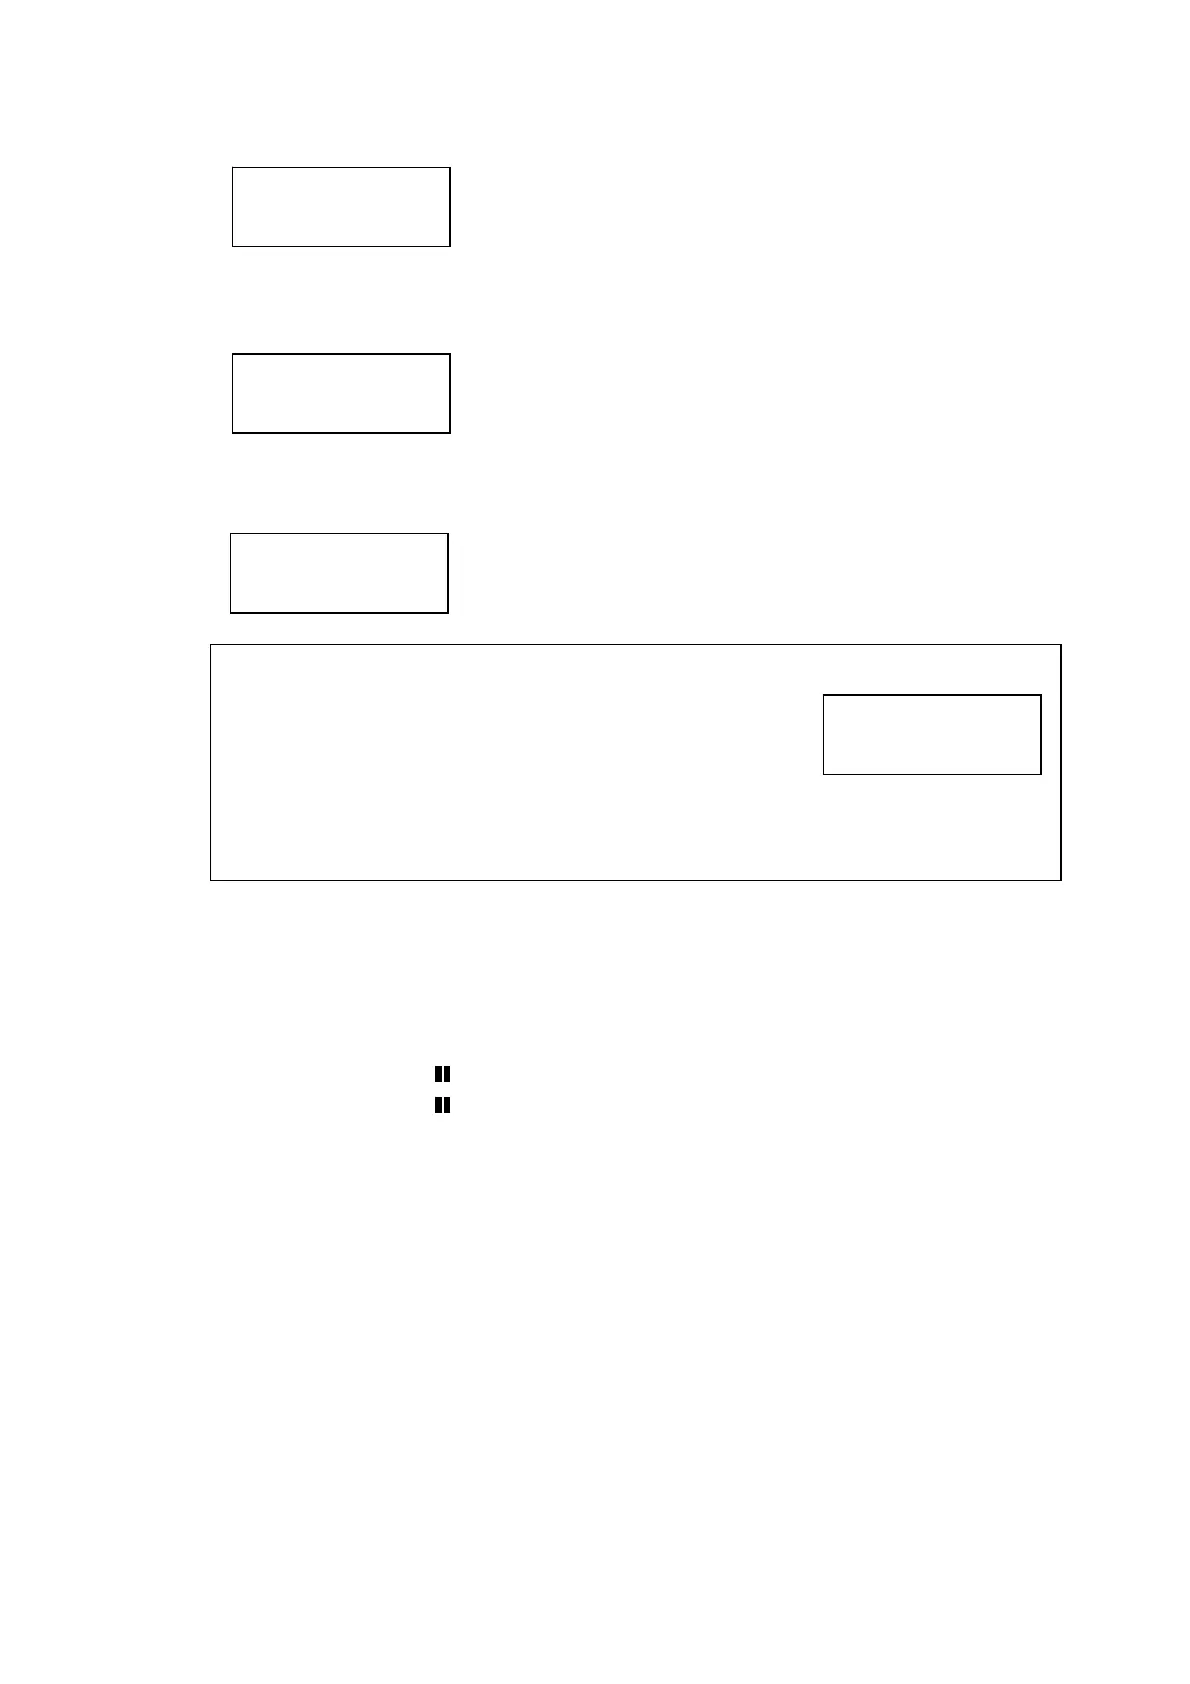
5. Press the [MENU] key to select “Exec”.
6. Press the [STOP] (
■) key to execute adjustment.
Adjustment starts and the following screen is display.
7. Be sure that the adjustment is successfully completed and the following screen is
displayed. (The value “123” is an example.)
When the adjustment has failed:
“Cannot Setup” is displayed. In this case, follow the next
steps.
1) Press any key of the printer.
The screen returns to Step 3.
2) Check for correct media setting position, media, active
sensor, etc. and repeat from Step 3.
8. Press any key of the printer.
Then, the obtained value is saved into the printer and the screen returns to Step 3.
9. When the “SA Main PCB” or “SA Ref Sensor PCB” is replace, go to the following item
“
3-7(2-2) Init Refl Sen sensitivity adjustment” to carry out further adjustment.
When the “SA
TRA Sen PCB” is replaced proceed to the next step.
10. Press the [PAUSE] ( ) key to return to “Factory Setup” menu.
11. Press the [PAUSE] ( ) key once again.
The changed value is saved in the printer and the printer is restarted internally. Then,
the printer returns to normal operation.
Init Thru Sen
Exec
Now !!
Executing
Finished
DAC 123
Cannot
Setup