Chapter 4 Troubleshooting
4-2. Troubleshooting
CL-E720DT 4-8
Symptoms Checks Remedies
Poor printing
1. The “SA Head” is dirty.
2. Head offset adjustment is improper.
3. Is the printing density set to an optimal
condition?
4. Is +24V DC supplied to the “SA Main
PCB” (at pins 6 to 9 of J13)?
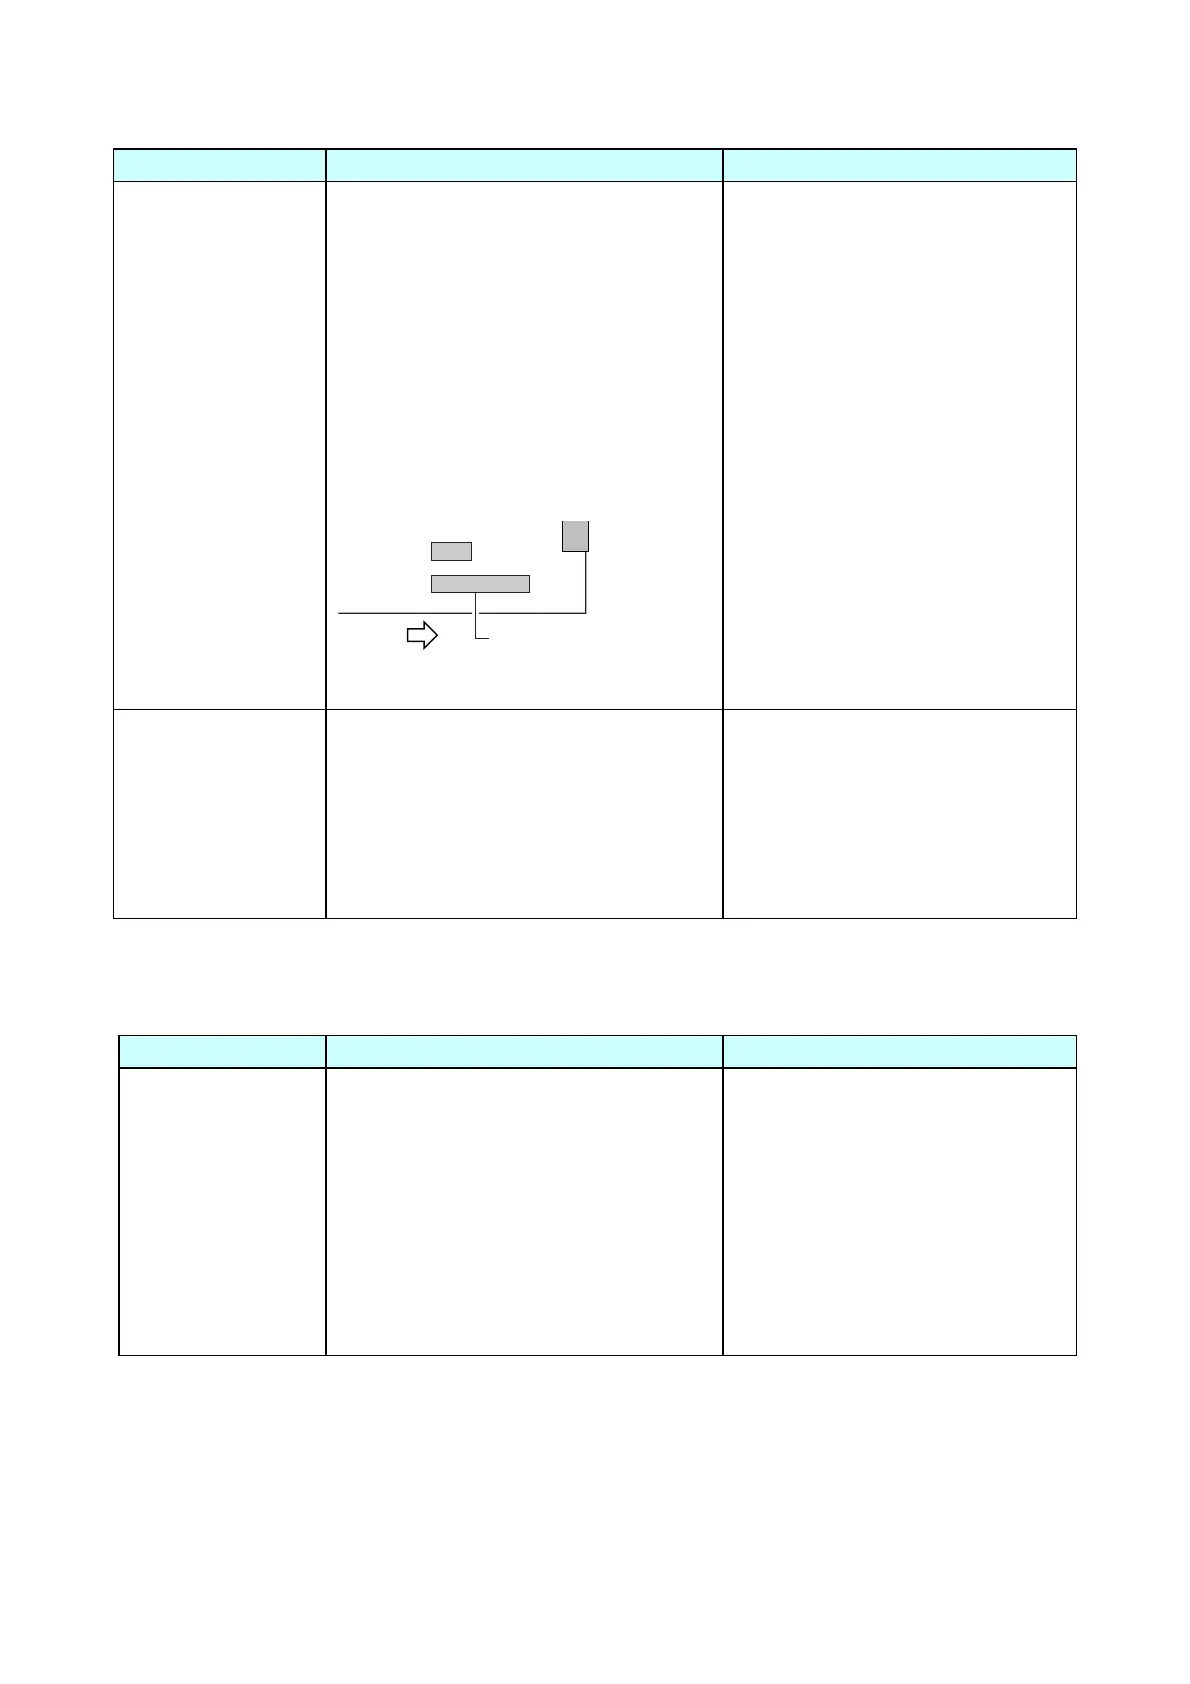
J5
To Unit Power Supply
Front
J13
J2
1
9
[Bottom right of the “SA Main PCB”]
1. Clean the head surface with the
specified head cleaner.
2. Adjust the media thickness
adjustment dial according to media
thickness to be used.
3. Adjust the printing density.
4. Replace the “Unit Power Supply”.
Uneven print density 1. Head balance is improper.
Uneven printing density may be
observed either on the right side or the
left side.
2. Is the printing density set to an optimal
condition?
1. Adjust the media width adjustment
dial to suit to the media width to be
used.
2. Adjust the printing density.
4-2-4. Sensor Problems
Symptoms Checks Remedies
Head block is closed,
but “Error Head
Open” is indicated on
the LCD.
(Head up sensor
problem)
1. Is the “SA Head Up Sensor Cable”
firmly connected between the “SA Head
Up Sensor PCB” and the “SA Main
PCB” (J10)?
2. Is the protrusion (metal end) inserted
into the photointerrupter of the “SA
Head Up Sensor PCB”?
3. Failure in the control circuit.
1. Connect it firmly.
2. Replace the “SA Head Up Sensor
PCB”.
3. Replace the “SA Main PCB”.
(Continued)