Supplemental Guide — Doc. 8327D TSS-7/TSS-10 • 15
Enter Standby
Click Enter Standby to force the touch screen to enter standby mode.
Save Changes
Click Save Changes to save any changes made to the configuration settings.
Revert
Click Revert to revert the touch screen back to the last saved configuration settings.
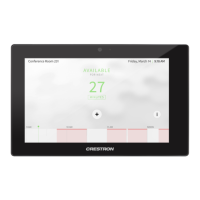
Upload User Project
Click Upload User Project to upload a custom user scheduling project to the touch screen. A
Project Upload dialog box opens.
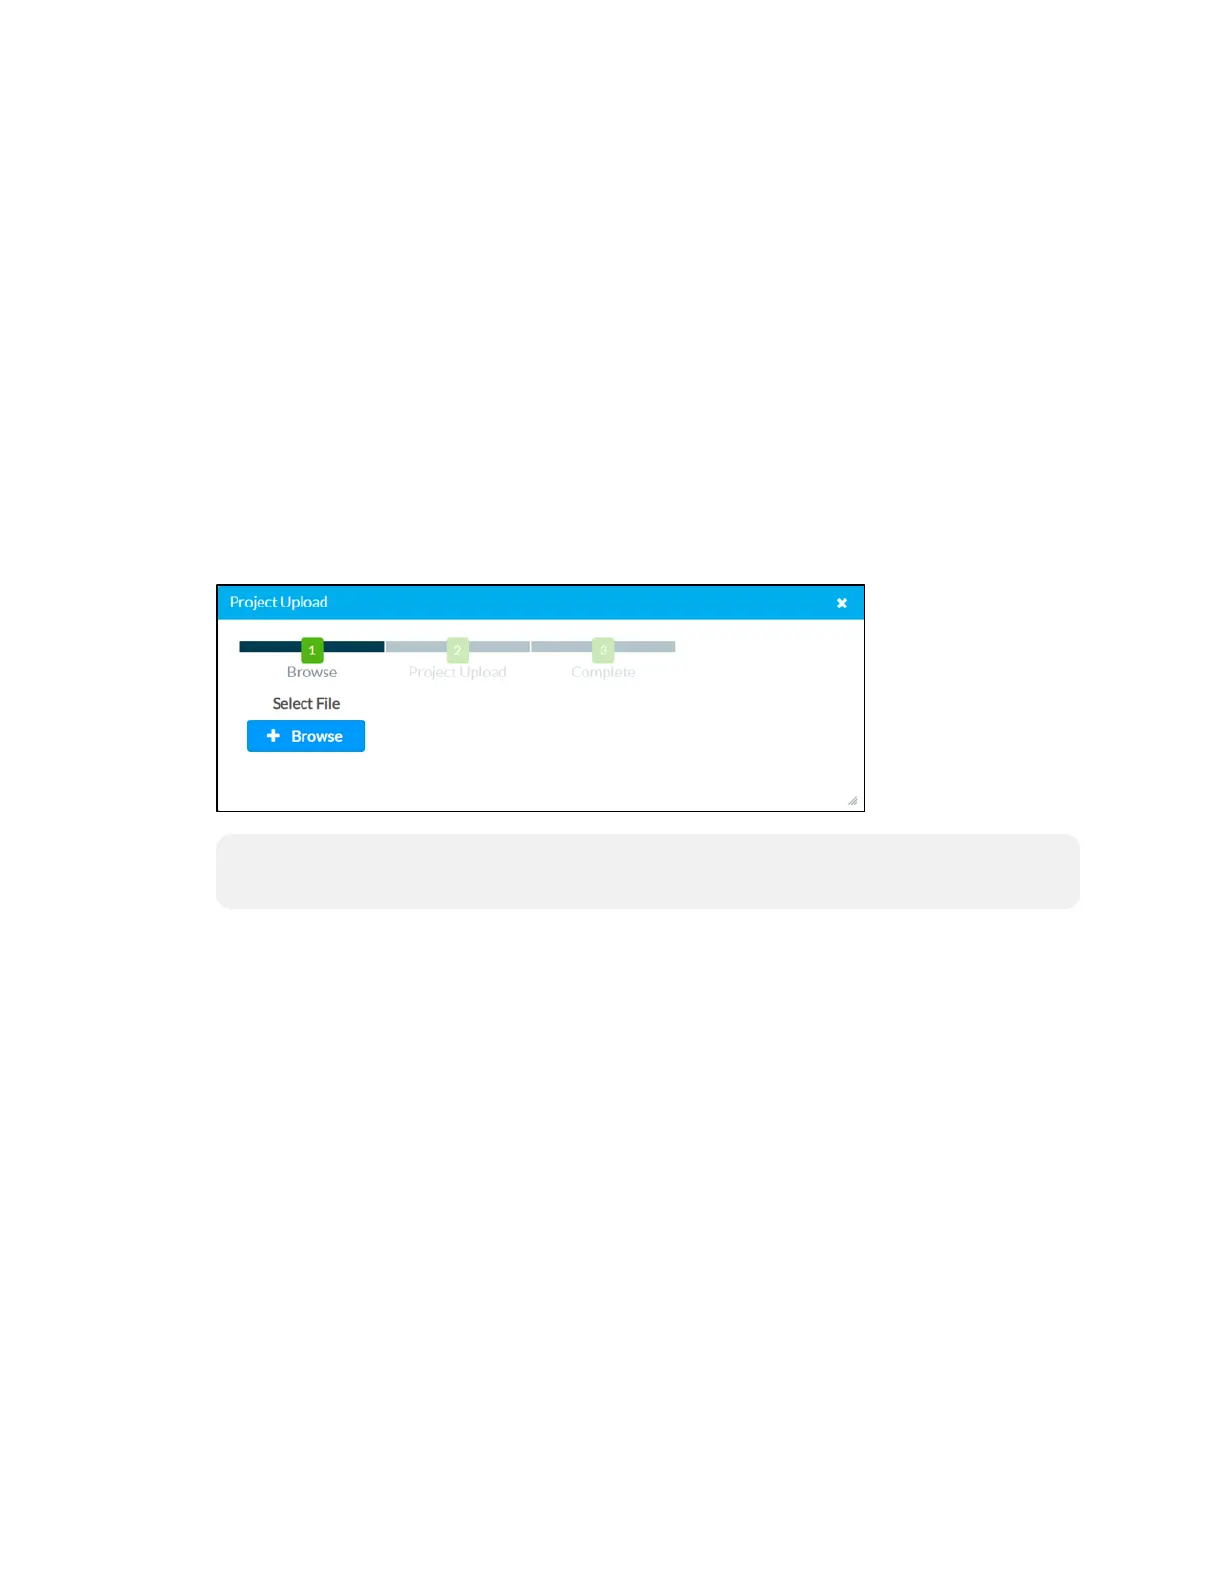
Project Upload Dialog Box
NOTE: This selection is available only if the touch screen is running in Crestron room
scheduling mode.
To upload a custom user scheduling project:
1. Click Browse, and then navigate to the project .vtz file on the host computer.
2. Select the project .vtz file, and then click Open.
3. Click Load to load the project .vtz file to the touch screen. The upload progress is
shown in the dialog box.
4. Once the touch screen has completed the project upload, click OK.
Click the x button to close the Project Upload dialog box at any time during the upgrade
process. Clicking the x button before the project file is uploaded to the touch screen cancels
the upload.
AppUpgrade
Click App Upgrade to update the currently selected application. The update progress is
shown in a pop-up window.
Once the update is complete, click OK to close the pop-up window.