Print Server Administration User’s Guide
Setting up Novell NetWare 4.x Printing
47
7.
Repeat from step 4 for each print server port you will be
using.
8.
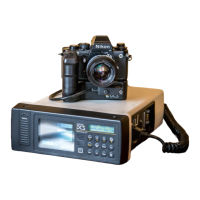
Select the context again, and choose Create... from the
Object menu. Choose the Print Server object type and
press OK. Enter a name for the print server, which must be
the same as the D-Link network print server’s name.
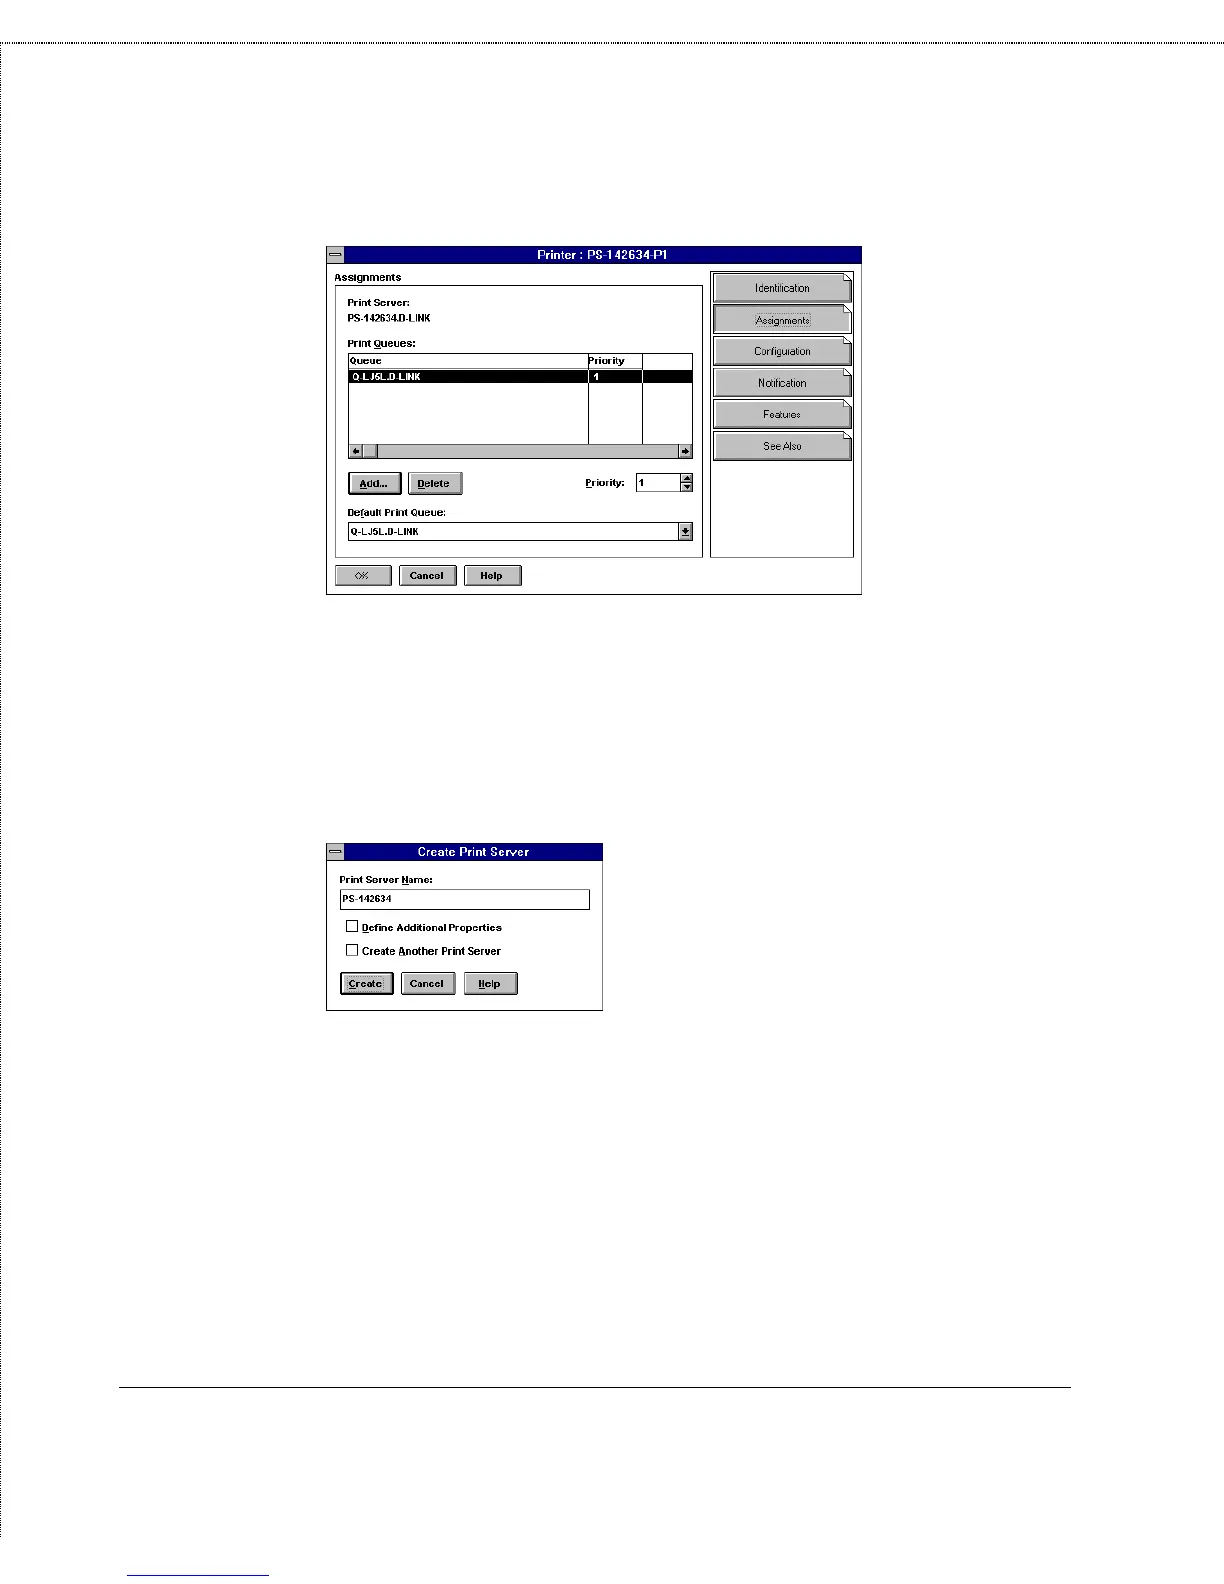
9.
Double-click on the newly created print server object, and
click on the Assignments tab. Click the Add... button to add
each of the printer objects you created to the print server.
Make sure that the printer number corresponds properly to
the port number; the first port should be printer number 0, the
second port printer number 1, and so on.