7 | Unit installation
Installer reference guide
84
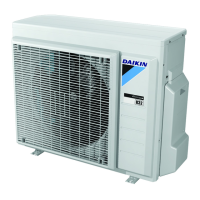
ERLA11~16D + EBBH/X11+16D
Daikin Altherma 3 R W
4P643603-1B – 2022.05
7.3.3 To provide the installation structure
Check the strength and level of the installation ground so that the unit will not
cause any operating vibration or noise.
Fix the unit securely by means of foundation bolts in accordance with the
foundation drawing.
Use 4 sets of M12 anchor bolts, nuts and washers (field supply). Provide at least
150mm of free space below the unit. Additionally, make sure the unit is positioned
at least 100mm above the maximum expected level of snow.
(mm)
758
>150
(480-490)
485
4× M12
a
a Make sure not to cover the drain holes. See "Drain holes (dimensions in
mm)"[486].
INFORMATION
The recommended height of the upper protruding part of the bolts is 20mm.
NOTICE
Fix the outdoor unit to the foundation bolts using nuts with resin washers (a). If the
coating on the fastening area is stripped off, the metal can rust easily.
7.3.4 To install the outdoor unit
1 To handle the unit and to put in onto the installation structure, see "4.1.1To
handle, unpack and remove accessories – Outdoor unit"[422].
2 Fix the unit to the installation structure.

 Loading...