4-10
Charge
refrigerant
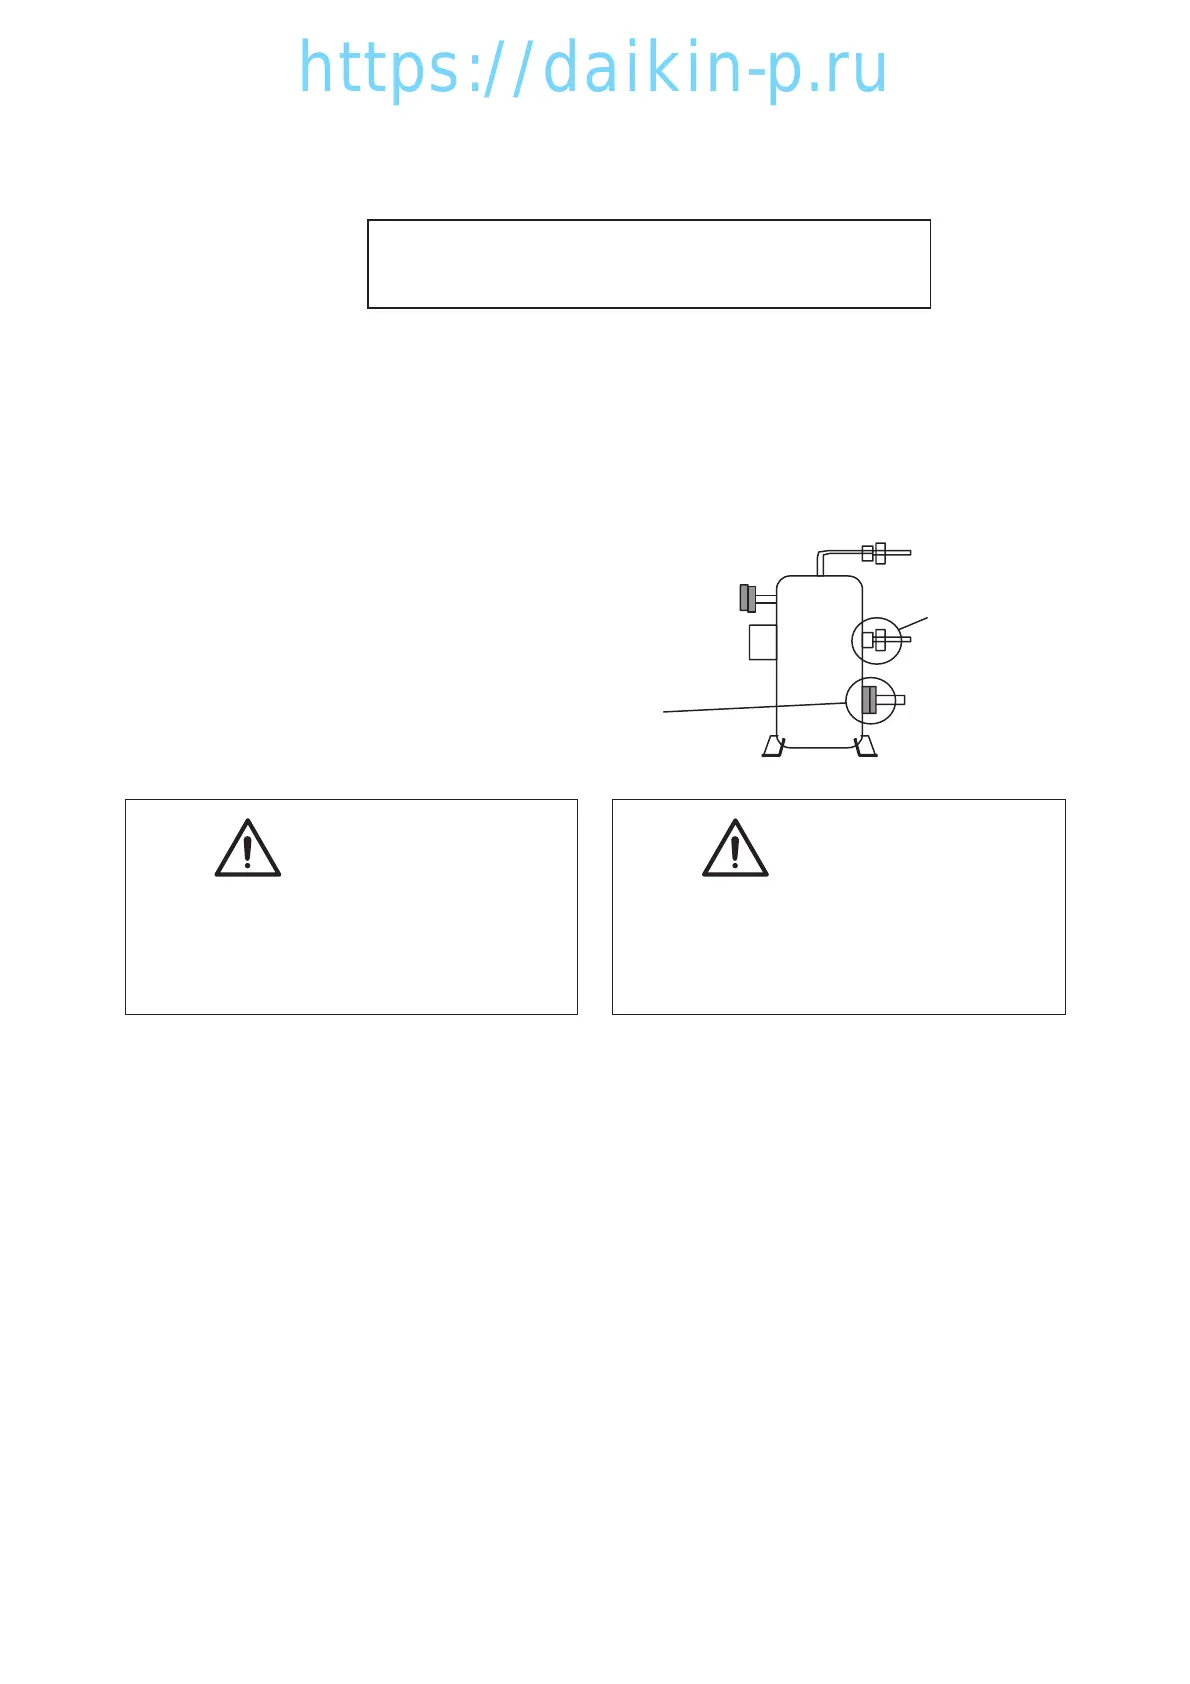
6. Open the discharge and suction side stop valves.
7. Vacuum and dehyadrate from service port r and t.
8. Then charge the refrigerant from service port t and e.
(Refer to the clause 4.1.4 Refrigerant Recovery and charge)
9. Check gas leakage especially at sunction/discharge
flanges and flare nuts for injection piping/gauge piping.
10. Fix the auxiliary insulation tape and fix the auxiliary packing tape
using clamp band to the sunction
flanges.
11. Seal with silicon sealant around
the flare nut for gauge piping.
11. Seal with
Silicon
Sealant
10. Fix the auxiliary
insulation tape
Attention ! Pay the attention to the cable connection.
Incorrect wiring may run the compressor
in wrong direction and may cause burn out.
Connect cables
5. Connect the cables to the terminals.
CAUTION
The unit does not have suction stop
valve. Be sure to adhere packing tape at
suction piping section to prevent
moisture from entering.
CAUTION
The preparation of refrigerant oil is not
required.
The compressor has been charge with
the oil.
04LXE10E100以降(08-26)E.qx08.8.275:04PMページ4-10