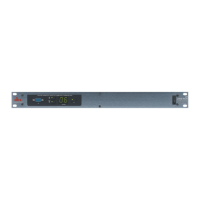
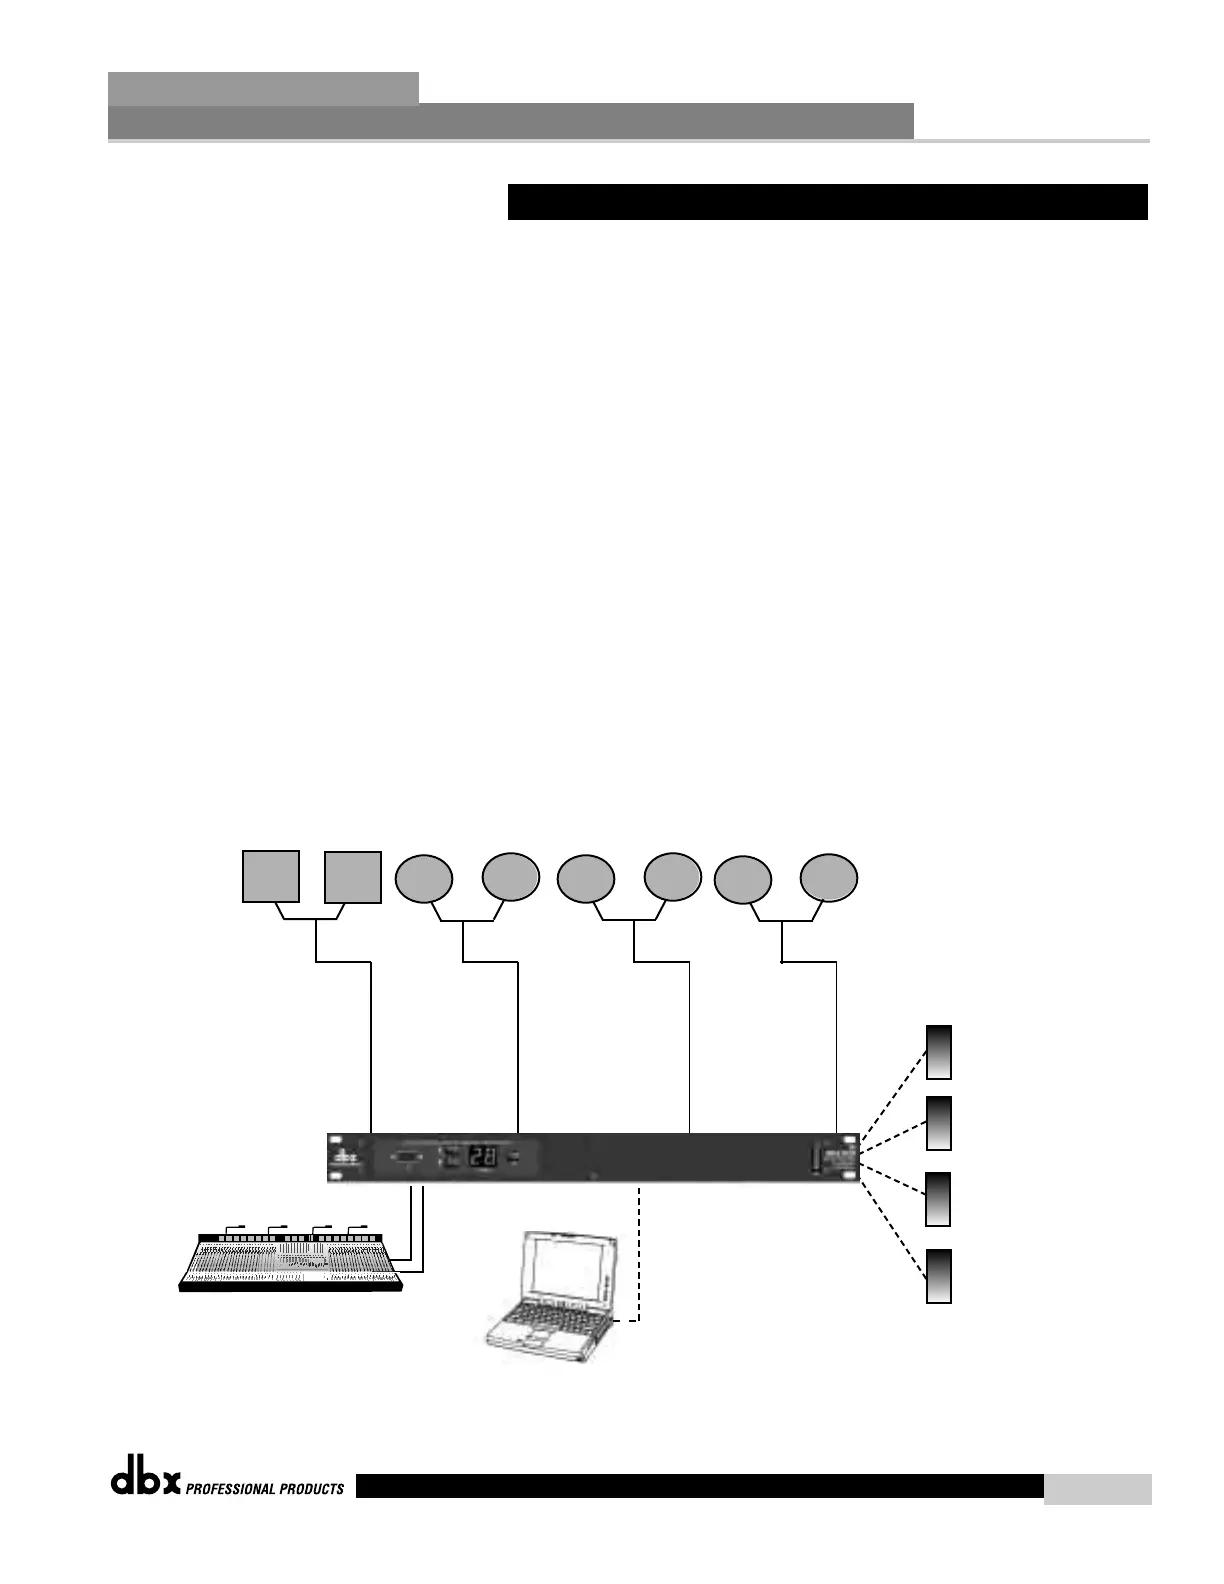
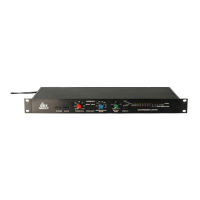
Hardware
Note Make sure that all outputs are muted on the DriveRack™ prior to adding power to any
devices in the signal path (pre and post DriveRack™).
1. Connect the outputs from the mixer to the inputs of the DriveRack™.
2. Connect the outputs of the DriveRack™ and run to the selected speaker amplifier.
3. Making sure that all outputs are muted, apply power to the mixer and amplifiers.
4. Make connections from switch closure output on the 240/241 to the wall-mount control
switches.
Software
1. Select a program (ie: Factory 24- Zones with filter) that uses a 1X4 (with filters) crossover
configuration.
2. Store four separate copies of this preset, with names such as Zone 1-4.
3. Adust the EQ, Time alignment delay, and limiter for each preset Zone.
4. Now modify each of the four presets in the following manner: Preset 1 has Zone 1 on and
Zone 2-4 muted, Preset 2 has Zone 1 and 2 on and Zone 3-4 muted, and preset 3 with with
Zones 1-3 on and Zone 4 muted.
5. Now select remote switch 1 to select Zone 1/ preset 1, Remote switch 2 to select Zones
1+2, Remote switch 3 to select Zones 1-3 and Remote switch 4 to select Zones 1-4
7.4 - Multi-Zone Controller
Application Guide
Section 7
DriveRack
™
45
DriveRack™ User Manual
ZONE 1
ZONE 2
ZONE 3
ZONE 4
Remote
Switch
1
Remote
Switch
2
Remote
Switch
3
Remote
Switch
4
240
or
241