Before working inside your sled
Prerequisites
Follow the safety guidelines listed in Safety instructions on page 16.
Steps
1. Power off the sled.
2. Remove the sled from the enclosure.
3. If applicable install the I/O connector cover.
CAUTION: To prevent damage to the I/O connectors on the system, ensure that you cover the connectors
when you remove the system from the enclosure.
4. Remove the system cover.
After working inside your sled
Prerequisites
Follow the safety guidelines listed in Safety instructions on page 16.
Steps
1. Install the system cover.
2. If installed, remove the I/O connector cover on the system.
CAUTION: To prevent damage to the I/O connectors, do not touch the connectors or the connector pins.
3. Install the sled in the enclosure.
4. Power on the sled.
NOTE: Ability to power on the sled requires iDRAC to fully initialize first.
Recommended tools
You need the following tools to perform the removal and installation procedures:
● Phillips #1 and Phillips #2 screwdrivers
● Torx T15 and T30 screwdrivers
● Wrist grounding strap
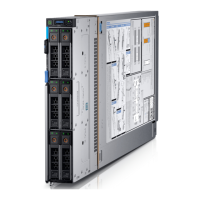
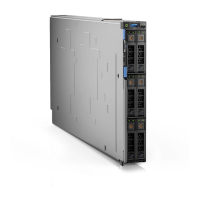
PowerEdge MX740c sled
The PowerEdge MX740c sled is a server unit that is installed into the PowerEdge MX7000 enclosure.
Removing the sled from enclosure
Prerequisites
1. Follow the safety guidelines listed in Safety Instructions.
2. Power off the sled.
Installing and removing system components
17

 Loading...


