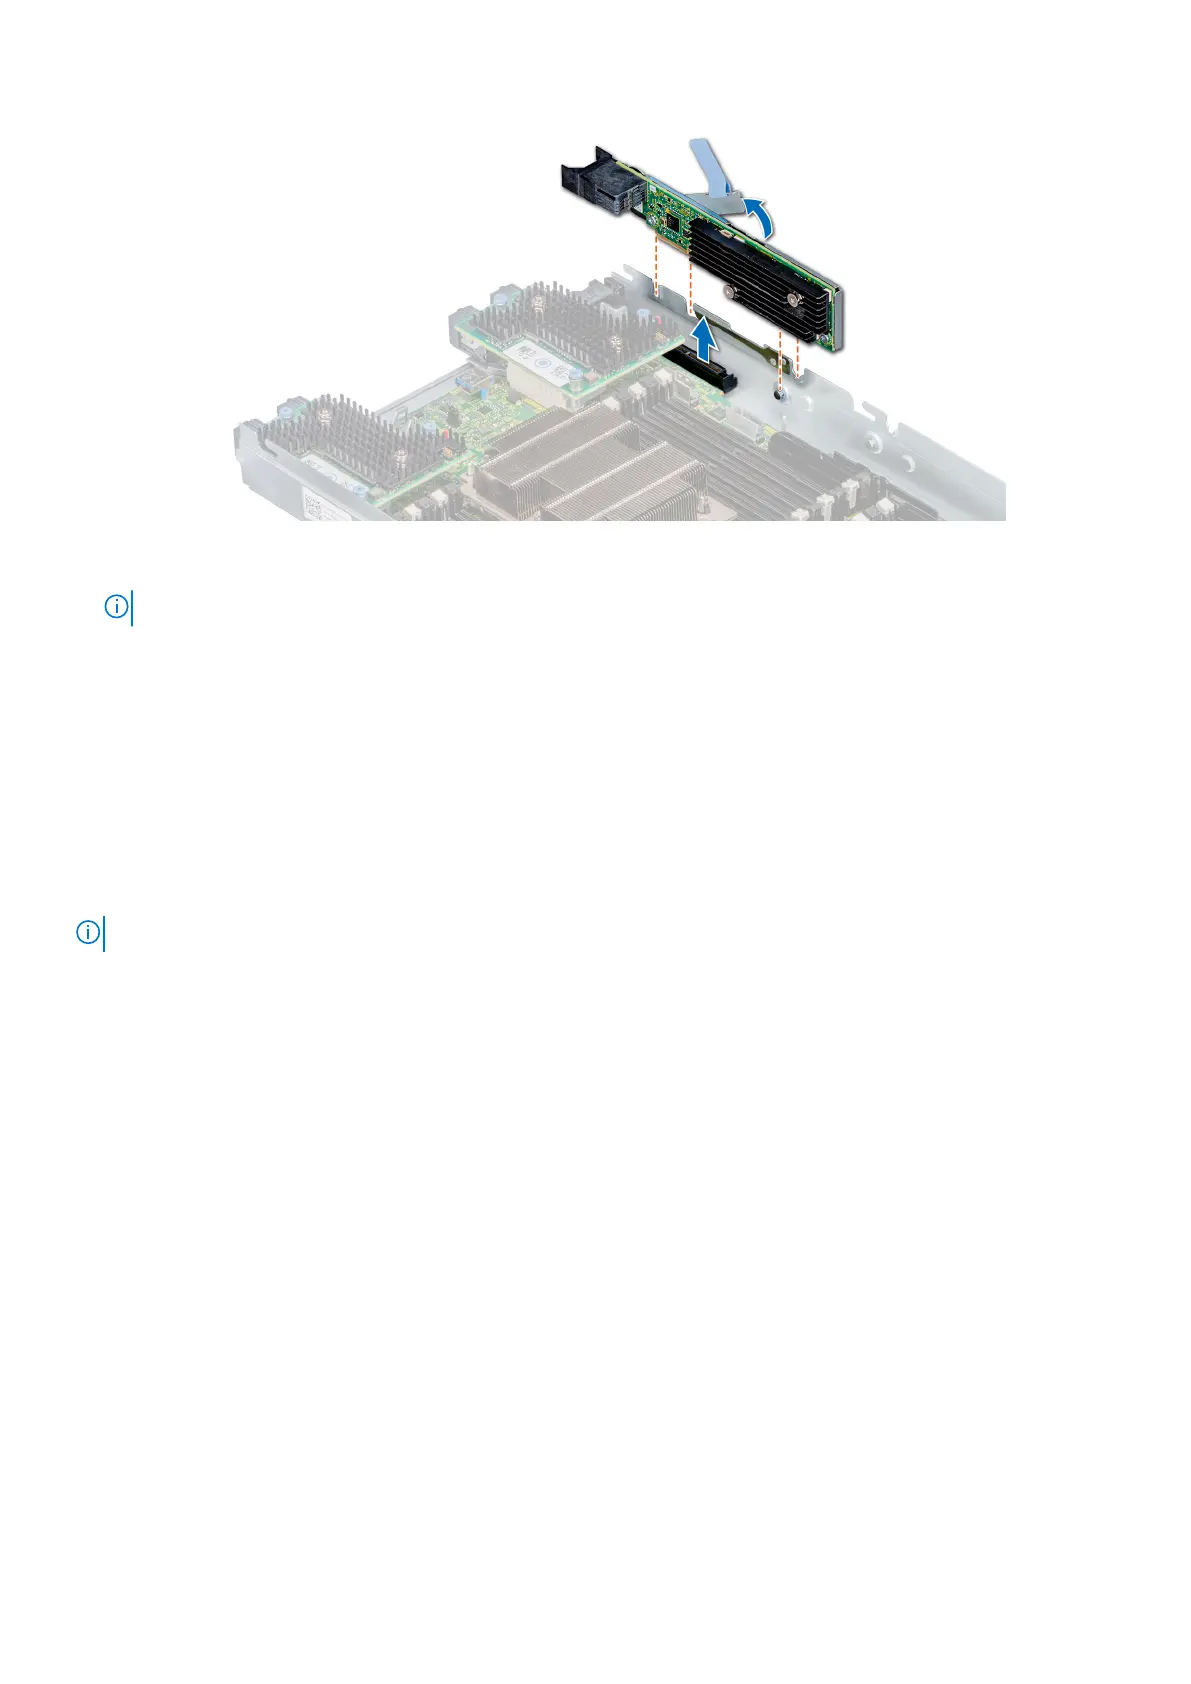
Figure 76. Removing the mini Mezzanine card
NOTE: Install the connector cap on the I/O connector of the mini Mezzanine card, when not installed on system board.
Next steps
1. Follow the procedure listed in After working inside your sled on page 17.
Installing the mini Mezzanine card
Prerequisites
1. Follow the safety guidelines listed in Safety Instructions.
2. Follow the procedure listed in Before working inside the sled.
NOTE: The mini Mezzanine card is supported only on systems with two processors.
Steps
1. Remove the connector cap on the I/O connector of the mini Mezzanine card.
2. Pull the blue pull tag to raise the lever on the mini Mezzanine card.
3. Align the mini Mezzanine card connector with the connector on the system board.
4. Lower the mini Mezzanine card into place, and push the lever down to lock the card in place.
78
Installing and removing system components

 Loading...


