3. Press the processor socket-release lever downwards and fix it under the tab in the
locked position.
4. Place the heat sink over the processor on the system board.
5. Tighten and secure the retaining screws on the heat sink.
6. Repeat steps 1 to 5 for the second processor.
7. Install the front chassis assembly.
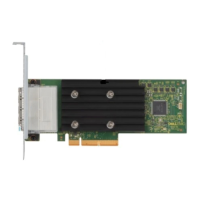
8. Install the remote access host card.
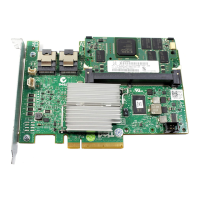
9. Install the SAS controller card.
10. Install the video card.
11. Install the CMOS battery.
12. Install the center riser board.
13. Install the power distribution unit.
14. Install the card cages.
15. Install the fan bracket.
16. Install the system fans.
17. Install the control panel.
18. Install the power supply.
19. Install the SAS backplane.
20. Install the hard drive assembly.
21. Install the hard drive carrier.
22. Install the optical drive.
23. Install the cooling shroud.
24. Install the cover.
25. Install the front bezel.
26. Follow the procedures in After Working Inside Your Computer.
Related Links
Removing the Processors and Heat Sink
60