Installing the System Board
1. Place the system board on the chassis.
2. Gently slide the system board towards the back of the computer. Press the blue
release tab.
3. Connect all cables to the system board.
4. Install the memory.
5. Install the processor and heat sink.
6. Install the front chassis assembly.
7. Install the remote access host card.
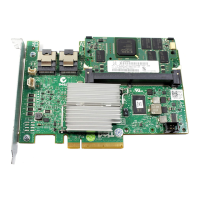
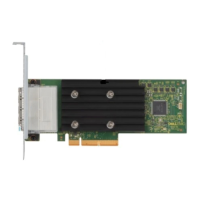
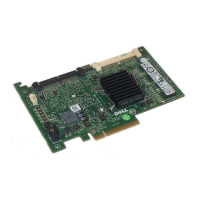
8. Install the SAS controller card.
9. Install the video card.
10. Install the CMOS battery.
11. Install the center riser board.
12. Install the power distribution unit.
13. Install the card cages.
14. Install the fan bracket.
15. Install the system fans.
16. Install the control panel.
17. Install the power supply.
18. Install the SAS backplane.
19. Install the hard drive assembly.
20. Install the hard drive carrier.
21. Install the optical drive.
22. Install the cooling shroud.
23. Install the cover.
24. Install the front bezel.
25. Follow the procedures in After Working Inside Your Computer.
Related Links
Removing the System Board
66