NIC Quick Reference Guide
41
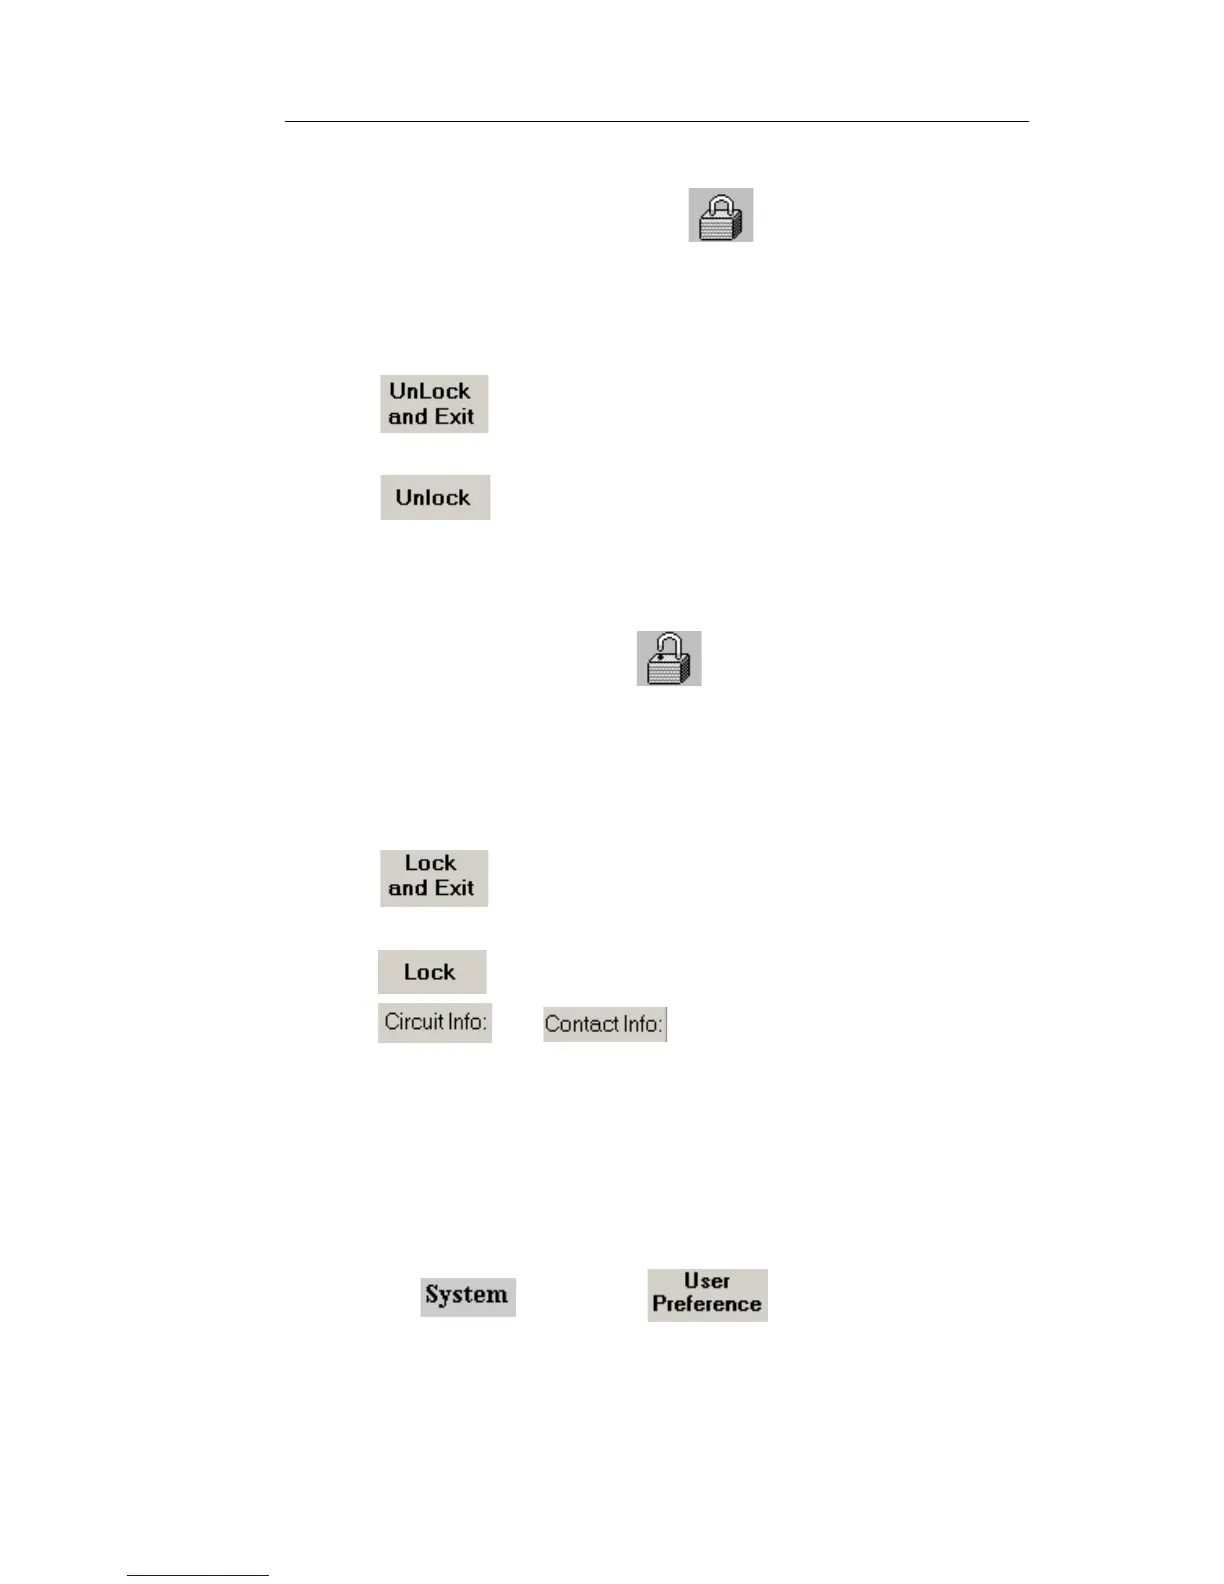
Unlocking a Test Unit That You Locked
When a Test Unit is locked by you the icon is displayed.
1. Select the Lock icon. The Lock/Unlock dialog box appears.
2. Selecting one of the following causes the command buttons to
change to and “Lock”:
– - Unlocks the unit and automatically closes the dia-
log box.
– - Unlocks the unit without closing the dialog box.
Select Exit to close the Lock/Unlock dialog box.
Locking a Test Unit
When a Test Unit is unlocked the icon is displayed.
1. Select the Lock icon. The Lock/Unlock dialog box appears.
2. Selecting one of the following causes the command buttons to
change to “Unlock and Exit” and “Unlock”, and the information
boxes become available.
– - Locks the unit and automatically closes the dialog
box.
– - Allows you to enter note information in the
and boxes before closing the dialog
box. The notes carry over to all protocol processors in the Test
Unit. When a different Test Unit is locked the user can enter
notes pertinent to it. Select Exit to close the dialog box.
Configuring the Lock on Startup
To control the Lock's default state when the test set is started:
1. Select and choose . The User Preference
screen appears.
2. Select Startup Locking State.
Select Lock to automatically lock the test set when it is started.
 Loading...