7
Getting Started
DIGNOケータイ3
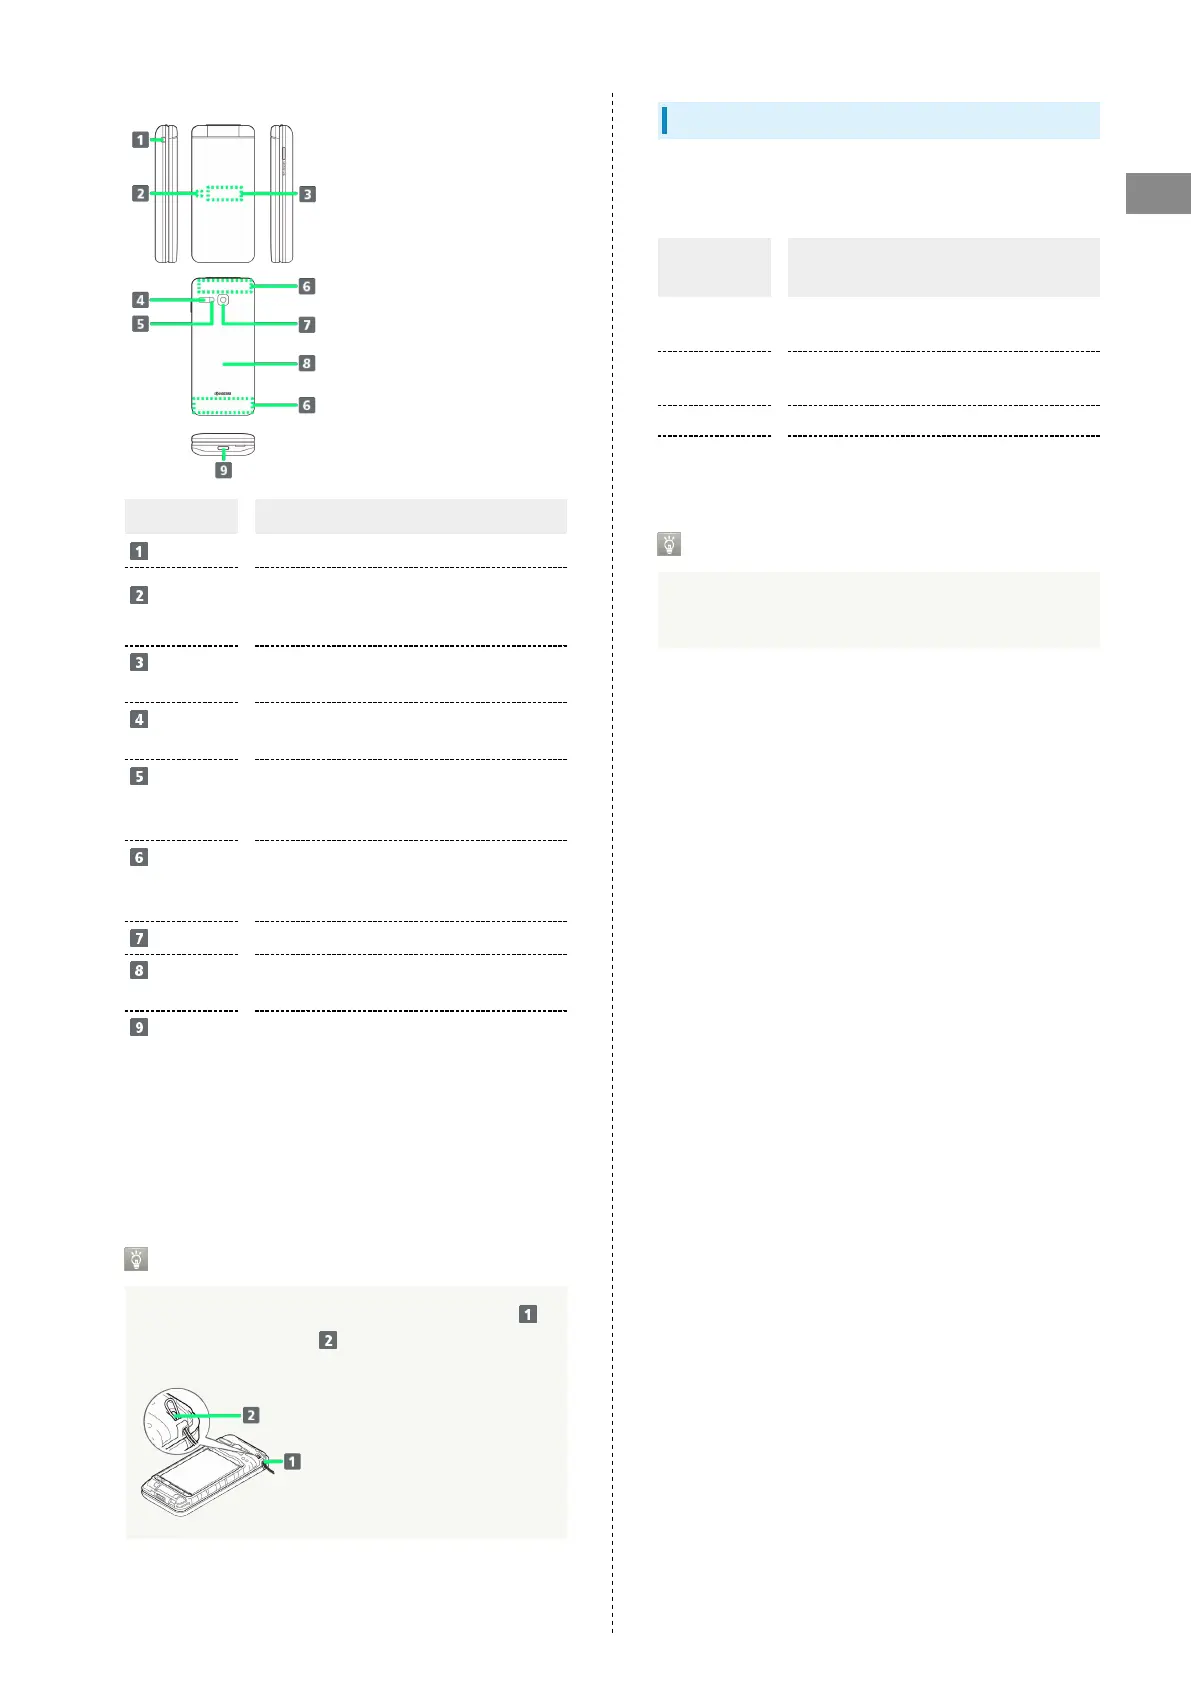
Name Description
Straphole
Attach a strap.
Incoming/
Charging LED
Illuminates while charging or for
notifications (missed calls, new messages,
etc.).
Sub-
display
Clock and Notification Indicators for new
calls, mail, etc. appear.
Infrared
Port
Use for infrared transmission.
Capture
Light/
Flashlight
Use as lighting when capturing images or
as a flashlight.
Internal
Communications
Antennas
Used for calling, using Internet, etc. Avoid
covering with stickers or fingers.
Camera
Capture photos and videos.
Back
Cover
To attach/remove USIM Card, SD Card, and
Battery.
External
Device Port
(only for USB
Type-C)
1
Connect AC Charger, etc.
1 External Device Port (only for USB Type-C) Connecting a
micro USB (Type-B) cable forcibly may cause damage or
malfunction.
Attaching Strap
Remove Back Cover, put the strap through Straphole ( ),
hook it on the strap pin ( ), and then pull out the strap.
Attach Back Cover after attaching the strap.
Incoming/Charging LED
Light up or flash to notify handset status such as charging or
receiving call or mail.
Indicator
color/status
Handset status
Lights up in
red
Charging is in progress.
Flashes red
Handset cannot be powered on due to low
battery or problem on charging occurs.
Flashes blue Handset received missed call or mail.
Flashes blue
rapidly
Handset receives incoming call.
Settings for Incoming/Charging LED
You can change settings for Incoming/Charging LED. For
details, see "Sound & Notification Settings."