312
All Units
SEPTEMBER 2009 Printed in U.S.A.
COPYRIGHT 2009, Heil Environmental
SINGLE PUMP REPAIR PROCEDURES
Heil has migrated many products to a high pressure vane pump. Although ratings vary, these pumps are
generally rated for higher pressure and higher duty cycles than similar size gear pumps. Because of the
design of a vane pump, it is generally not necessary to replace the entire pump. The pump cartridge
contains all of the wear items in a vane pump. Replacing the cartridge provides the same performance as
replacing the entire pump.
Use the following procedures to field repair and inspect a Heil single vane pump. The procedure was
performed on an Autocar chassis and can be used on other chassis. These instructions show complete
tear down of the pump assembly. They can be used to replace a failed pump cartridge or failed pump
shut-off valve.
Before making adjustments, make sure the unit is in the LOCK-OUT position. LOCK-OUT position is
defined as follows:
1. Engine stopped and ignition key removed.
2. Set the brakes and make sure they are holding.
3. Chock all wheels.
4. Insert a LOCK-OUT tag on the steering wheel.
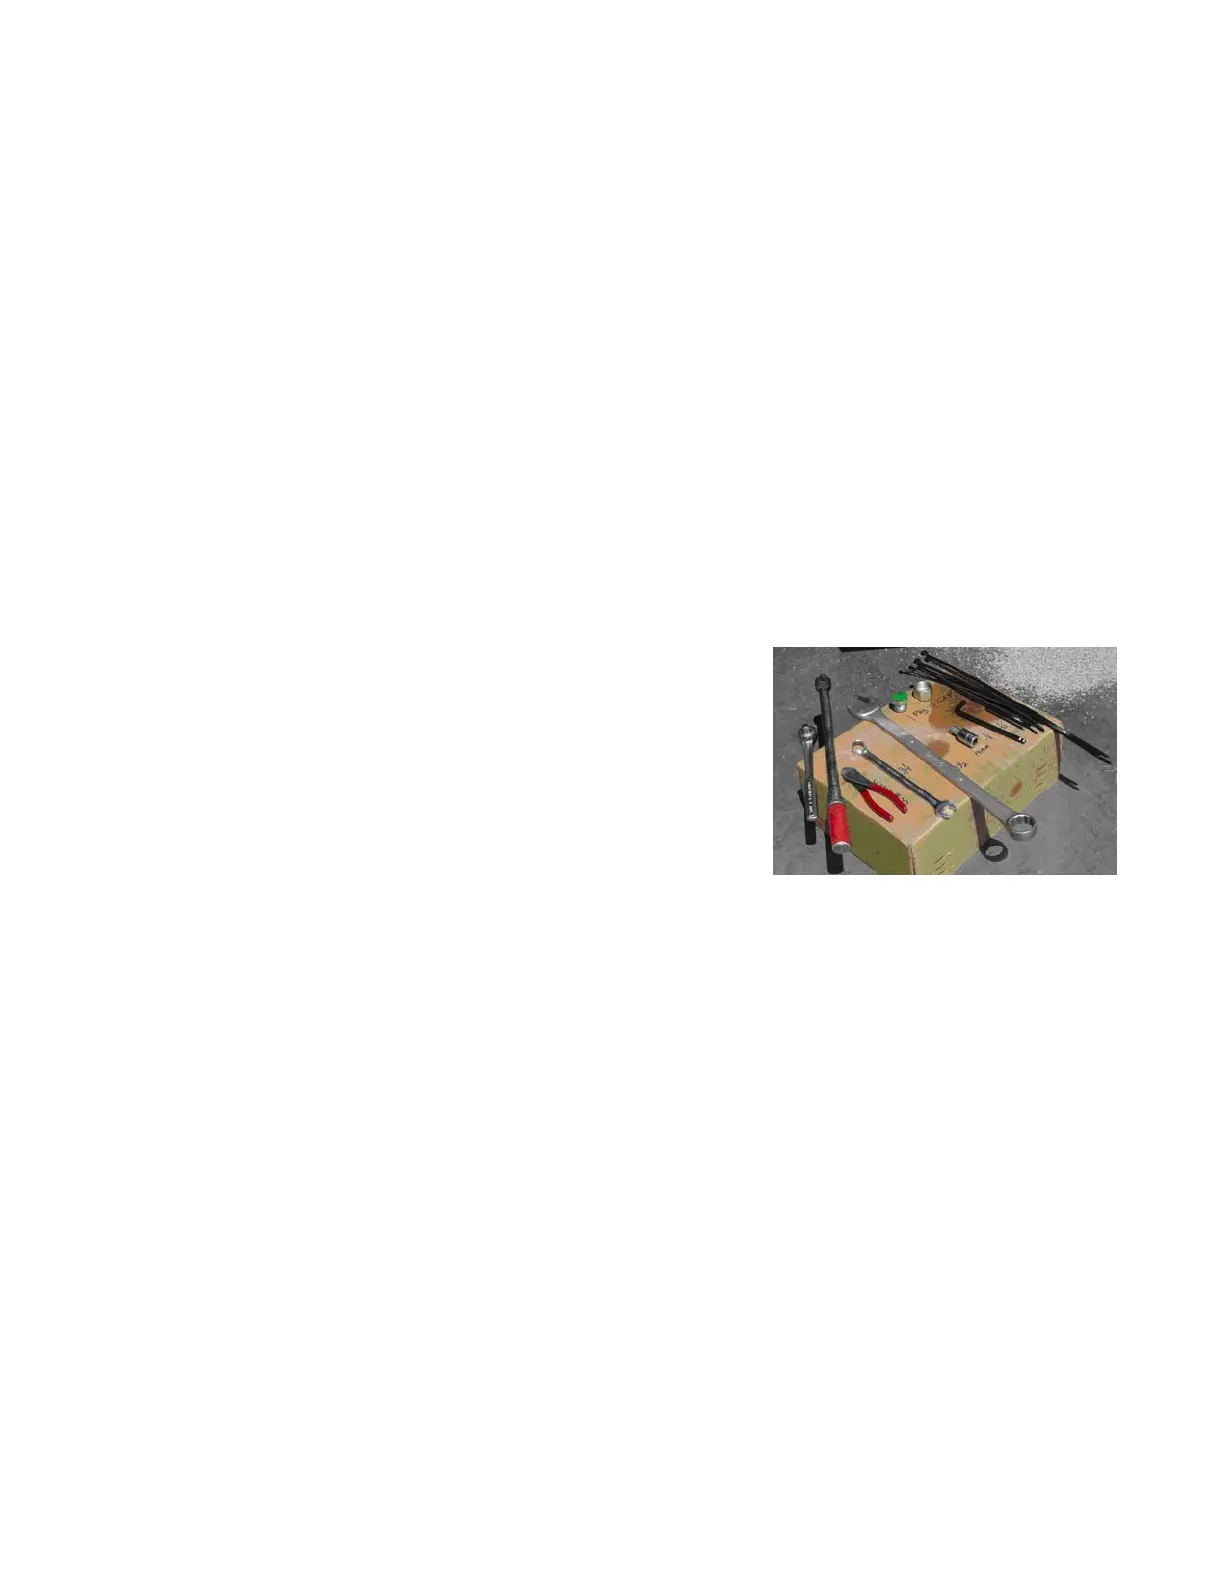
Tools needed to replace the pump include the following:
• 1 1/2 inch open end boxed end wrench
• 3/4 inch open end boxed end wrench
• Wire cutters (Dikes)
• 1/2 inch drive ratchet
• 14mm 1/2 inch drive hex head socket
• 3/8 inch hex head wrench
• 5/32 inch hex head wrench
• Torque wrench capable of producing 150 ft lbs.
• NOTE: Test the cartridge for damage by flow testing the pump before disassembly.
Tools Required