Drobo 5D3 User Guide 85
To remove the capacity or drives from you Drobo 5D3:
1. Ensure the drive lights on your Drobo device are not blinking yellow and green,
which indicates that your Drobo device is working to protect your data. Wait until the
blinking stops.
Warning:
Removing a drive during this process may result in loss of data.
2. If you are removing all drives from your Drobo device, first safely shut it down and
unplug it from the power source.
Warning:
Not shutting down safely may result in loss of data.
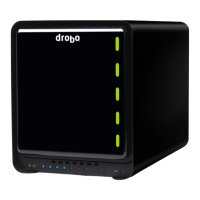
3. Remove the bezel (faceplate) from the front of your Drobo device by pulling it off.
4. Use your thumb to depress (and open) the drive lock for the drive bay that contains
the drive you would like to remove. Refer to the image below.
5. The drive ejects from the drive bay. Carefully remove it.
6. Repeat step 4 to remove additional drives.
7. Replace the bezel when finished.
7.4 Inserting an mSATA SSD
You can install an mSATA SSD into your Drobo 5D3.
Doing so provides accelerated performance when reading data from your Drobo 5D3.
For more information on drive requirements, see Selecting Drives.
The mSATA SSD is not part of your Drobo device's disk pack, so you can add or remove it
at any time.