2-30
Chapter 2 Basic Operation
7-4. Adjusting the stitching width
Although the stitching width is automatically set to the standard position, you can change it if a stitch and
prints coincide.
””6. Stitching Width” (p.1-38)
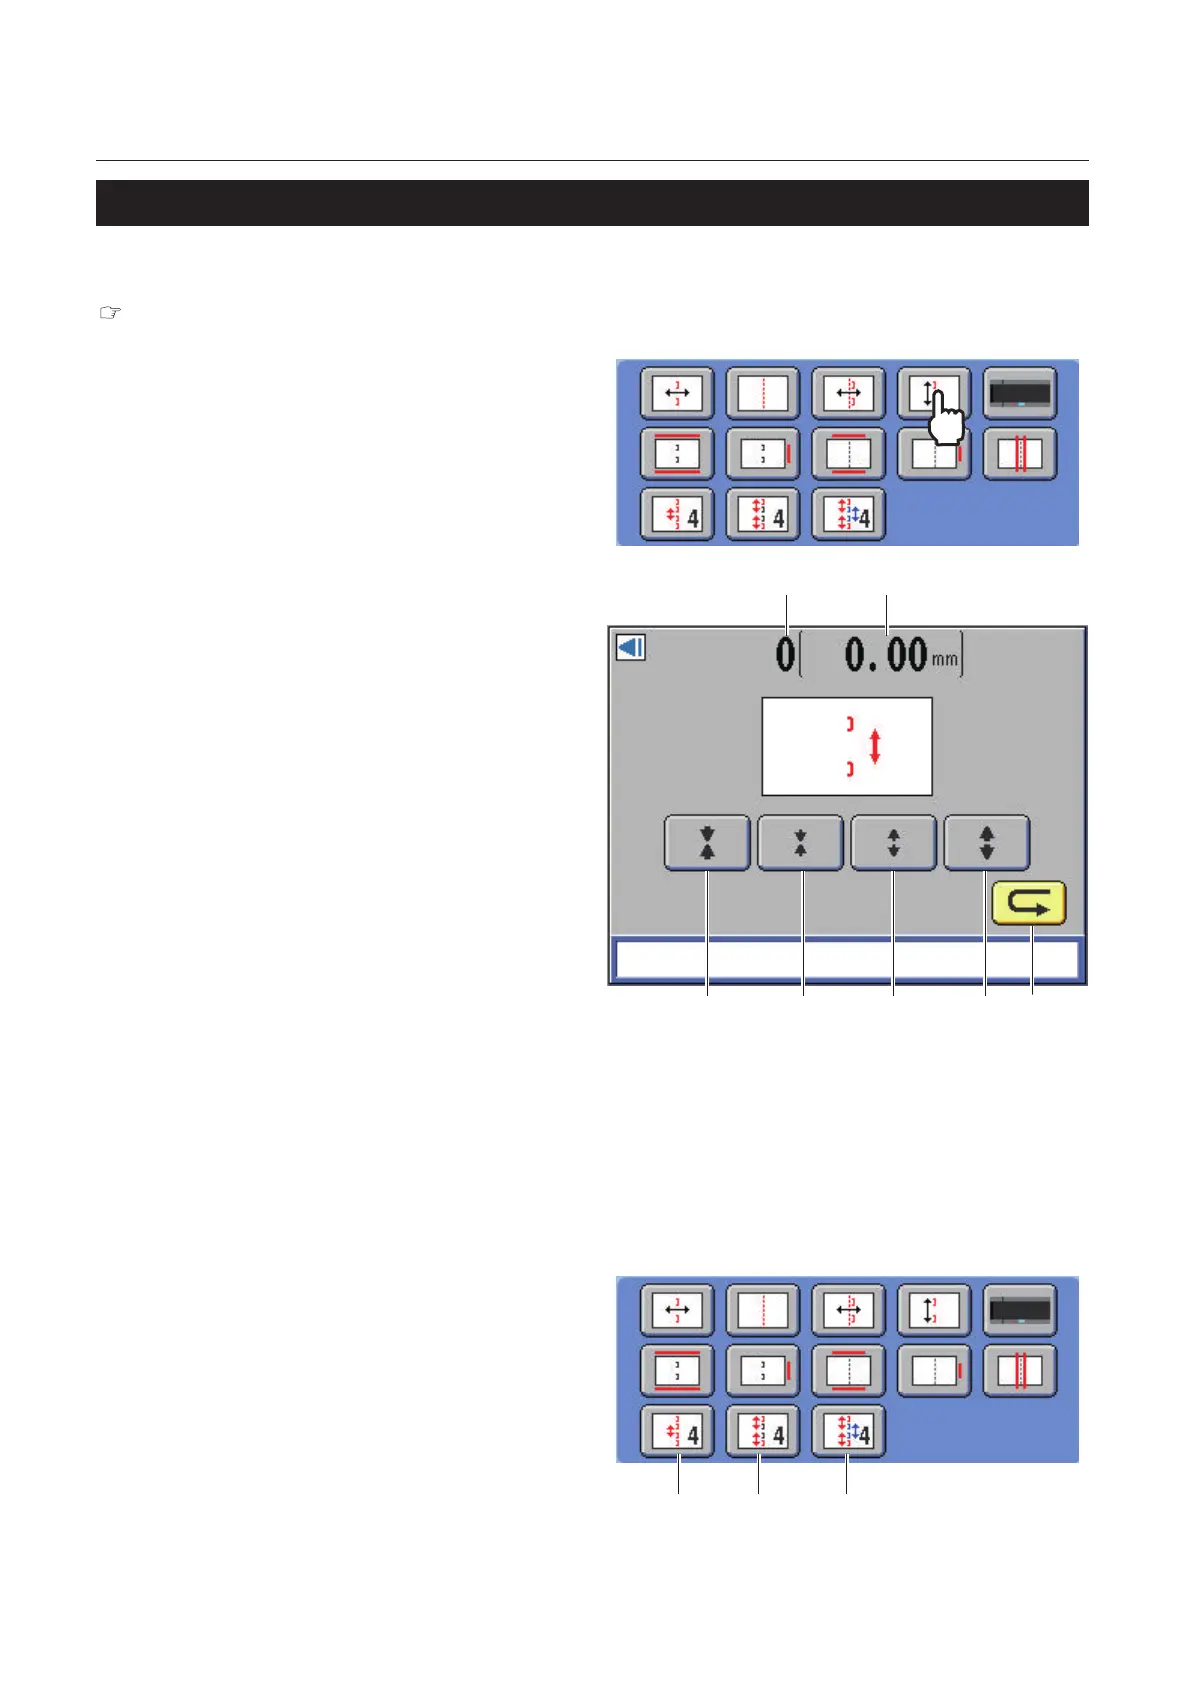
1
Press the stitching width adjustment
key on the [Adjust] screen.
[1]
[3]
[2]
[4] [5] [6] [7]
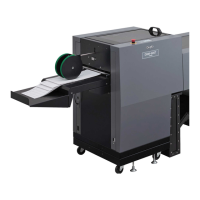
The stitching width adjustment screen is
displayed.
2
Press any of the key between [3] and [6]
to adjust the stitching width.
[1] Current setting value is displayed as a
parameter.
Setting range: -50 to 50, default: 0
[2] The current setting value is displayed in
mm/inch.
Setting range: -5.00 to 5.00 mm/-0.197 to
0.197 inch, default: 0
[3] The distance between the two stitches
becomes shorter by approx 1.0 mm/0.039
inch.
[4] The distance between the two stitches
becomes shorter by approx 0.1 mm/0.004
inch.
[5] The distance between the two stitches
becomes longer by approx. 0.1 mm/0.004
inch.
[6] The distance between the two stitches
becomes longer by approx. 1.0 mm/0.039
inch.
[7] Pressing this returns to the [Adjust] screen.
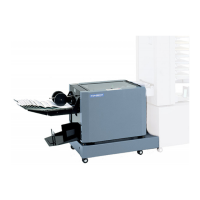
[1] [2] [3]
For 4 stitches
When using the 4 STITCH KIT (option), adjust
[1] stitching width (inside), [2] stitching width
(outside), and [3] stitching width (inside and
outside) in the way previously described.