DUS 60 Digital Ultrasonic Diagnostic Imaging System User Manual Operation
- 76 -
2. Cine review can’t be performed at the beginning of scanning or probe switching. You
should wait until 30 seconds later.
3. The FPS (frames per second) is adjustable, from 5 to 50, in increments of 5.
4. After opening a cine file, you can perform measurements, add comments and the
body mark on the image and print them in the report. See section 5.4.5 Comment
function and section 5.4.6. Body mark function for detailed operation information.
6.8. File Management
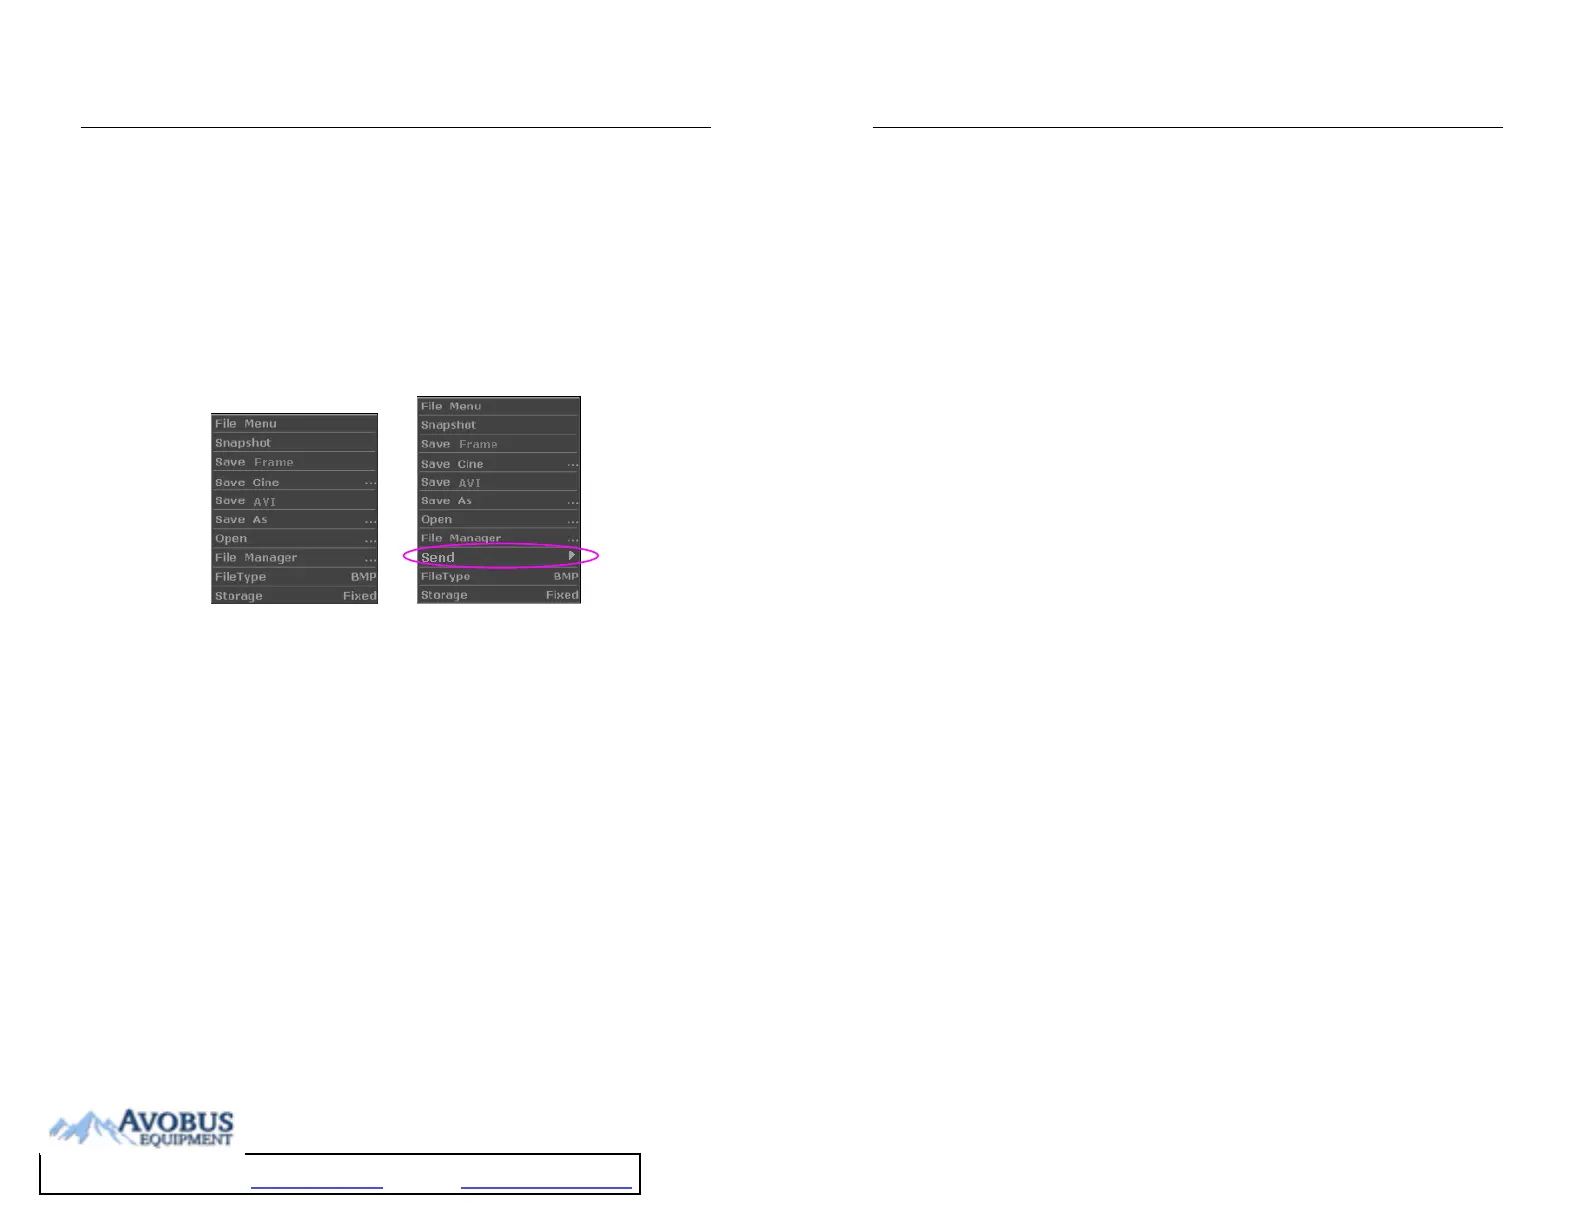
Press File to display the file menu, shown as below.
Figure 6-23 File Menu (the left—with no DICOM installed, the right—with DICOM installed)
6.8.1. Saving Files
File types:
The file types include BMP, JPG, DCM (if DICOM is installed), CIN, FRM, and AVI.
To choose a storage disk:
The storage disk can be set to Fixed or USB-Disk by the Storage option in the file menu.
To choose a storage disk: highlight Storage in the file menu and press Set repeatedly to cycle
between Fixed and USB-Disk.
NOTE:
1. After connecting a removable disk, the interface displays a USB symbol on the
bottom left corner.
2. Please do not use the two USB ports at a time, otherwise, the system may fail to read
/ write data.
To set a file type:
The File Type in the file menu means the file type for the quick saved images.
To choose a file type for the quick saved images: highlight File Type in the file menu and press
DUS 60 Digital Ultrasonic Diagnostic Imaging System User Manual Operation
- 77 -
Set repeatedly to cycle between JPG, BMP, FRM and DCM (if DICOM is installed).
To save a file:
The system provides two ways to save images:
Press Quick Save on the keyboard;
Press Quick Save on the keyboard to save the current displaying image in BMP, JPG, FRM
or DCM (if DICOM is installed) format (set by File Type in the file menu, as shown above).
Use Snapshot, Save Cine, Save As, Save Frame or Save AVI of the file menu to save files.
¾ Snapshot
Highlight Snapshot in the file menu and press Set to save the current displaying image in
BMP, JPG, FRM or DCM (if DICOM is installed) format (set by File Type in the file
menu, as shown above).
¾ Save Frame
1. Press Freeze to freeze the system;
2. Play back and find the desired image;
3. Press File to open the file menu;
4. Highlight Save Frame in the file menu, and press Set to save the current displaying
image.
¾ Save Cine
1. Press Freeze to freeze the system;
2. Press File to open the file menu;
3. Highlight Save Cine in the file menu, and press Set.
¾ Save AVI
1. Press Freeze to freeze the system;
2. Press File to open the file menu;
3. Highlight Save AVI in the file menu, and press Set.
NOTE:
The AVI files can not be viewed on this system, please use a U disk to copy the AVI files
to a PC, and view them by using the WINDOWS RealPlayer.
To Purchase, Visit Avobus.com or call 1-800-674-3655