Commissioning the system
9. In the Add task menu, you can do either or all of the following options (F):
– Run the device - Select the devices that you want to be triggered.
– Moment or Automation - Select the moment which you want to trigger or
select the automation that you want to enable or disable.
– Send notification - Turn on notification for the automation.
– Delay - Set the delay time.
NOTE: You can add one or more actions using .
Any condition is met
Add Condition
Action
Add Task
All-Day
(0/10)
(Added 0/80)
My Automation
Automation settings
Cancel
Save
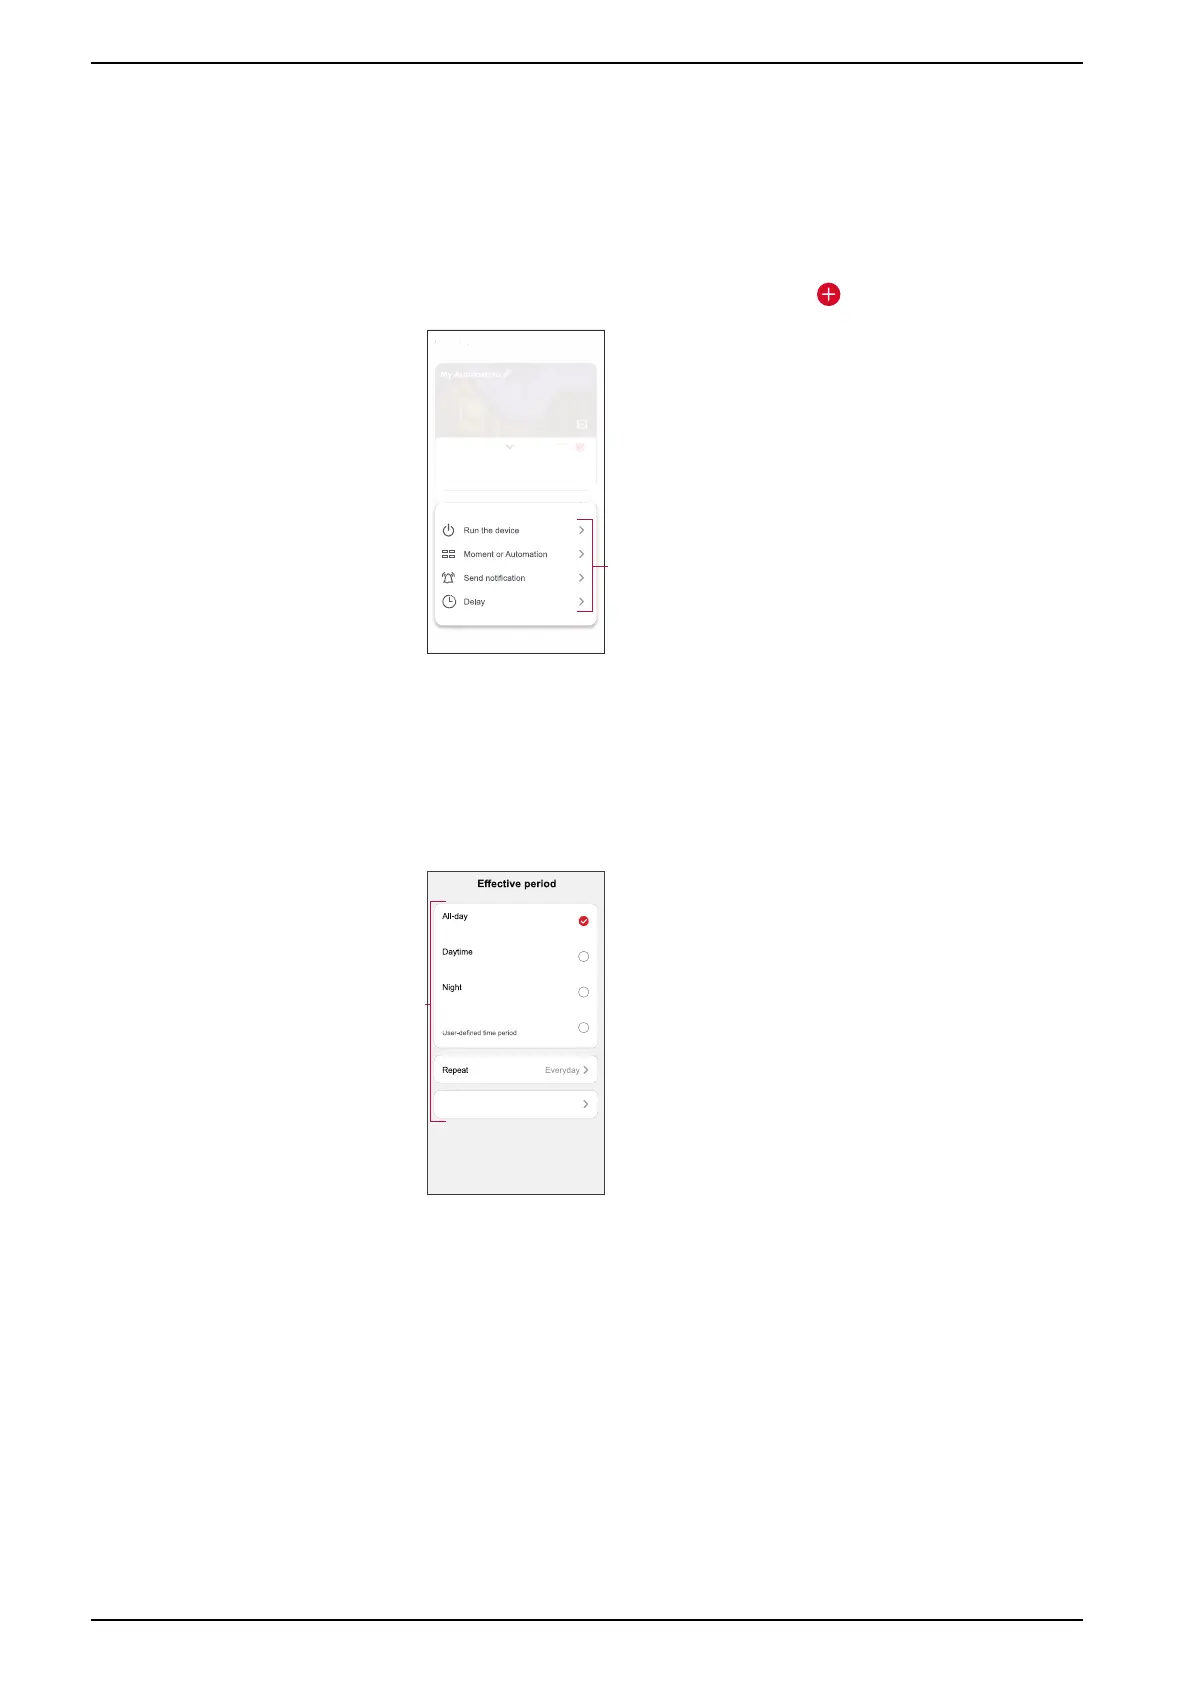
10. Tap on Effective period to set the time range for the automation. You can
select any one of the following (G):
– All-day - 24 hours.
– Daytime - From sunrise to sunset.
– Night - From sunset to sunrise.
– Custom - User defined time period.
Next
G
24 hours
From sunrise to sunset
From sunset to sunrise
Custom
City
11. Once all the actions and conditions are set, tap Save.
Once the automation is saved, it is visible on the Automation tab. You can
tap the toggle switch on the automation to enable it.
38 SUG_ELKO_Norway_04