51
Mechanical Adjustment
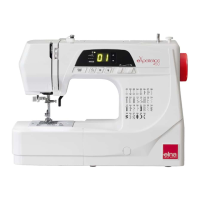
ReplacingX-motor
q w e
• RemovingX-motor
z
Disconnect the connector from printed circuit board S1.
Pry up the lock tab of the connector with a precision driver
and pull out the brown
e, orange q and red w cords.
w
q
e
Precision screwdriver
r
r
x
Remove the setscrews r to remove the X-motor.
• AttachingX-motor
Follow the above procedure in reverse.
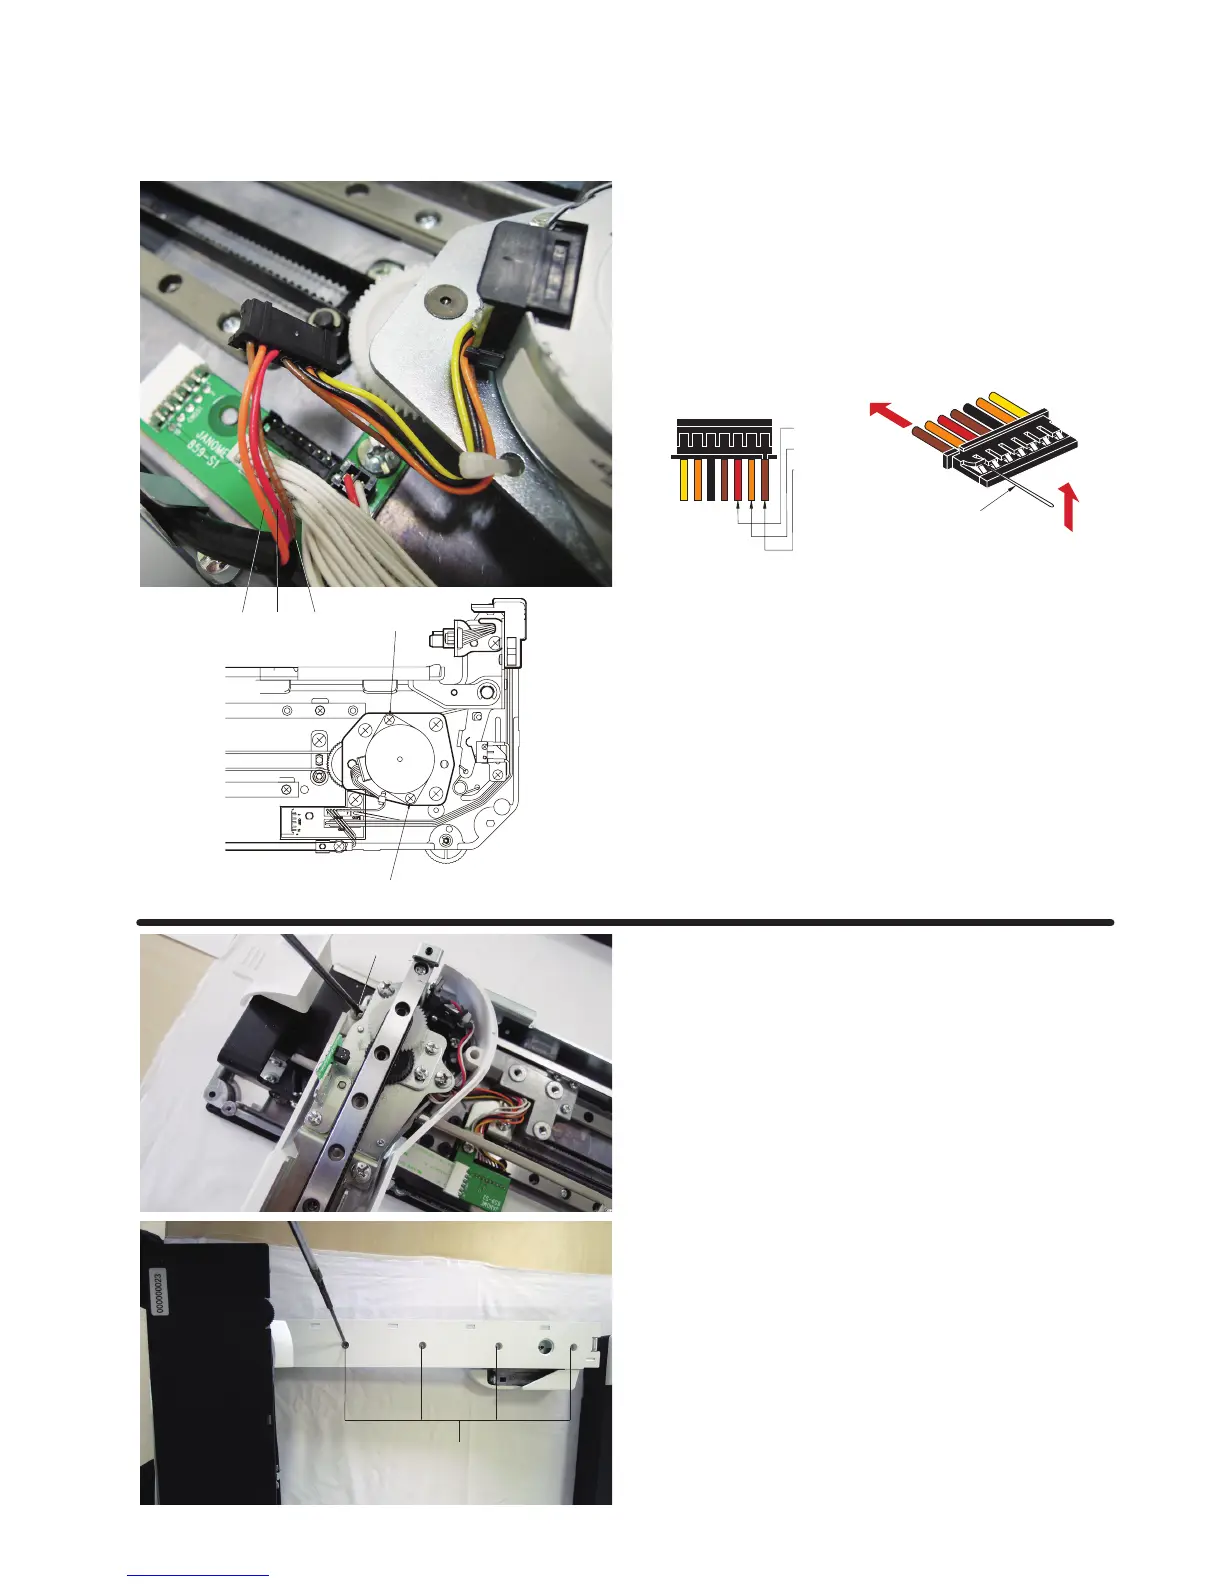
ReplacingY-motor
•RemovingY-carriagecover(lower)
z
Remove the setscrew q.
q
w
x Turn the embroidery unit upside down.
Remove the setscrews
w (4 pcs.).