ControlWave Instruction Manual (CI-ControlWave)
2-22 Installation Revised Nov-2010
SCB
SW1 or SW2
Switch
Number
Function if this is an RS-232
Port
Function if this is an RS-485 Port
OFF No loopback (factory
default)
OFF No loopback (factory default)
3
Not currently used
ON 100 Ohm RX+ termination (end
node)
OFF Not an end node (factory
default)
4
Not currently used
ON 100 Ohm RX- termination (end
node)
OFF Not an end node (factory
default)
5 ON RTS to CTS Loopback (Use
for Diagnostics only)
OFF No loopback (factory
default)
Not currently used
6
Not currently used
ON (Fast slew rate enabled)
OFF (Slow slew rate enabled) (factory
default)
7
Not currently used
ON RX+ bias (end node)
OFF Not an end node (factory
default)
8
Not currently used
ON RX- bias (end node)
OFF Not an end node (factory
default)
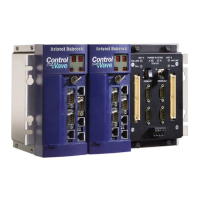
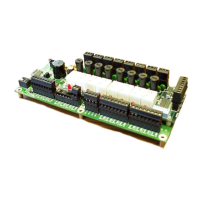
After you set the DIP switches and insert the CPU module in slot #2 of
the housing, you can connect communication ports.
2.4.2 Connections to RS-232 Serial Port(s)
An RS-232 port provides point-to-point, half-duplex and full-duplex
communications (for a maximum of 20 feet using data quality cable).
The standard CPU module includes two RS-232 ports. If you purchased
your CPU module with a secondary communication board (SCB) you
may have one additional RS-232 port, depending upon the type of SCB.
RS-232 COM
Port Names and
Connectors
RS-232 COM ports are assigned names based on their location in the
ControlWave. The CPU board has two RS-232 ports (COM1 and
COM2). See Table 2-5.