17
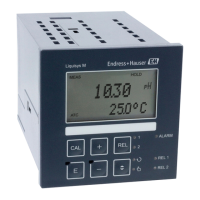
4.4 Electrical Connection of Mycom CLM 152
Warning!
Only appropriately trained personnel are allowed to work on the instrument when
the system is live and is connected to the power supply.
A power disconnect must be installed near the instrument.
Do not start up the instrument until the PE conductor has been connected!
Before connecting the instrument to the input power source, make sure the voltage
matches the voltage rating on the nameplate!
Caution!
All lines conducting signals are to be shielded and run separately from other
control lines.
Note!
Immunity against interference can only be guaranteed if the shielded ground wire
is kept as short as possible. Do not solder an extension onto the shield!
If the instrument is being installed on a post, grounding the post is recommended.
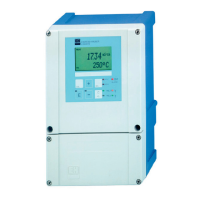
Instrument Connections
Undo the four screws in the bottom third of the front of the front panel.
Remove the connection compartment cover.
A connection diagram and information about the plug-in modules installed can be
found folded up in the cover.
Replace the plugs in the holes on the bottom of the housing.
Feed the cable through the conduit entries into the connection compartment.
Connect the cables in accordance with the connection diagrams on the following
pages.
Warning!
In the non-Ex (non-hazardous) area, the output contacts can also be connected to
the instruments auxiliary power supply.
To do this, the thin section provided in the separating wall on the connection
compartment lid must be broken out with a pair of pliers.
Now a cable connection between the right and left parts of the connection
compartment can be established by attaching the cable carefully and without
forming a loop in the cable clip provided.