Replacing ASR-I
O/88
Modules
E
M3.5~19
moun&ng screws
Keytips side
0
a
0
a
0
0
0
43
M3.5x7.5 mounting screws
a
0
kevboard connector
0
Figure
20
-
ASR- 10 Keyboard
Mounting Bracket
Replacing the Keyboard (ASR-88)
1. Remove all cables connected to the ASR-88 including the power cord
2. Turn the unit upside-down and remove all the screws from the base and rear panel.
3. Remove the digital board (see Section A).
4. Remove the analog board (see section B)
5. Remove the SCSI board (see section K)
6. Disconnect the 20 pin ribbon cable from Pl on the keyboard adapter board.
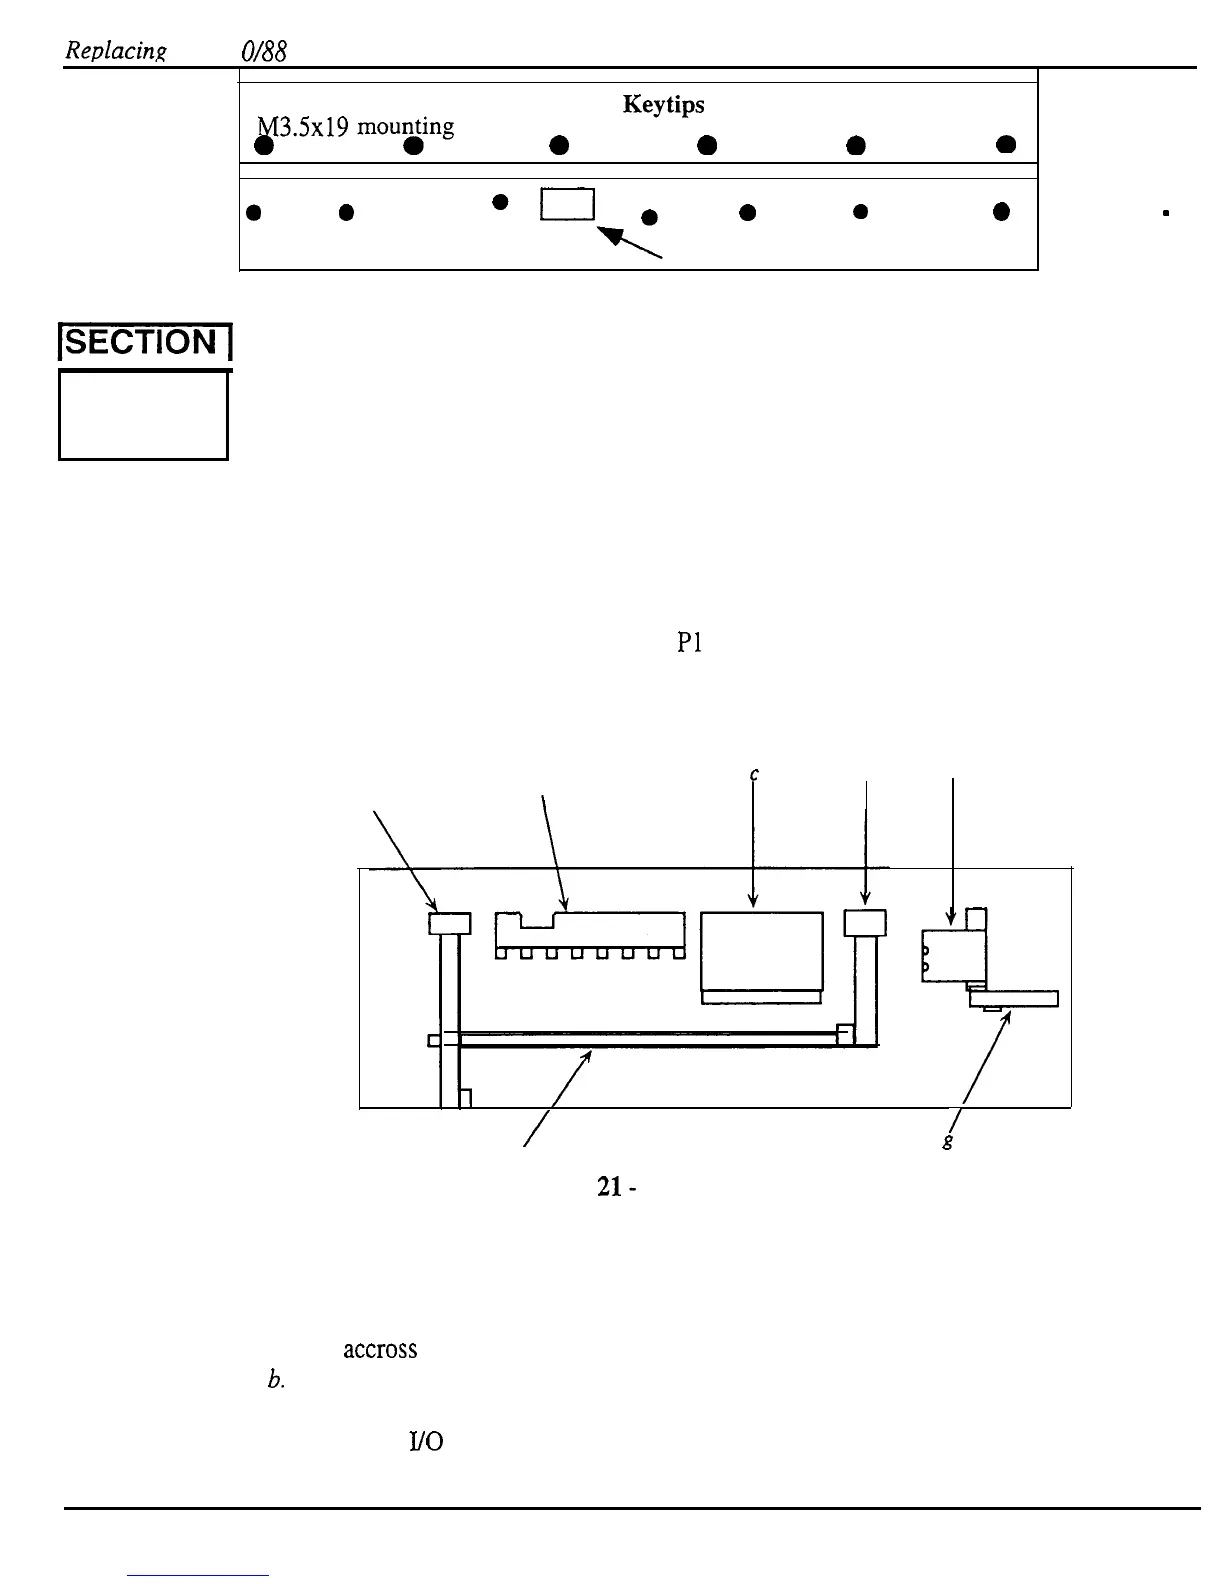
7. There are seven brackets you will have to remove before you can take the keyboard out of
the unit. With the unit upside-down, and the keys facing away from you, remove the
following brackets from left to right (see figure 21):
e
f
b
c
a
/
/
d
8
Figure
21-
ASR-88 Bracket locations
a. The bracket that is across the ASR from front to back. This bracket has seven screws
securing it to the unit, two to the front of the ASR’s frame, two to the back of the ASR’s
frame, two to the ASR’s keyboard assembly, and one that connects to the bracket that
runs accross to the SCSI board.
b.
The analog board mounting bracket. There are three screws securing this bracket to the
front of the ASR frame.
c. The digital I/O board mounting bracket. There are two screws securing this bracket to
the front of the ASR Frame.
46
ASR Service Manual

 Loading...


