Removing and Installing a Fan Tray
Enterasys S-Series S4 Chassis Hardware Installation Guide 3-23
Removing and Installing a Fan Tray
The S4 chassis is equipped at the factory with a removable fan tray that allows for easy periodic
cleaning and/or replacement if a problem occurs with fan operation.
Removing a Fan Tray
To remove a fan tray:
1. Attach the anti-static wrist strap as described in “Attaching the Electrostatic Discharge Wrist
Strap” on page 3-12 before handling the fan tray.
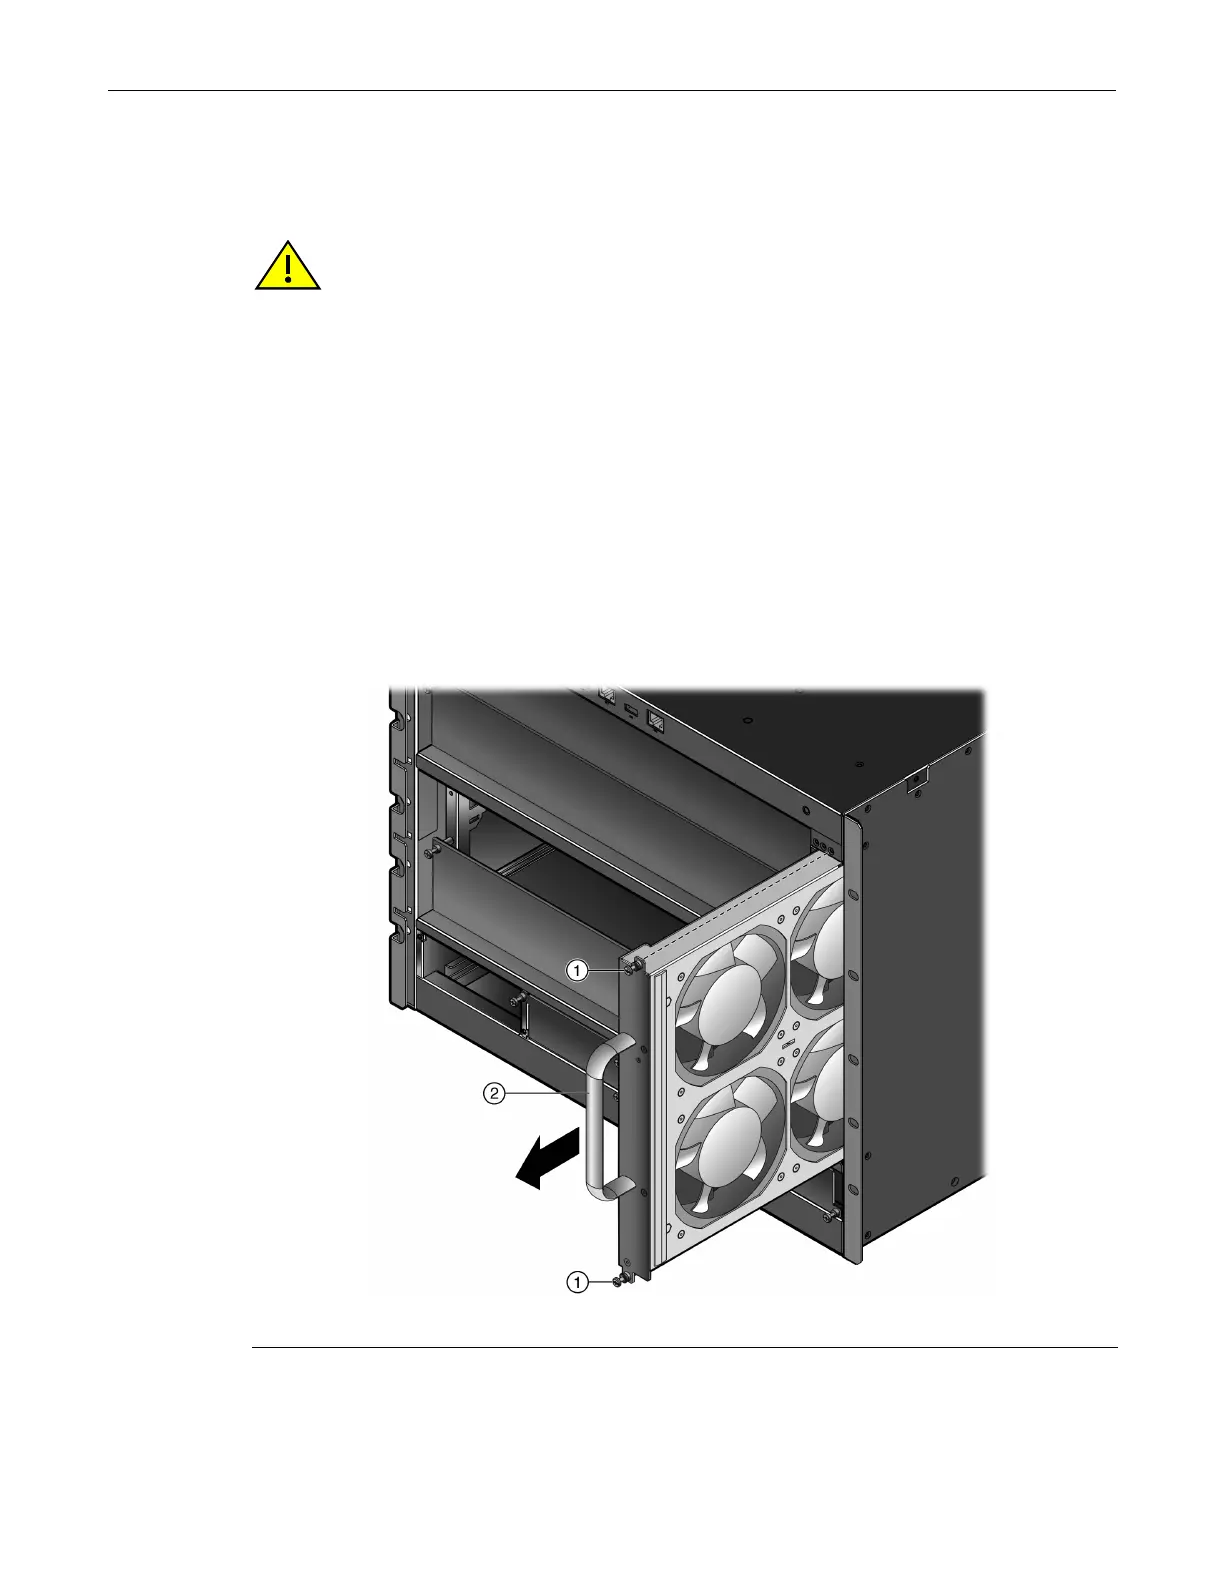
2. Loosen the captive screws located at the top and bottom of the fan tray.
3. Slowly slide the fan tray out of its slot in the chassis. See Figure 3-16.
Figure 3-16 Removing the Fan Tray
Caution: The fan assembly is hot-swappable. However, do not run the chassis for any extended
periods of time without an operating fan assembly, as the chassis will quickly overheat and cause
damage.
Precaución: El sistema de ventilación se puede reemplazar cuando la unidad está encendida.
Sin embargo, no utilice el chasis durante largos períodos sin contar con un sistema de ventilación
porque podría sobrecalentarse y dañarse.
1 Captive screw (2) 2 Fan tray handle
 Loading...