11
Operating Instructions
How to light burner:
1. Ensure pilot ame is lit (see “Pilot Light” section on page 10 for detail).
2. Push control know in slightly and turn COUNTER CLOCKWISE to ON.
3. Flip burner switch to ON if it’s not already (see Figure 7).
*NOTE: The burner switch has 3 positions (ON, Thermostat Mode, OFF).
4. Turn the HI/LO knob to the desired ame height.
Turning o burner:
1. Flip burner switch to OFF. A small “poof” from the burner may be heard immidiately following turn o -
this is normal. If a sizeable “poof” is heard, contact your dealer.
If the replace is being turned o for the season or for servicing, turn o the gas supply. If the unit is being
serviced, unplug the electrical supply.
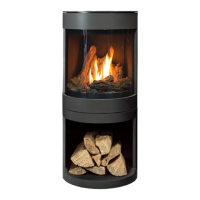
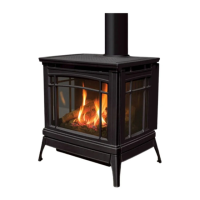
The gas valve and control switches are located behind the door frame at the bottom edge of the stove (see
Figure 7). The controls can be accessed by reaching under the door frame without needing to remove it (see
Figure 8 and Figure 9).
contRoL PaneL anD oPeRation
Gas Control Knob
HI/LOW Knob
Piezo Ignitor
Burner Switch
Fan Switch
Top Light Switch
Figure 7: System Controls
Figure 8: Controls Location
Figure 9: Controls Location (Bottom
View)