43
ReaR vent conveRsion
Initial Installation
QUALIFIED INSTALLERS ONLY
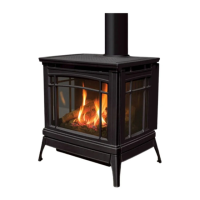
The S50 has the option to be top or rear vented. By default, it comes configured as top vented from the
factory. This can be changed by following these steps:
1. Remove the top plate from the unit (see section remoVing top plate on page 21).
2. Remove the door frame and skirt from the unit (see section remoVing Door Frame/Skirt on page 15).
3. Remove the glass from the unit (see section remoVing glaSS on page 16).
4. Remove the rear chassis from the unit (see section remoVing rear chaSSiS on page 17).
5. Rotate the restrictor disk by hand from
inside the firebox until the four (4) screw
heads are exposed; remove them using
a 5/16” socket (see Figure 62). The finger
catch can be loosened and moved if it is
inhibiting the movement of the restrictor.
6. Remove the threaded rod from the ex-
haust spigot (see Figure 63). A power drill
with a 7/16” socket and extention will be
helpful here.
7. Remove the vent adapter from the top
of the unit by removing the four (4) T20
screws (see Figure 64). Be delicate with the gasket, you will be reusing this.
Figure 62: Restrictor Plate Removal
Figure 63: Restrictor Rod Removal Figure 64: Vent Adapter Removal