Using Options 231
7
7
7
7
7
7
7
7
7
7
7
7
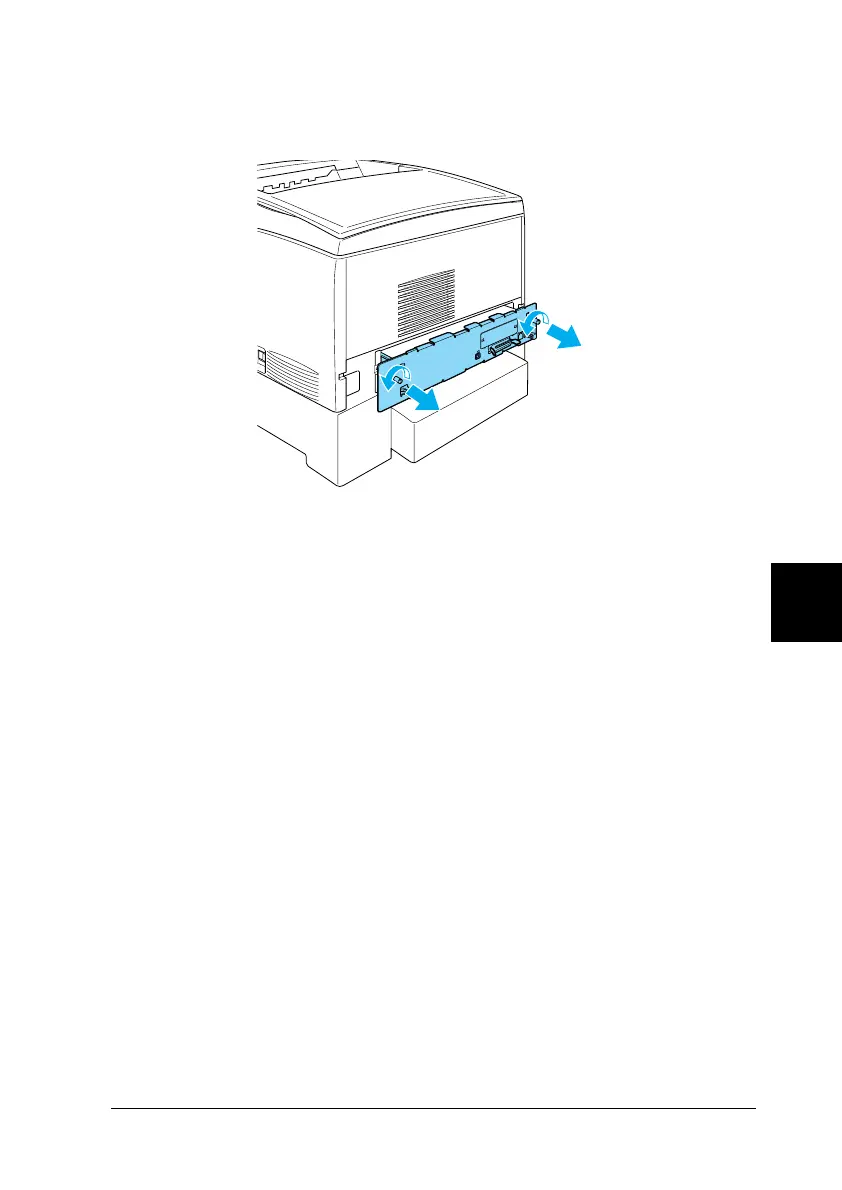
3. Loosen the two screws on the back of the printer.
w
Warning:
Removing other screws and covers will expose high voltage
areas.
4. Pull out the circuit board tray.
5. Loosen the three screws on the Hard Disk Drive, and pull out
the connector from the circuit board.
Note:
Keep the three screws with Hard Disk Drive.
6. Slide the circuit board tray into the printer.
7. Fasten the circuit board tray with the two screws.
8. Reconnect all interface cables and the power cord.
9. Plug the printer’s power cord into an electrical outlet.
10. Turn on the printer.

 Loading...


