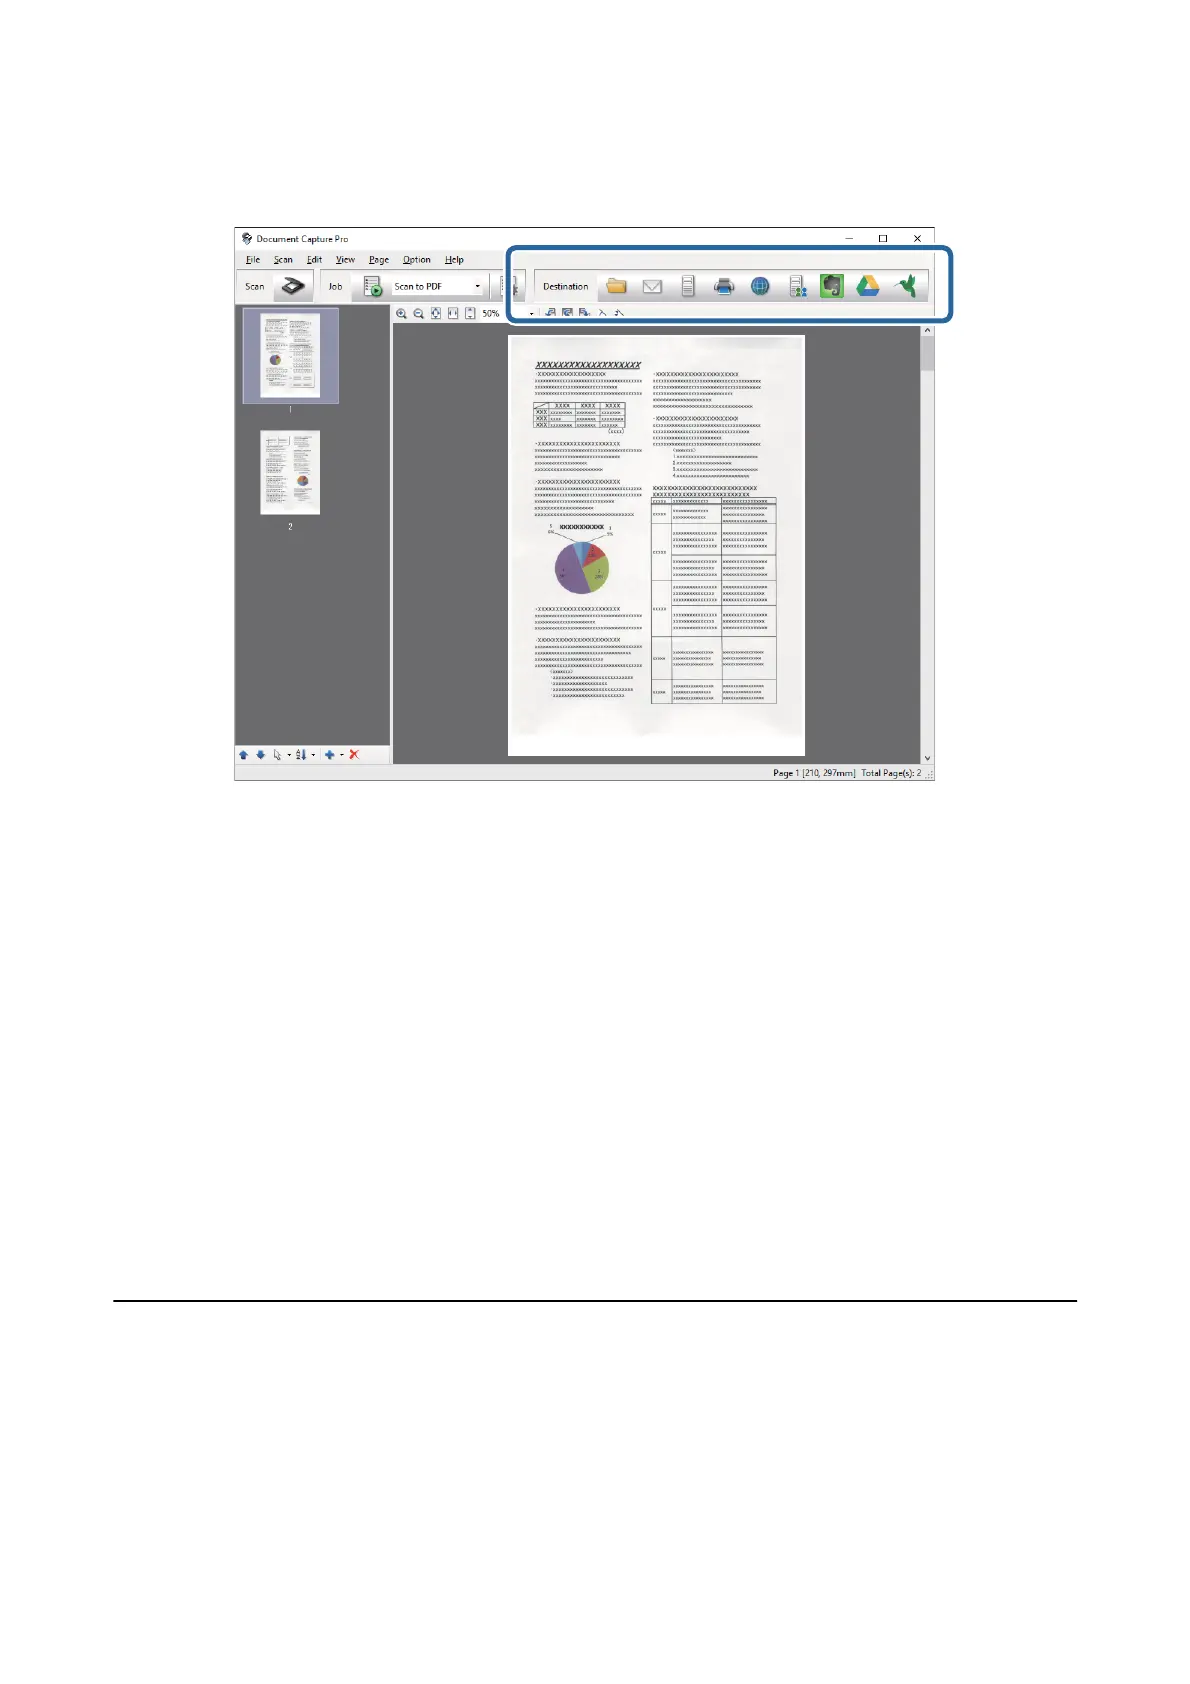
6. When you have nished checking the image, click one of the destination icons.
e Batch Save, Transfer Settings, or another window opens.
7. Select the Oce format le you want to save as from the File Type list.
8. Click Options to display the Detailed Settings window.
9. Make settings for each item, and then click OK to close the Detailed Settings window.
10. Make other settings if necessary, and then click Send or OK.
e scanned image is saved as an Oce format le.
Related Information
& “Scanning Using Document Capture Pro (Windows)” on page 32
& “Placing Originals into the ADF” on page 22
&
“Placing Originals on the Scanner Glass” on page 25
Various Types of Saving and Transferring
Sorting and Saving Scanned Images into a Separate Folder (for
Windows Only)
You can sort scanned images automatically and save them to a separate folder using Document Capture Pro.
User's Guide
Advanced Scanning
48

 Loading...