EasyManuals Logo

Epson ProSix S5 Series User Manual

Epson ProSix S5 Series
211 pages
To Next Page IconTo Next Page
To Previous Page IconTo Previous Page
Page #134 background imageLoading...
Page #134 background image
Maintenance 5. Joint #2 (Replacing the Reduction Gear Unit)
120 S5 Rev.5
Double
-check the bolts to make sure that you have not forgotten to tighten any of
them.
Joint #2
Reduction Gear
Unit
Installation
(1)
Mount the flexspline to the Arm #1.
Hexagon socket head cap bolt
: 30-M4×16 (with disc spring 2H-4)
Apply liquid gasket.
Tightening torque
: 2.8 N·m (0.29 kgf·m)
(2)
P
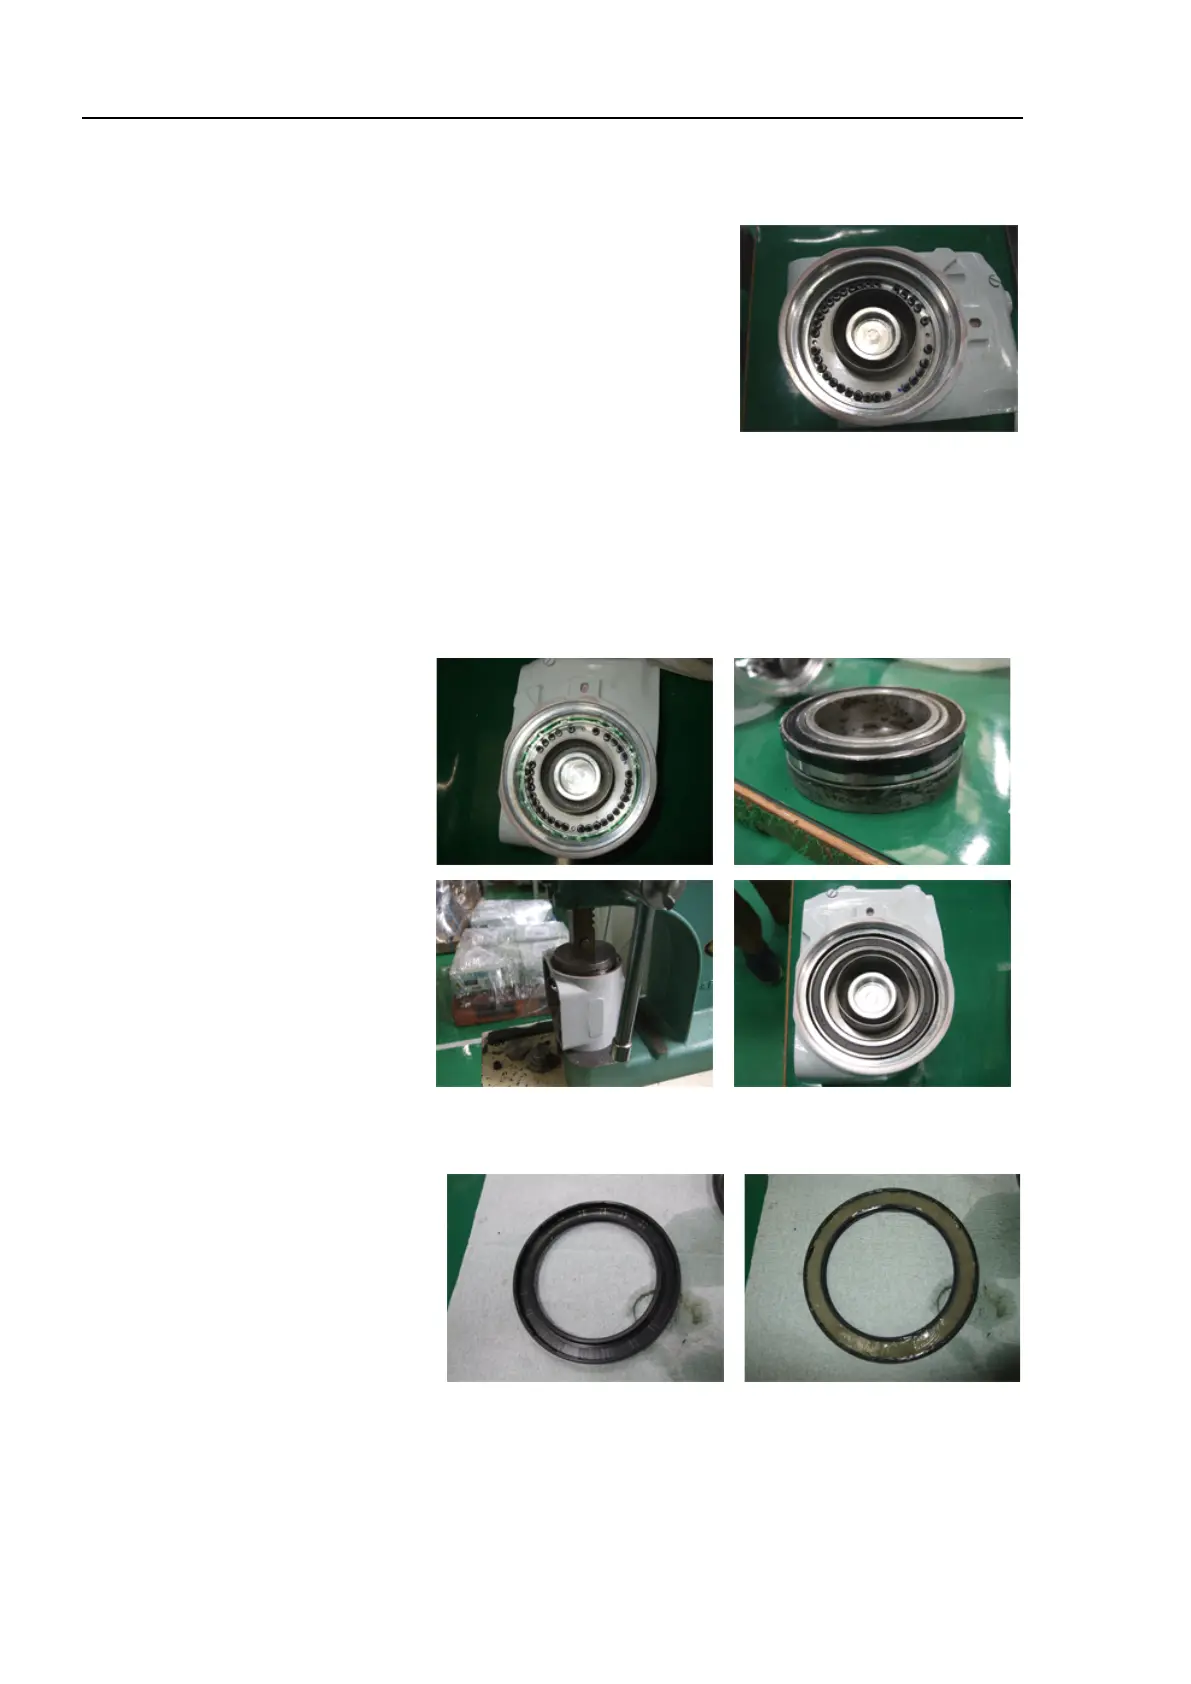
ress the bearing into the Arm #1.
Apply adhesive to the
contact surface with the Arm #2.
Apply liquid gasket to the outer periphery of the bea
ring.
- Spread flat the adhesive and liquid gasket using a spatula.
- Be careful to keep the liquid gasket out of the bearing.
(3)
Apply
grease to the inside and lip of the oil seal.
Grease: MP-1
NOTE
NOTE

Table of Contents

Questions and Answers:

Question and Answer IconNeed help?

Do you have a question about the Epson ProSix S5 Series and is the answer not in the manual?

Epson ProSix S5 Series Specifications

General IconGeneral
BrandEpson
ModelProSix S5 Series
CategoryRobotics
LanguageEnglish

Related product manuals