Maintenance 7. Joint #4 (Replacing the Reduction Gear Unit)
S5 Rev.5 151
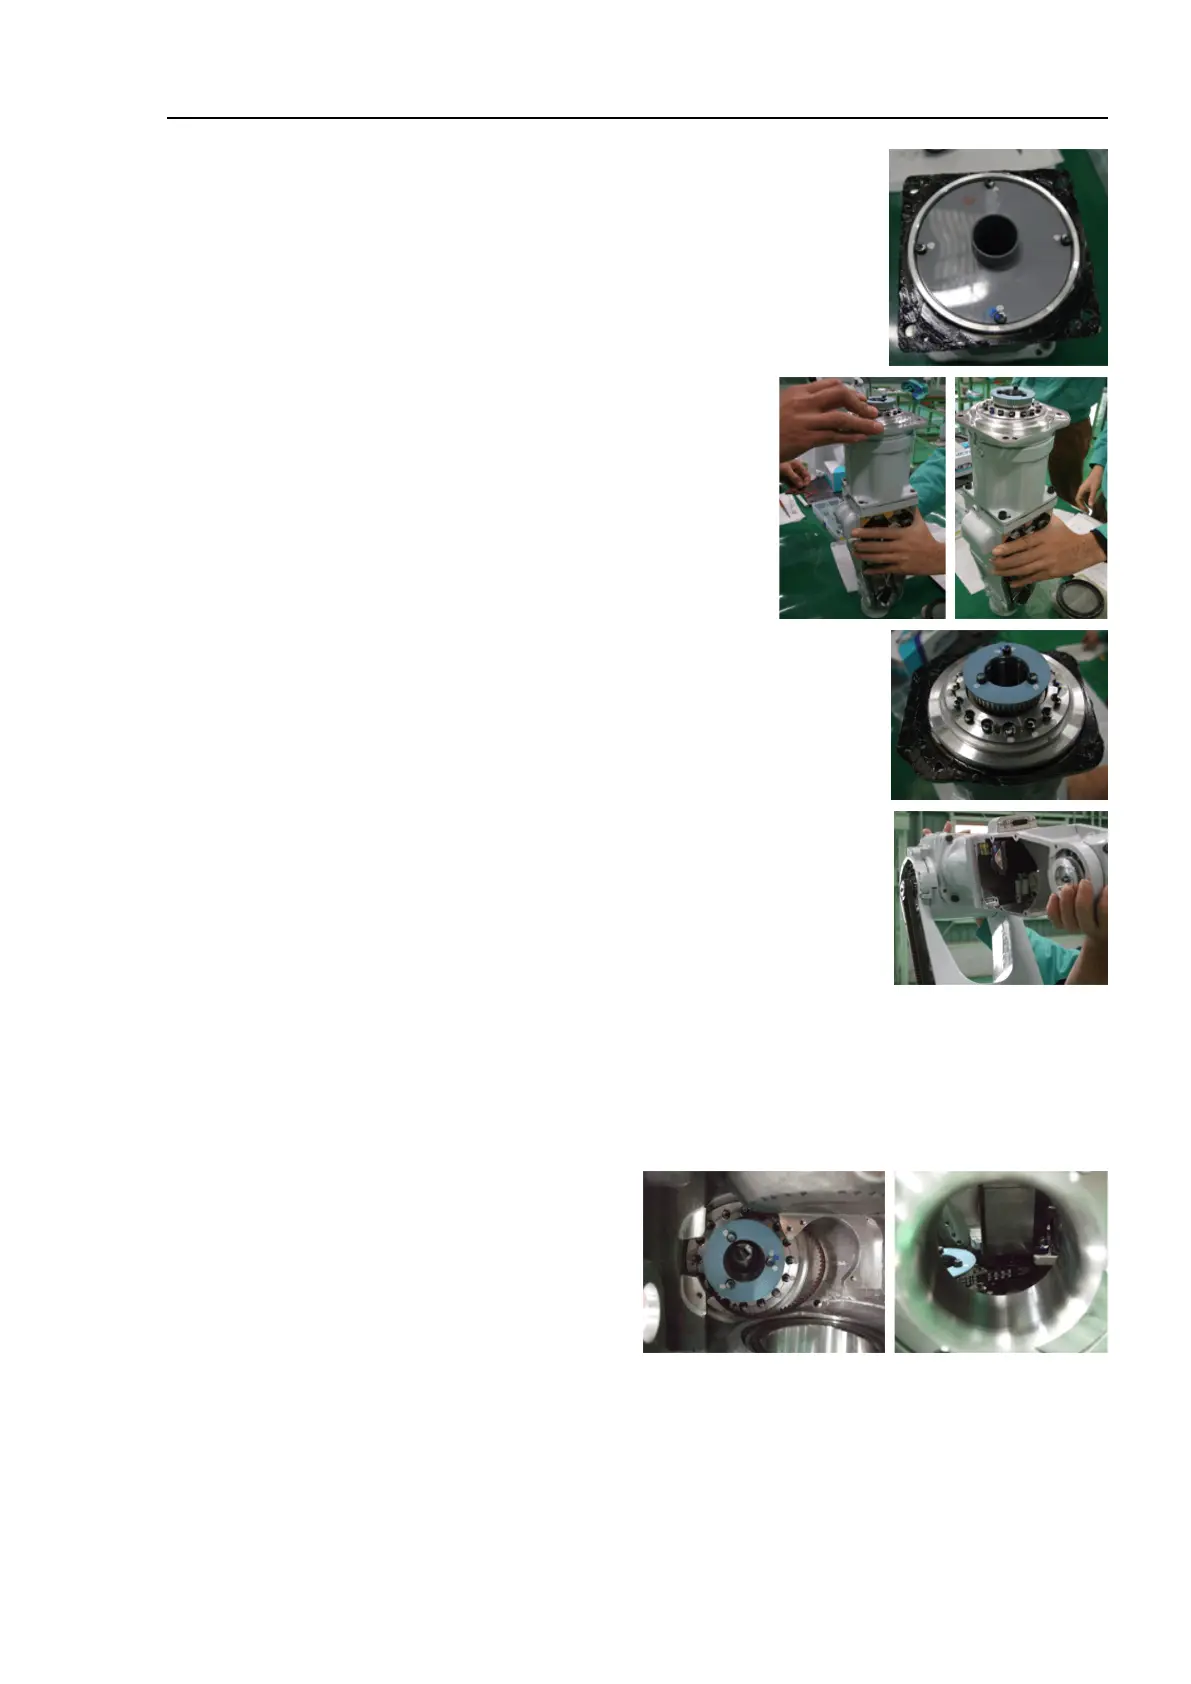
Apply liquid gasket to contact surfaces of the spacer and
Wrist Unit.
Liquid gasket: 1206C
Mount the spacer to the Wrist Unit.
Hexagon socket head cap bolt
: 4-M6×16 (with disc spring 2H-6)
Tightening torque: 10 N·m (1.02 kgf·m)
Apply liquid gasket to the contact surfaces of the spacer
and Arm #3.
Liquid gasket: 1206C
Mount the spacer to the Arm #3.
Hexagon socket head cap bolt
: 4-M6×16 (with disc spring 2H-6)
Tightening torque: 10 N·m (1.02 kgf·m)
Set the belt around the belt and mount the Joint #4 motor to the Arm #3.
GT-SA bolt : 2-M3×12 (with M3 washer)
Tightening torque : 1.4 N·m (0.14 kg·m)
From the Arm #3 side surface, confirm that the timing belt is properly set on the
pulley.

 Loading...


