EasyManuals Logo

Epson ProSix S5 Series User Manual

Epson ProSix S5 Series
211 pages
To Next Page IconTo Next Page
To Previous Page IconTo Previous Page
Page #180 background imageLoading...
Page #180 background image
Maintenance 9. Cable Unit
166 S5 Rev.5
(9)
Remove the LED.
(
10)
Remove
the supporting plate.
Hexagon socket head cap bolt : 2-M4×10
(1
1)
Remove
the saddle.
Hexagon socket head cap bolt
: M5×8 (with disc spring 2H-5, M5 washer)
(1
2)
Cut
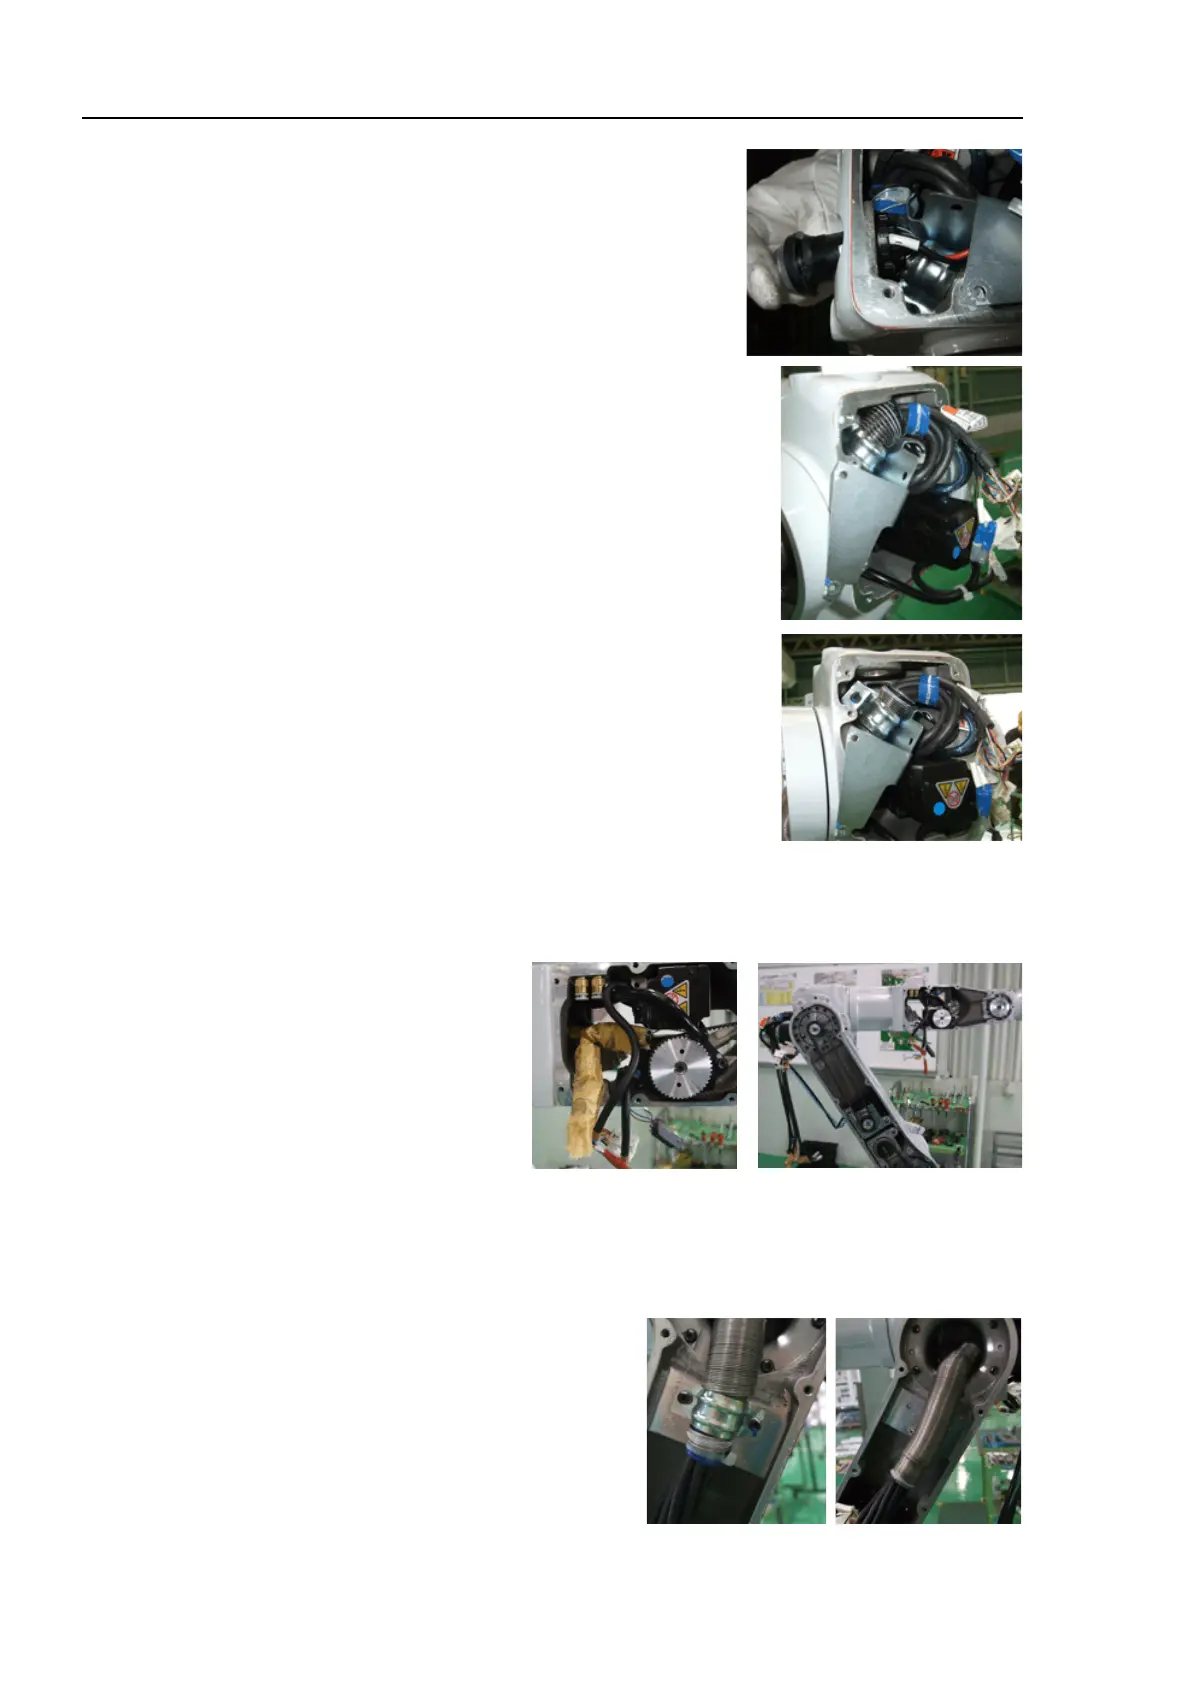
off the wire ties and pull out the lead line toward the Arm #3.
To pull out the lead line smoothly, bind the connectors with a tape as shown in the
picture below.
(13)
Remove the connectors of power cable and signal cable.
Connector: For Joint #2 (L), For Joint #3 (U)
(14)
Cut off all wire ties that secure the lead line inside the Arm #2.
(15)
Remove
the saddle.
Hexagon socket head cap bolt
: 2-M4×8
(with disc spring 2H-4, M4 washer)

Table of Contents

Questions and Answers:

Question and Answer IconNeed help?

Do you have a question about the Epson ProSix S5 Series and is the answer not in the manual?

Epson ProSix S5 Series Specifications

General IconGeneral
BrandEpson
ModelProSix S5 Series
CategoryRobotics
LanguageEnglish

Related product manuals