SC-F9200 Series Revision C
ADJUSTMENT Head Related Checks and Adjustments 315
SE Group Confidential (Related Staff Only)
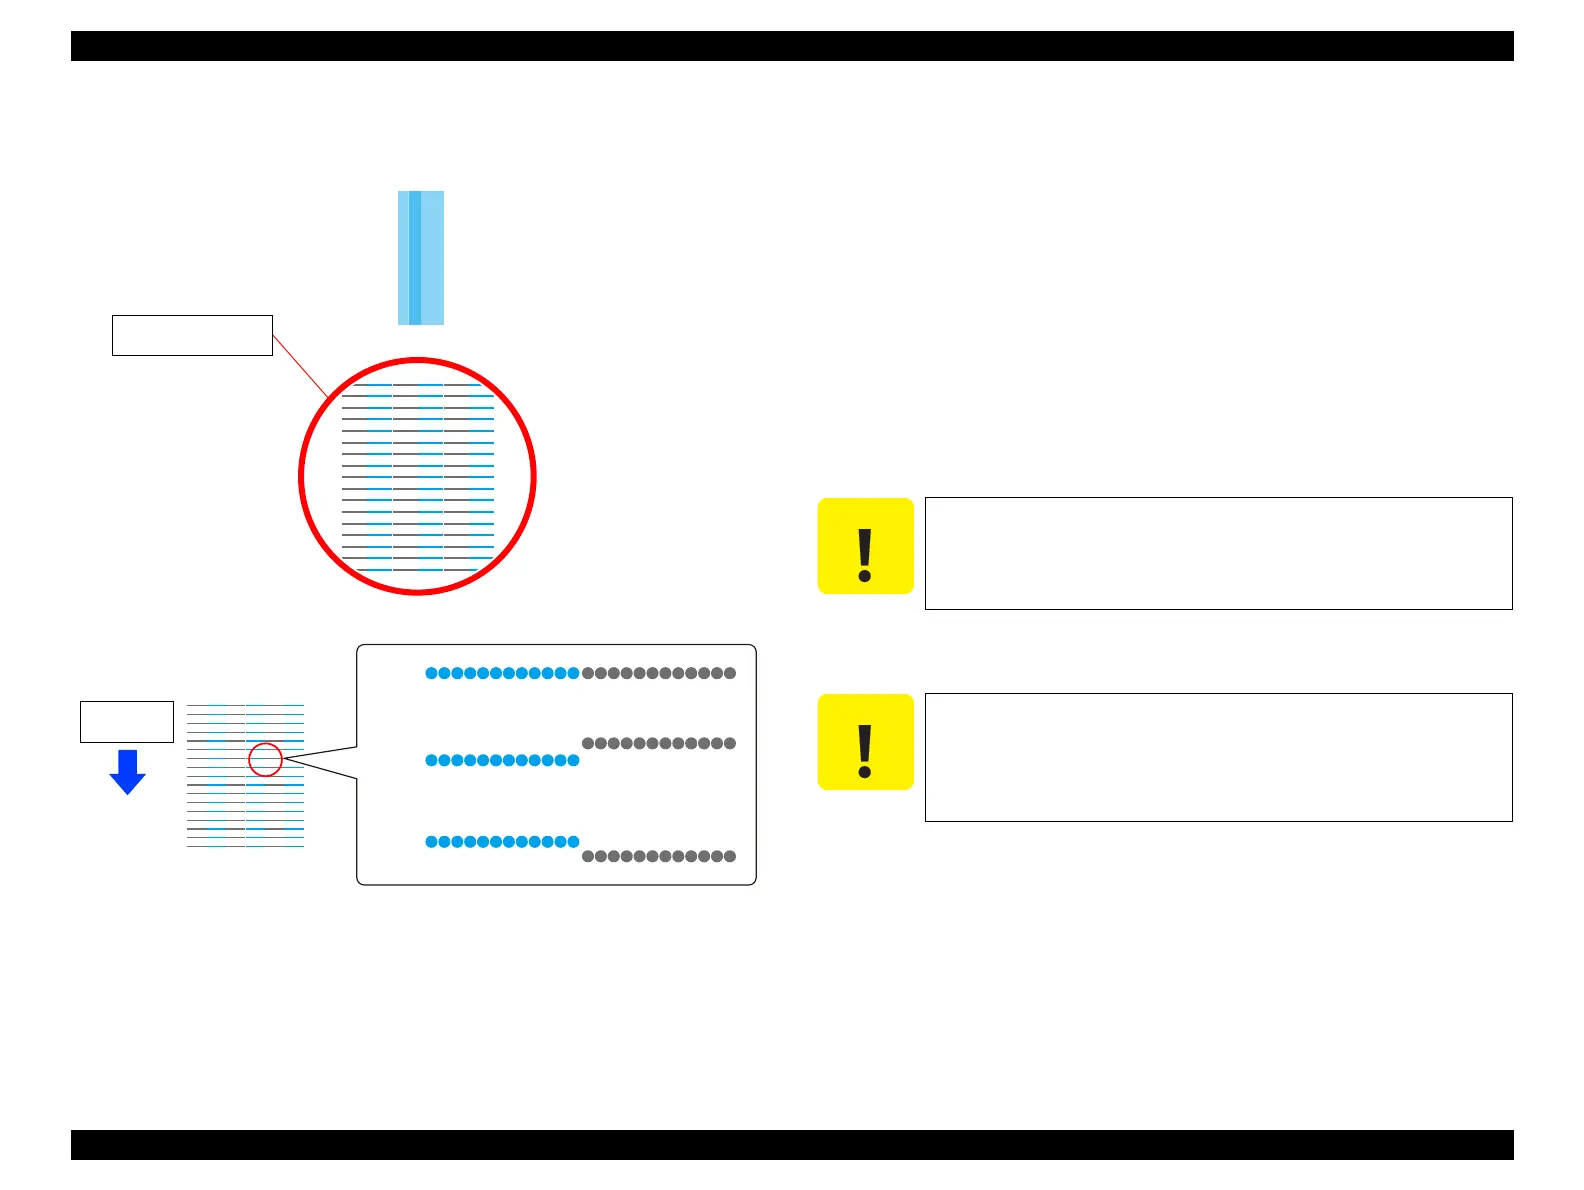
6. Check the pattern shown with the red circle visually.
Figure 4-37. Judgement
7. Press the F11 key of the keyboard to unlock the CR unit.
8. Move the CR unit to the left end of the printer.
9. Remove the CR Cover.
(P. 139)
10. Loosen the six screws (A, B, C, D, E, F) that secure the Duct CR.
11. Loosen the six screws that secure the Head Holders (three screws each).
Head 1: G, H, I
Head 2: J, K, L
12. Loosen the two screws (Bit No.1) that secures the Head Inclination Adjustment
Cams (one screw each)
Head 1: M
Head 2: N
13. Turn the Adjustment Knob to correct the head inclination.
See Figure 4-38 for which direction to turn the knob.
Adjustment pattern
(Rough adjustment)
OK
NG
NG
Paper feed
direction
Misalignment within one-dot’s width is OK.
Be careful not to completely remove the screw that secures the
Adjustment Knob.
Move the Duct CR to the right and to the left a few times before and
after rotating the Adjustment Knob. Since the Print Head may be
stuck on the CR Unit with ink, the Print Head may not move even
the Adjustment Knob is rotated unless the Duct CR is moved
beforehand.

 Loading...


